WELCOME!!

We are so glad you are here! We love making and sharing our projects, and we are excited to have you visiting our site. Please leave us a comment and let us know what you think!

Jackie and Michelle

Followers

Monday, March 14, 2011

Prima Travel Pocket Journal

I took another great class on Live with Prima!  Julie Balzer was the instructor, teaching us how to make a quick and easy Journal! http://www.ustream.tv/recorded/13165467
You can watch it here 
I filled in with 10 journal cards, but lots of room for much more!
I created 10 pockets using a vintage line from K&CO

                   A nice thick book with a good weight to it!

Thursday, March 10, 2011

Policy Envelope Tutorial and Mini Album

Here is the mini album that I showed you yesterday.  I made this tutorial to give you the basics of how to make the envelopes.  The one above, that I posted yesterday, is a variation of this tutorial.   I folded this one differently, to give different sized pages.   I also added more "pockets".   You can do so many things with this album!  Let your imagination run wild!

So, without further delay...the basic tutorial!
 I love the look of the policy envelope mini albums.  But, I didn't have any and for me, they are hard to find.  Then, one day I was walking through the office aisle at the grocery store and it hit me, I could make my own from document sized envelopes.  I bought a package of 9x12" envelopes and cut them in half, which made two 4 1/2" wide pieces.
 I scored 1/2" in on the cut end...
and 4" in from the bottom sealed end.
 Then I cut off the 1/2" piece on the back side of the envelope that included the flap.  It left me with a 1/2" piece on the other side of the envelope.
 I used my ATG and applied adhesive, folded over and sealed.
 Then, since I scored it from the bottom, I folded and taa daa!  A page for a mini album with a 4x4" page and a 4x8" page with a pocket and a flap.
 I inked edges and applied papers.
 I made a chipboard cover and used my bind-it-all.  I made four envelopes total out of two big envelopes.  It gives you lots of room for stuff.
 Inside the front cover with the flap open...I just reshaped the flaps.
 Top view.
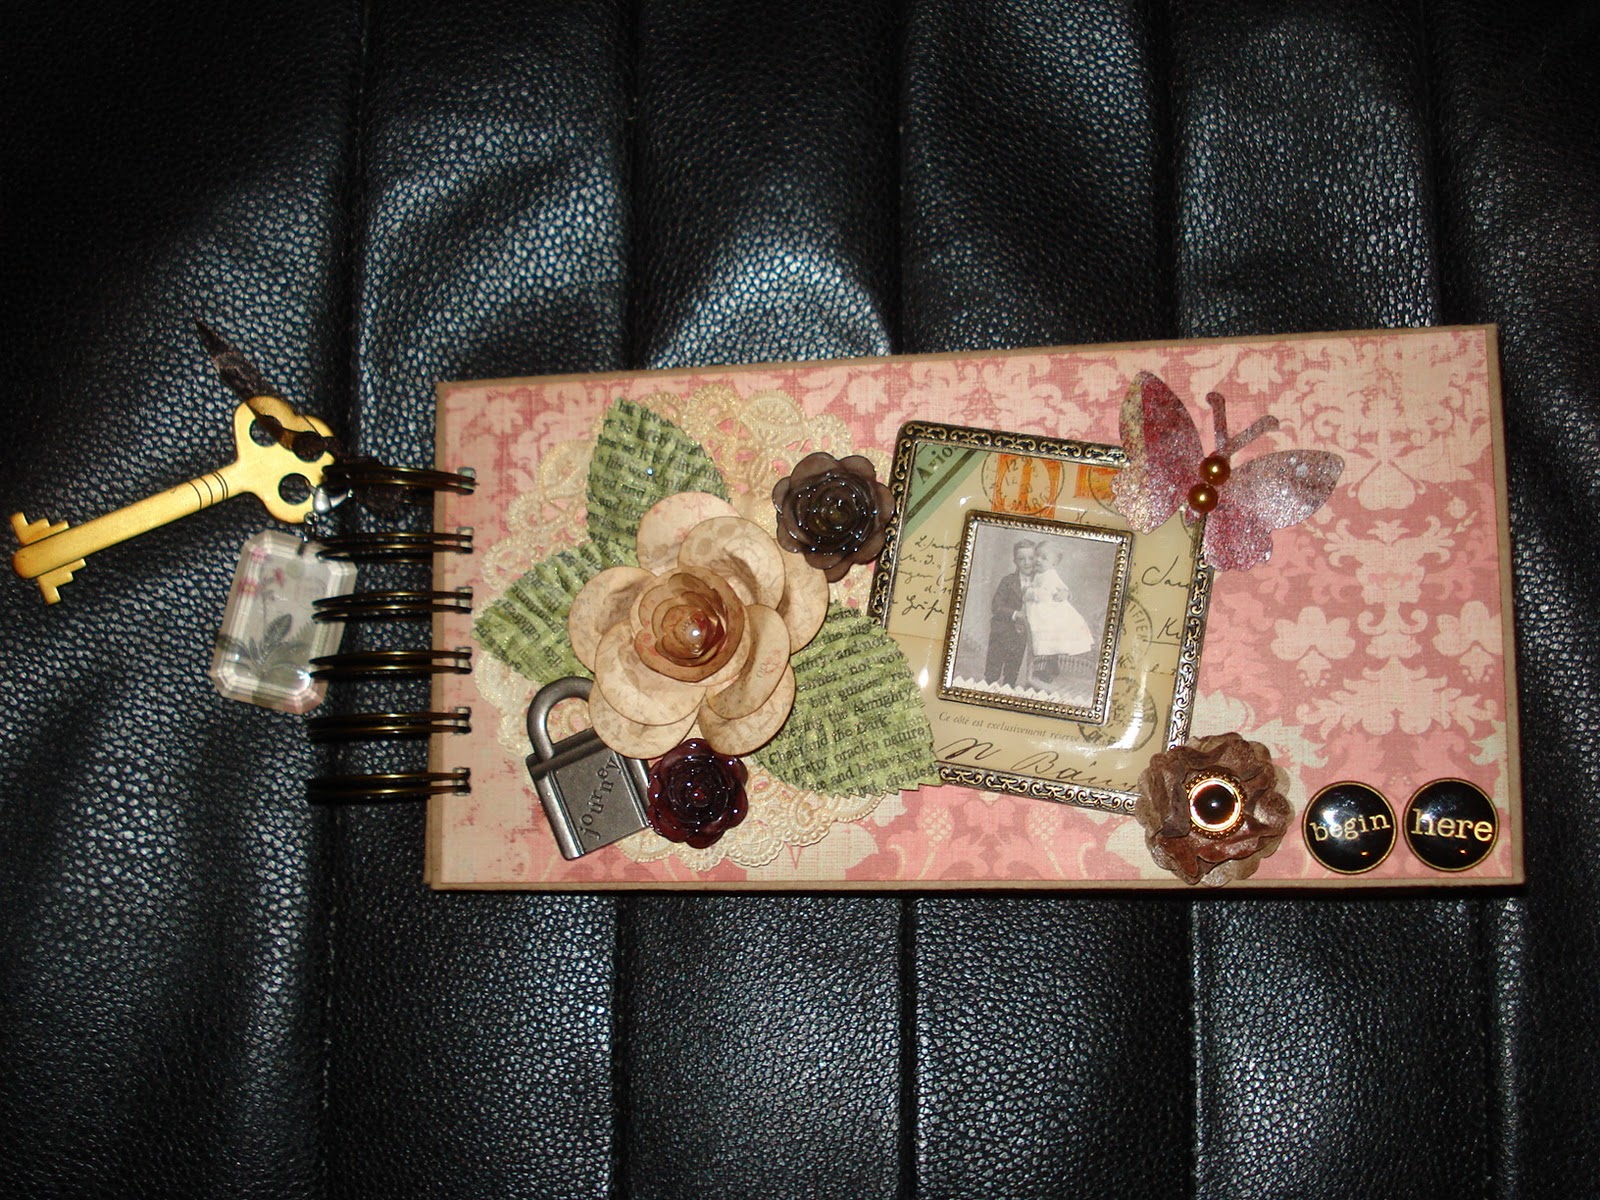
 Then I decorated the cover.  I made the charm with some of the papers and a Tim Holtz Crystal.  The flower was made following a tutorial by Valita.  I don't have an owl punch, so I used a balloon punch.  The little roses are mine from this post here.  I also made the flower on the lower right and the butterfly...and that little tutorial will come later! (It was quite cool how those came about!)
I added tags in the four pockets.  That is my mini, I hope you like it!  I am going to add more embellishments to it later.  The other cool thing about this mini album...The only thing I bought to make it was the envelopes, I had everything else in my stash!  Thanks to Counterfeit Kit Challenge!  They are really encouraging me to raid my stuff FIRST!

Supplied used:

Jolee's:  Key
We R Memory Keeper's: Eyelets
American Crafts:  Ribbon
7 Gypsies:  Lobster Claw, Type Buttons
Tim Holtz:  Distressing Ink, Crystal
K & Co.:  Paper, Metal Snaps, Frame
Recollections:  Leaves
Tattered Angels:  Glimmer Mist
Wilton:  Doily
Fancy Pants:  Journaling Cards

Have a crafty day!

Wednesday, March 9, 2011

March Counterfeit Kit Projects #1, #2 and #3!

This is a version of my policy envelope mini album...the tutorial is coming soon!


I called it "Play" as I was thinking of my grandson, Cooper, when I made it.  I used the flowers I put in my kit, but I added flower centers from Prima.  I fussy cut out some of the birds from the papers I used for the cover.  I stamped the word on the plain paper stickers I put in my kit (Which, by the way, are from 1998!) and then colored over the word with a glitter pen.  I also had the envelope closure that I added, I think it was from K and Co. but I am not sure.


Top view...lots of space for pictures and pockets for journaling tags.


Every page is a little different.  It reminded me of summer fun, I can picture Cooper on a trike riding around!


On this page I used some ribbon and adhered it to the back of a cardstock circle, and added a fussy cut bird to the center.


I did the word "sing" like the cover title.

Then I decided to do a layout...


This was  our dinner out for my Mom's birthday.  In the picture, my husband Darrell, my son Neil and his lovely bride Sarah, my mom Jo Ann, and my son Jake.  (I am in half of the picture in the bottom, I was also holding the camera!)  I chose the calendar paper and stamped the month and the year on it with some stamps from Autumn Leaves.  I hand wrote the dates, and arranged the photos and embellishments so that the 8th was open, then I wrote in the box as if it was a real calendar page.  Everything came from my kit on this layout.  The vintage tags were from the 7 Gypsies pack in my kit, and the one in the lower left corner that says "reduced to" I cut and used the back, which is the strip of stamps in the mid-right.  The mini postcard was cut from the packaging (how's that for recycling?).  I punched the scallop circle and the brown flourishes from behind the pictures, making my cardstock go further (frugal, huh?).  The blue flourishes were punched from leftovers from my mini album.  I inked everything, and used Glimmer Mist on the brown flourishes that I cut from my Tim Holtz Sizzix die.

I came up with a card as well.


I free-hand cut the tree from my "wood" paper, and I also free-hand cut the grass.  I stamped the bird twice, and cut out the wing and used foam tape to add dimension.  The eye is a black pearl that I added since I didn't have one in the kit.  I used a glitter pen to outline the swirls in the bird.  The leaves were stamped and cut out, a couple of them are also adhered with foam tape.  I punched the flowers and layered, adding gold pearls to the kit.  The cork letters added the sentiment.  I inked everything.


Just a side view...


Inside I just cut come paper and used a Martha Stewart corner punch of flowers.

Thanks for looking, and have a crafty day!

Monday, March 7, 2011

Altered Books

I spent some time this weekend altering old books!  Marion Smith put on a great class last Thursday on Ustream, watch it here= http://www.ustream.tv/recorded/13073025

I found books at a flea market in town.
I used plenty of great flowers and embellishments from Tim Holtz and the Recollections line.
In her class she painted her cover, I just distressed and Inked mine.
Her instructions leave you with Soooo many pages!

I used Glimmer Mist in Olive Vine on this flower.

I already started on a second book!

Saturday, March 5, 2011

March Counterfeit Kit Challenge Has Been Posted!

I am going to do it again!  The kit has been posted at Counterfeit Kit Challenge, and it is from Studio Calico!    They put out a main kit and four add ons!  Here are their kits and add ons...

 This is the main kit...
 This is their Mossy Knoll add on...
And this is their Sunny Clearing add on.  They had two more, and maybe I will add on to my add ons later. But...

I chose to do the main kit and two of the add ons...so here it goes!
 For my main kit I used papers from Cosmo Cricket, DCWV, Fancy Pants, and Marcella.  The label stickers are Basic Gray, and the alphabet stickers are Memory Makers and were given to me by my BFF Jackie!  I have had the Paperbilities blank stickers FOREVER...now is the time to use them.  I had this stack of chipboard shapes, also forever, and the bird stamp, I bought last year and never used!  Buttons are Basic Grey.
 Add on kit number one...the papers are from DCWV, October Afternoon, Crate Paper and Cosmo Cricket.  The Cosmo Cricket paper was left over from a kit that Jackie put together to make a paper bag book with a beach theme!  I have Creative Imaginations alphabet stickers, and the die cut shaped paper is from Making Mamories.  I chose a packet of 7 Gypsies Vintage Ephemera and some Prima Pebbles.  The flowers I got from my Birthday Sister Swap that I am involved in at Splitcoaststampers., and I think they are by Making Memories.
 My Bazzill Cardstock choices...brown, yellow, black, green, red.

And, add on kit #2... The papers are from two different DCWV paper lines, and the shaped paper is Nikki Sivils.  I have stickers from October Afternoon, Ribbons from Prima, and some more Birthday Swap flowers from Prima.  The stamps are Heidi Swapp.

So, what do you think?  I think I am going to have some fun!
Stay crafty, my friends!

Friday, March 4, 2011

A Beautiful Book Box


This is one of the neatest things I have seen in a while.  It is the same concept as the hollow book, but made with your cardstock, and it looks like a handmade mini album!


 I was web surfing and just came upon this here at Vintage Udfordring.  I also found it here, at Whiff of Joy.  This is my interpretation of it. Check out the "pages"!

I used papers from Recollections and Creative Imaginations.  The flowers are from Recollections and Memory Makers.  The ribbon is from American Crafts.  I colored a doily with ink by Tim Holtz, and the bling is Studio G.


This is the box open.  In the other tutorials, they don't line the inside of the box, but I did.  I thought it made it look a little more "finished."  The envelope has a card that I stamped with a doily stamp.

You can put anything you want in it, I decided to make a mini album to put inside.  The hearts were punched with McGill and Martha Stewart heart punches.  The butterfly is an EK Success punch.


The mini album was premade, and I didn't have the package, but I think it was by Crafty Secrets.  I covered it with more papers and added tags to the pockets.


I love how it came out, and now want to make MORE!  It is such a clever idea, very sturdy, and I love that it really looks like a "book" when closed!  

If you want to know how I made the liner, let me know and I will do a mini tutorial.  

What could you put in your book box?

Have a Crafty Day!


Wednesday, March 2, 2011

Here, I hate this paper do you want it?

So there is a funny story behind this layout!  My BFF Michelle presented me the other day with a scrapbooking kit and stated, "Here I hate this paper do you want it?"  I said, "Isn't that kinda like, the milk tastes bad, here you try..."  I of course accepted this heartfelt gift and created this!  I can't help but love her!

 By the way, this lovely line is called Pixie-Licious, by Cosmo Cricket

Tuesday, March 1, 2011

The Leftovers!

This is all that's left of my February Counterfeit Kit...

I have only two full pieces of cardstock and one full patterned paper left.  All of the rest are pieces.  My sticker sheet is half gone.  I used half of my doily's and about half of my bling.  I was surprised that I didn't use more ribbon...I love ribbon and when I made my kit I was thinking that I didn't have enough!  I also never figured out how to use the bingo card...

But, there is nothing saying that I can't use this stuff in other projects!

Have a crafty day!