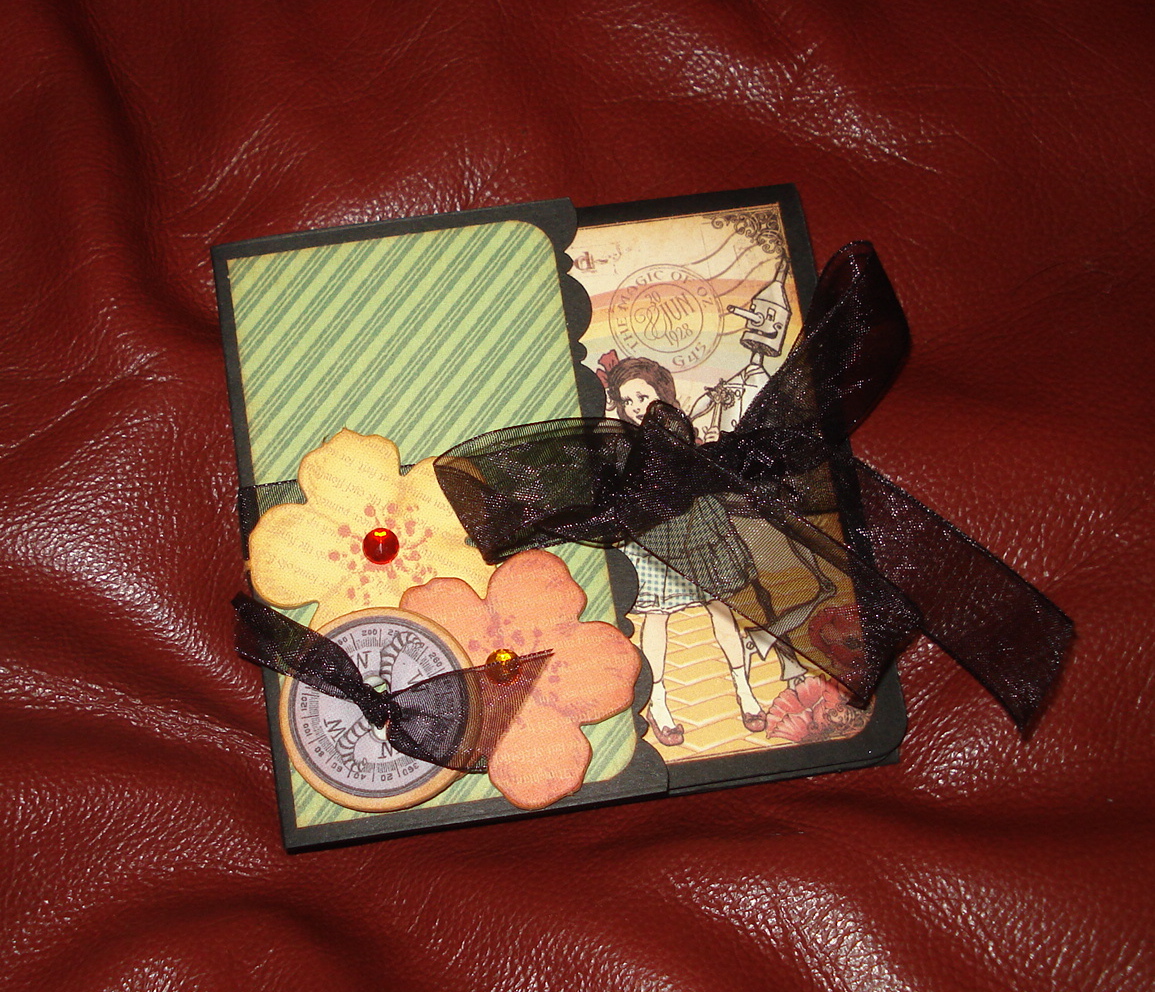
OK, after this, I may be done posting these, but they turned out so cute I had to show you!
I made some more of my collage tags, using leftovers that I just couldn't part with from my Graphic 45 Domestic Goddess collection.
I am planning to make a mini recipe book out of them. I made 16 in all! It took 2 sheets of 12x12 cardstock for the backing. The tags are 3"x6".
Just another idea using all of your scraps!!!
Stay Crafty!!
Wednesday, July 20, 2011
Monday, July 18, 2011
Calendar Journal
You might be wondering what a Calendar Journal is. Well, it is a kind of daily journal that only requires that you only write down one thing that happened that day. It is perpetual, so you just choose the card date, write down the year, then write down that one thing. It can be anything from someone's birthday to what TV show you watched that night. It is something simple...short, sweet, and to the point. The fun thing will be to look back and see what you were doing on that day over the past few years.
This is not my idea. I got it from Kate Pruitt from Design Sponge. Go check it out, she has a lovely tutorial for it.
It does take a while to do it. I suggest popping in your favorite movie and getting comfy. I watched "Rocky Horror Picture Show" while I did mine. If you do this, please let me know what movie you watched!
I used a paper mache box to put my cards in. I also used the Echo Park papers from the "For the Record" line. I thought it was appropriate for the theme of this project! I made dividers, and on the backs of them is room to write more things...maybe like that months birthdays and anniversaries!
I am debating on whether to start it now, mid year, or wait until January. Hummmmm...
Stay Crafty, My Friends!
This is not my idea. I got it from Kate Pruitt from Design Sponge. Go check it out, she has a lovely tutorial for it.
It does take a while to do it. I suggest popping in your favorite movie and getting comfy. I watched "Rocky Horror Picture Show" while I did mine. If you do this, please let me know what movie you watched!
I used a paper mache box to put my cards in. I also used the Echo Park papers from the "For the Record" line. I thought it was appropriate for the theme of this project! I made dividers, and on the backs of them is room to write more things...maybe like that months birthdays and anniversaries!
I am debating on whether to start it now, mid year, or wait until January. Hummmmm...
Stay Crafty, My Friends!
Friday, July 15, 2011
Menu/Shopping Planner
This is a cool find! I was surfing around, just looking at stuff, and came across this menu planner idea and tutorial by Paper Clutch. CHECK THIS OUT! She has a free printable menu and shopping planner and it is awesome. Here is what I did with her design...
I used some older papers I had, and Kraft cardstock for the book. I had some 7Gypsies elastics that I used for binding and for closure of the book. This way, I can remove and add pages as needed. I haven't figured out what to title this yet, so the cover is still "blank". If you have any ideas, let me know!
I added an inner pocket. I was thinking that recipe cards could go in here as I plan the menu and shopping lists.
I printed up multiple pages, double sided, so that I have several weeks in the book. This is showing the back accordion style pocket. It is hard to tell, but I added a punched border in Kraft cardstock to the flap. Coupons go in here.
Now, this is a neat idea! I found these by accident at the craft store...super slim velcro closures just for scrapbooking projects! You have to get these, they are AWESOME!
Okey dokey, now I am off to plan my menus!
Stay Crafty, my friends!
I used some older papers I had, and Kraft cardstock for the book. I had some 7Gypsies elastics that I used for binding and for closure of the book. This way, I can remove and add pages as needed. I haven't figured out what to title this yet, so the cover is still "blank". If you have any ideas, let me know!
I added an inner pocket. I was thinking that recipe cards could go in here as I plan the menu and shopping lists.
I printed up multiple pages, double sided, so that I have several weeks in the book. This is showing the back accordion style pocket. It is hard to tell, but I added a punched border in Kraft cardstock to the flap. Coupons go in here.
Now, this is a neat idea! I found these by accident at the craft store...super slim velcro closures just for scrapbooking projects! You have to get these, they are AWESOME!
Okey dokey, now I am off to plan my menus!
Stay Crafty, my friends!
Wednesday, July 13, 2011
There's No Place Like Home
I got the new Graphic 45 Magic of Oz papers and I love them! I was thinking that it would make a cool decoration for a bird house...sooooo...
This is the front. Yes, I know there is no hole for the birds...I have to add that...I just haven't figured out how or if I am going to do it...I added a Tim Holtz post "door knob" and Prima bling. I used Fiskars punches for the roof. I made the house with a template from Torie Jayne...you can get it here.
Here is the other side. Don't you just love this paper? I created a base for the house, and used my Tim Holtz Sizzix die for the fence.
The back of the house...I put flowers in the corners of the house behind the fence.
I decided that the roof needed to be a lid, to hold a mini album. I will show that in a minute.
Inside is "finished". The border on the bottom says "There's no place like home".
I found the cutest little tutorial for this mini here by Irit Shalom's Designs. Hers would have been 4x6", I needed it smaller, so mine is 4x4".
It opens...
And you can unfold it up and down. Then...
Two flaps open. I made pockets in the upper and lower corner, and punched simple tags for it.
Here is the back.
Thanks for looking, have a crafty day!
This is the front. Yes, I know there is no hole for the birds...I have to add that...I just haven't figured out how or if I am going to do it...I added a Tim Holtz post "door knob" and Prima bling. I used Fiskars punches for the roof. I made the house with a template from Torie Jayne...you can get it here.
Here is the other side. Don't you just love this paper? I created a base for the house, and used my Tim Holtz Sizzix die for the fence.
The back of the house...I put flowers in the corners of the house behind the fence.
I decided that the roof needed to be a lid, to hold a mini album. I will show that in a minute.
Inside is "finished". The border on the bottom says "There's no place like home".
I found the cutest little tutorial for this mini here by Irit Shalom's Designs. Hers would have been 4x6", I needed it smaller, so mine is 4x4".
It opens...
And you can unfold it up and down. Then...
Two flaps open. I made pockets in the upper and lower corner, and punched simple tags for it.
Here is the back.
Thanks for looking, have a crafty day!
Monday, July 11, 2011
July Counterfeit Kit
OK, here is my version of the July Counterfeit Kit that you can find here...They chose a kit that was done last year. It is really cute!
The papers are from DCWV (three different lines), Crate Paper and Cosmo Cricket (two lines).
Three of my papers are double sided, so this picture shows the back of those papers. More choices!
I added Creative Imaginations stickers, Jenni Bowlin Banner Stickers, flash cards from Pink Paislee, and a mini matchbox kit from 7 Gypsies. I have these little tags labels that I threw in, but I don't know where they are from, I have had them for a very long time.
I selected these embellishments for this kit. I made the crocheted doilies. The paper flowers are from one of my SplitCoastStamper birthday sisters. I found these butterfly charms at Michael's just the other day.
Well, there it is. Now to create.
Stay Crafty!
The papers are from DCWV (three different lines), Crate Paper and Cosmo Cricket (two lines).
Three of my papers are double sided, so this picture shows the back of those papers. More choices!
I added Creative Imaginations stickers, Jenni Bowlin Banner Stickers, flash cards from Pink Paislee, and a mini matchbox kit from 7 Gypsies. I have these little tags labels that I threw in, but I don't know where they are from, I have had them for a very long time.
I selected these embellishments for this kit. I made the crocheted doilies. The paper flowers are from one of my SplitCoastStamper birthday sisters. I found these butterfly charms at Michael's just the other day.
Well, there it is. Now to create.
Stay Crafty!
Friday, July 8, 2011
"No Two Pages Are Alike" Mini Album
First, meet Ace. My 7 year old dachshund that jumped right in front of the camera when I was trying to photograph this project for you. Isn't he cute???!!! He is a ham!
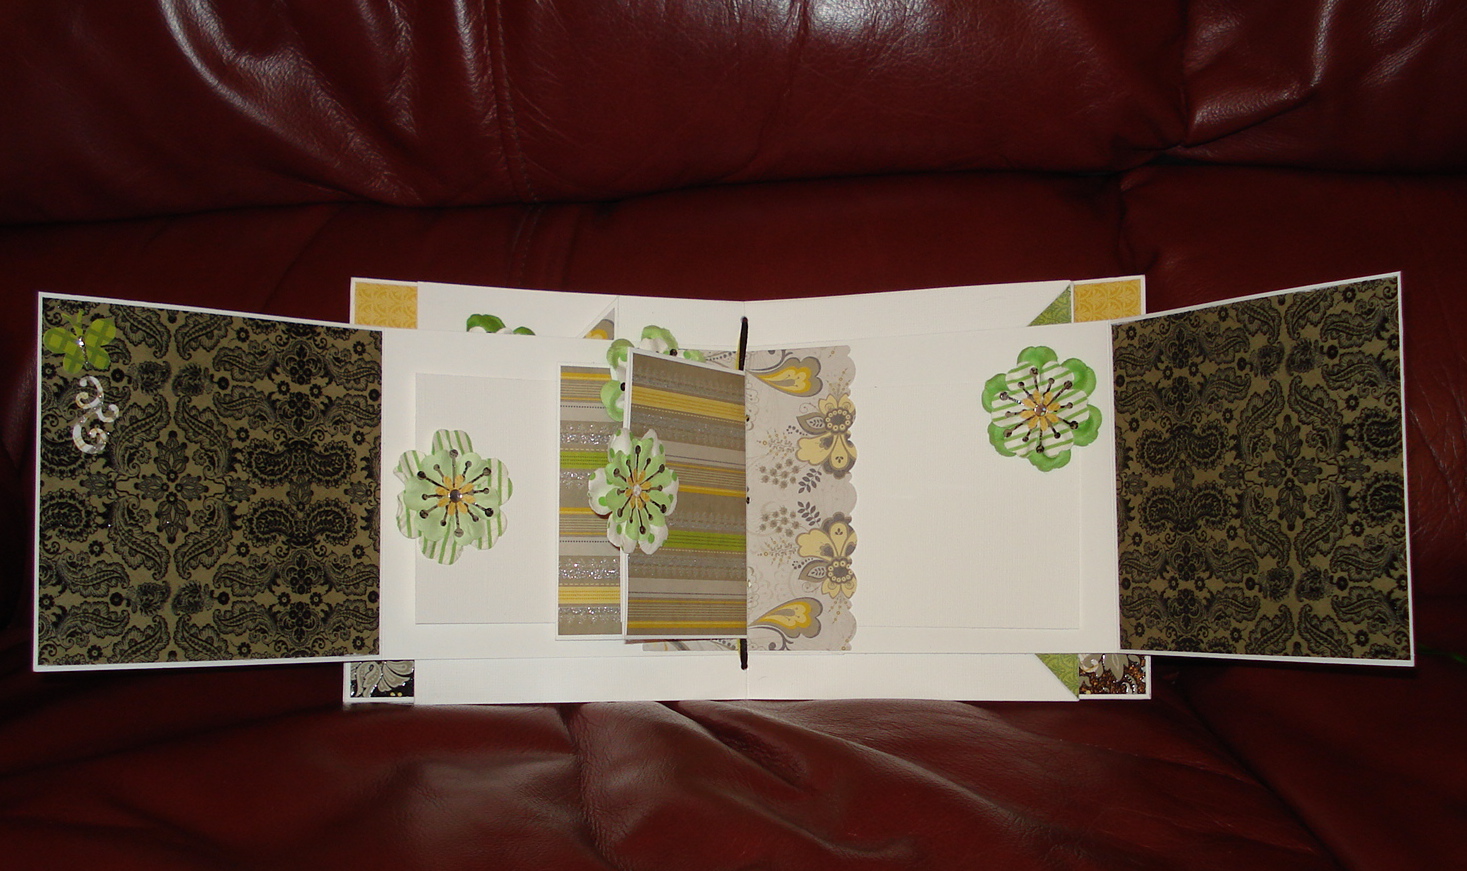
OK...I got this COOLER THAN COOL project from the Scrap Yard Chicks on You Tube...you can find the tutorial here. It uses cardstock and you create multiple pages with different pockets and flaps. I added a couple things, but the base book is theirs. Go check it out, you will love it!
I used DCWV papers, The Lemon Flower mat stack. I love the yellow/green/black combination!
There are multiple pockets...I made tags and layered Recollections flowers with paper punch shapes to create the tag pulls.
The innermost pages are smaller...
...the pages on either side of these smaller pages are fold outs. I added paper to create pockets for more tags.
This page is cool, you will learn how to create an envelope flap on this one! There is a tag inside.
The back page! Go check them out! They have awesome ideas!
Thanks for checking this out! Stay Crafty!
OK...I got this COOLER THAN COOL project from the Scrap Yard Chicks on You Tube...you can find the tutorial here. It uses cardstock and you create multiple pages with different pockets and flaps. I added a couple things, but the base book is theirs. Go check it out, you will love it!
I used DCWV papers, The Lemon Flower mat stack. I love the yellow/green/black combination!
There are multiple pockets...I made tags and layered Recollections flowers with paper punch shapes to create the tag pulls.
The innermost pages are smaller...
...the pages on either side of these smaller pages are fold outs. I added paper to create pockets for more tags.
This page is cool, you will learn how to create an envelope flap on this one! There is a tag inside.
The back page! Go check them out! They have awesome ideas!
Thanks for checking this out! Stay Crafty!
Wednesday, July 6, 2011
Tea File
To make this project I used 7Gypsies book covers, random double sided papers, a label punch and metal letters for the title.
I was inspired to make this when I saw all the different varieties of Tazo Tea!
I covered the inside of the covers and separated every two bags of tea with a sheet of patterned paper.
I glued a scrap of ribbon under the cover lining on both sides to hold it up so it will stand.
The binding was a simple accordion fold, scoring every inch to create a place to tuck the tea bags.
I will be working on a tutorial to follow!
I was inspired to make this when I saw all the different varieties of Tazo Tea!
I glued a scrap of ribbon under the cover lining on both sides to hold it up so it will stand.
The binding was a simple accordion fold, scoring every inch to create a place to tuck the tea bags.
I will be working on a tutorial to follow!
Friday, July 1, 2011
Another Explosion Album
For this album, I used the DCWV Celebrations paper stack! I thought it would make a cool birthday album. The closure is a simple ribbon bow, tied through eyelets. I did some other cool things with it, because I had some new ideas...I hope you all like it!
When you open the front panels you come to the album like my other one did.
It opens to the 18x18" spread, with the pockets in the corners. I cut out journaling spots to put into the pockets. You also get a second explosion album! Open the second ribbon tie...
...and the panels open to show two more pockets with larger tags, and the other explosion album!
This opens, and you have a large inner pocket with four corner pockets.
When you open the front panels you come to the album like my other one did.
It opens to the 18x18" spread, with the pockets in the corners. I cut out journaling spots to put into the pockets. You also get a second explosion album! Open the second ribbon tie...
...and the panels open to show two more pockets with larger tags, and the other explosion album!
This opens, and you have a large inner pocket with four corner pockets.
The corner pockets each have a folded tag for more pictures. I am working on a tutorial, so stay tuned!
Stay Crafty, My Friends!
Wednesday, June 29, 2011
A Creative Birthday Card!
I just love the $1 stamps by Imaginisce! Along with the Cricut, they helped me make this quick and easy card for a family members birthday! And for only $1 these stamps are so hard to resist!
Monday, June 27, 2011
Fireworks!
I was just messing around with a Crystal Light drink container that I had saved, some scrap papers and stickers, and this spray I found on sale at Michael's. I thought it was a cute little 4th of July centerpiece, and it could be used to give as a gift...filled with candies and goodies!
Stay Crafty!
Stay Crafty!
Subscribe to:
Posts (Atom)