You have to see this...it's so amazing, I just love how this one turned out. Please come on over and see this HUGE album!
Stay crafty, my friends!

Stay crafty, my friends!
This is Christmas in July! These are my first projects for my July paper pics for the #paperstashsmash project and I can’t wait to share them with you. In the video description you will find the link to Amy’s notebook tutorial and all of the links to the YouTube channels for all of the designers in this collab. I hope you like what I made. Have fun, and stay crafty! Notepad and Pen Holder tutorial The main channel links to the #paperstashsmash collaborators are below as well: Amy: @papermoonjournals Ang @lunnacreates4101 Bitty Penny: https://www.youtube.com/@BittyPenny Candy- @Apieceofme62 Carly Rose: @madebycarlyrose Heather: @coveredbygracecreations9586 Karolina: @KarolinasKrafts Letty: @PartyPlannerPaperie Michelle: @EastBayStampChickMichelleHale Michelle: {this is me!😎} @michelleallenacreativeoper6112 Host: Debbie- @Project39MiniAlbums
For the month of June I worked with Simple Stories, Simple Vintage Woodlands, and it is FABULOUS!
This is the perfect paper for a vacation, for anything really. The colors are amazing and the images are adorable. The FOX is just too cute!
The album is 8 x 10, has a 2 1/2" spine and 4 loaded pages.
Here are the videos I have using this collection. There is a lot of information in the video descriptions, including links to go get the items I used, and even a cut guide for the chipboard and cardstock I used in making the album.
Please do watch the walk through video, as I have information not included in the tutorial. Sometimes I find things "after the fact".
Thanks for watching, and supporting myself and Country Craft Creations! Stay crafty, my friends!
Country Craft Creations has an amazing store, so please visit the store . We have an amazing Facebook Community as well, so please check it out as well.
🌺My social sites:
Instagram, @michellescreativeoperation
Facebook, https://www.facebook.com/mycreativeoperation
Pinterest, https://www.pinterest.com/jamallen/
Blog, http://creativeoperation.blogspot.com
DISCLOSURE: Some links in the description of this video contain affiliate links, which means I may receive a small commission on purchases made through the use of my referral code and/or affiliate links.
I'm so sorry. I am trying so hard to keep up on everything and lately it seems like my brain is scattered in 12 different directions and I don't know what I've done, or what I'm doing. I need to do an update, so here it goes. Thanks for your patience and sticking with me. I'm sure you all have already seen these things...I know blogs are kinda the last thing people look at these days...but I do want to keep this going. I hope you do too.
I'll list several videos that I have done...I do hope if you haven't seen them that you have some time check them out.
For these videos I will share some extra fun projects that I have done with my craft room and for the #paperstashsmash collaboration I am in. I made a ton of fun things and got involved in a fun project making cards for Veterans.
Tomorrow I'll do a round up of the projects I have done for the Country Craft Creations design team I'm on. I do hope you stop by and check them out.
Thanks for watching, and I will see you soon. Stay crafty, my friends!
.
This is a design team project for Country Craft Creations using Photo Play's Travel Junque paper collection. It is ideal for your vacation memories.
It is 8 1/2 x 6 1/2 with a 2 1/2" spine, has 4 loaded pages and two accordion envelopes!
There is a ton of information in the video's description box so don't forget to check it out. It also includes a cut guide for the chipboard and the cardstock used in making the project.
Thanks for watching and have fun making this awesome album!

This Memorial Day, we pause to remember and honor the brave men and women who have served and sacrificed for our country. 💙❤️
As a thank you to our community, we’re also offering a 20% off sale to help you stock up on the supplies you love.
🛍️ Sale Details:
📅 May 24 at 12:01 AM MST through May 26 at 11:59 PM MST
✨ 20% off most items sitewide
📌 Note: Sale pricing is not retroactive on previous purchases.
📦 Reminder: Shipping may be delayed due to the holiday.
📌 Exclusions:
• In-person & virtual retreats
• Access Passes
• Kits & Classes
• Seasons of Creativity subscription
• Cannot be combined with other coupons or reward codes
Thank you for being part of our crafting family—and for helping us remember what matters most this Memorial Day.
I'm sorry, things have been busy...
I have a new design team package and did a video haul, you can see it here.
I am using an amazing collection, Photo Play's "Travel Junque" and it is fantastic. It's perfect for any vacation adventures you want to document.
In the package I also received the new Country Craft Creations Card Fronts featuring the Country Bunny collection and it is so very sweet!
I made a Do-Si-Do notebook/journal with it, and have a tutorial that is quick and easy...another way to use the card fronts!
Have you seen the NEW Country Craft Creations Card Fronts??? I received the Country Bunny Card Fronts in my latest design team package and I thought of a different way to use them today. I really hope you like it. It doesn't take a lot of cardstock, I did use 4 card fronts to make two notebooks, and I added some Country Bunny Paper, a Country Craft Creations exclusive paper, to add some pockets. I used the pamphlet stitch in this project and will show you how to do that. All measurements are in the video as there really aren't many. Have fun!
My design team haul video is here,  • Country Craft Creations Design Team Haul, ...
Items from Country Craft Creations I used are listed below.
Country Craft Creations Country Bunny Paper and Card Fronts
https://www.countrycraftcreations.com...
Artisan Cardstock, I used Antique Grey and Summer Ivory,
https://www.countrycraftcreations.com...
Seam Binding, I used light blue and Fig Beige, https://www.countrycraftcreations.com...
Pom Pom Trim, I used white, https://www.countrycraftcreations.com...
The tag punch I used, https://www.countrycraftcreations.com...
While you are at the store, don't forget your adhesives, cardstock, and chipboard...these are what I love to use:
Art Glitter Glue, https://www.countrycraftcreations.com...
Scor Tape, https://www.countrycraftcreations.com...
Artisan Cardstock, https://www.countrycraftcreations.com...
Heavy Weight Chipboard: https://www.countrycraftcreations.com...
Light Weight Chipboard: https://www.countrycraftcreations.com...
Country Craft Creations is an amazing online community. Visit the store at https://www.countrycraftcreations.com... . We have an amazing Facebook Community as well, so please check it out...
• Country Craft Creations Design Team Haul, ...
Items from Country Craft Creations I used are listed below.
Country Craft Creations Country Bunny Paper and Card Fronts
https://www.countrycraftcreations.com...
Artisan Cardstock, I used Antique Grey and Summer Ivory,
https://www.countrycraftcreations.com...
Seam Binding, I used light blue and Fig Beige, https://www.countrycraftcreations.com...
Pom Pom Trim, I used white, https://www.countrycraftcreations.com...
The tag punch I used, https://www.countrycraftcreations.com...
While you are at the store, don't forget your adhesives, cardstock, and chipboard...these are what I love to use:
Art Glitter Glue, https://www.countrycraftcreations.com...
Scor Tape, https://www.countrycraftcreations.com...
Artisan Cardstock, https://www.countrycraftcreations.com...
Heavy Weight Chipboard: https://www.countrycraftcreations.com...
Light Weight Chipboard: https://www.countrycraftcreations.com...
Country Craft Creations is an amazing online community. Visit the store at https://www.countrycraftcreations.com... . We have an amazing Facebook Community as well, so please check it out...  / ht5lgcknpxpdksfu
🌺My social sites:
Instagram, @michellescreativeoperation
Facebook, / mycreativeoperation
Pinterest,
/ ht5lgcknpxpdksfu
🌺My social sites:
Instagram, @michellescreativeoperation
Facebook, / mycreativeoperation
Pinterest,  / jamallen
Blog, http://creativeoperation.blogspot.com
Here is my referral link, use it and I’ll earn a small commission that I will use for crafting supplies so that I can share more tutorials! https://www.countrycraftcreations.com...
DISCLOSURE: Some links above contain affiliate links, which means I may receive a small commission on purchases made through the use of my referral code and/or affiliate links.
/ jamallen
Blog, http://creativeoperation.blogspot.com
Here is my referral link, use it and I’ll earn a small commission that I will use for crafting supplies so that I can share more tutorials! https://www.countrycraftcreations.com...
DISCLOSURE: Some links above contain affiliate links, which means I may receive a small commission on purchases made through the use of my referral code and/or affiliate links.
Hey everyone! I have a haul video of the products I will be working with for the upcoming June 2025 Seasons of Creativity Subscription box from and you are going to LOVE IT! ❤️And the best news... ***THERE ARE BOXES AVAILABLE***❤️ With every box you get: ⭐️A curated box of supplies, enough for 4-5 large projects, including a "Grab and Go" project that is in a reusable zippered pouch ⭐️A fun new tool (or two) is included in every box ⭐️Entrance into an exclusive Facebook Group where you get all the info ⭐️A monthly newsletter filled with fun articles and bonus projects ⭐️Exclusive video tutorials ⭐️Cut Guides complete with photographs of the projects In the last box, Tamra did the first 6 months of a calendar project. She will finish the calendar with this box. If you didn't get the last box, but do subscribe for this next box/future boxes, you will receive the calendar and access to that previous tutorial so you can do the entire calendar. How cool is that??? 🌸For this June 2025 box, the designers are: Tamera, owner of CCC @countrycraftcreations Michelle Allen A Creative Operation: @michelleallenacreativeoper6112 Jenn DuBell Designs: @JennDuBellDesigns Nicole Lynn Made From Scraps: @MadeFromScrap Visit the Country Craft Creations store.
We have an amazing Facebook Community as well, so please check it out. 🌺My social sites: Instagram, @michellescreativeoperation Facebook, https://www.facebook.com/mycreativeoperation Pinterest, https://www.pinterest.com/jamallen/ Blog, http://creativeoperation.blogspot.com This video was made with iMovie for iPhone and music used was provided by the iMovie app. Canva used for thumbnail, dividers and end screen creation.


Country Craft Creations is an amazing online community. Visit the store. We have an amazing Facebook Community as well, so please check it out as well.
Use my referral link to start an account and I’ll earn points for crafting supplies so that I can share more tutorials!
🌺My social sites:
DISCLOSURE: Some links in the description of this video contain affiliate links, which means I may receive a small commission on purchases made through the use of my referral code and/or affiliate links.
Stay crafty, my friends!!!
While you are at the store, don't forget your adhesives, cardstock, and chipboard...these are what I love to use:
Art Glitter Glue
Scor Tape
Artisan Cardstock
Heavy Weight Chipboard
Light Weight Chipboard
Country Craft Creations is an amazing online community. Visit the store at https://www.countrycraftcreations.com/?ref=MICHELLEALLEN . We have an amazing Facebook Community as well, so please check it out... https://www.facebook.com/share/g/Ht5LGCknpXpDksFU/
🌺My social sites:
Instagram, @michellescreativeoperation
Facebook, https://www.facebook.com/mycreativeoperation
Pinterest, https://www.pinterest.com/jamallen/
Blog, http://creativeoperation.blogspot.com
DISCLOSURE: Some links in the description of this video contain affiliate links, which means I may receive a small commission on purchases made through the use of my referral code and/or affiliate links.
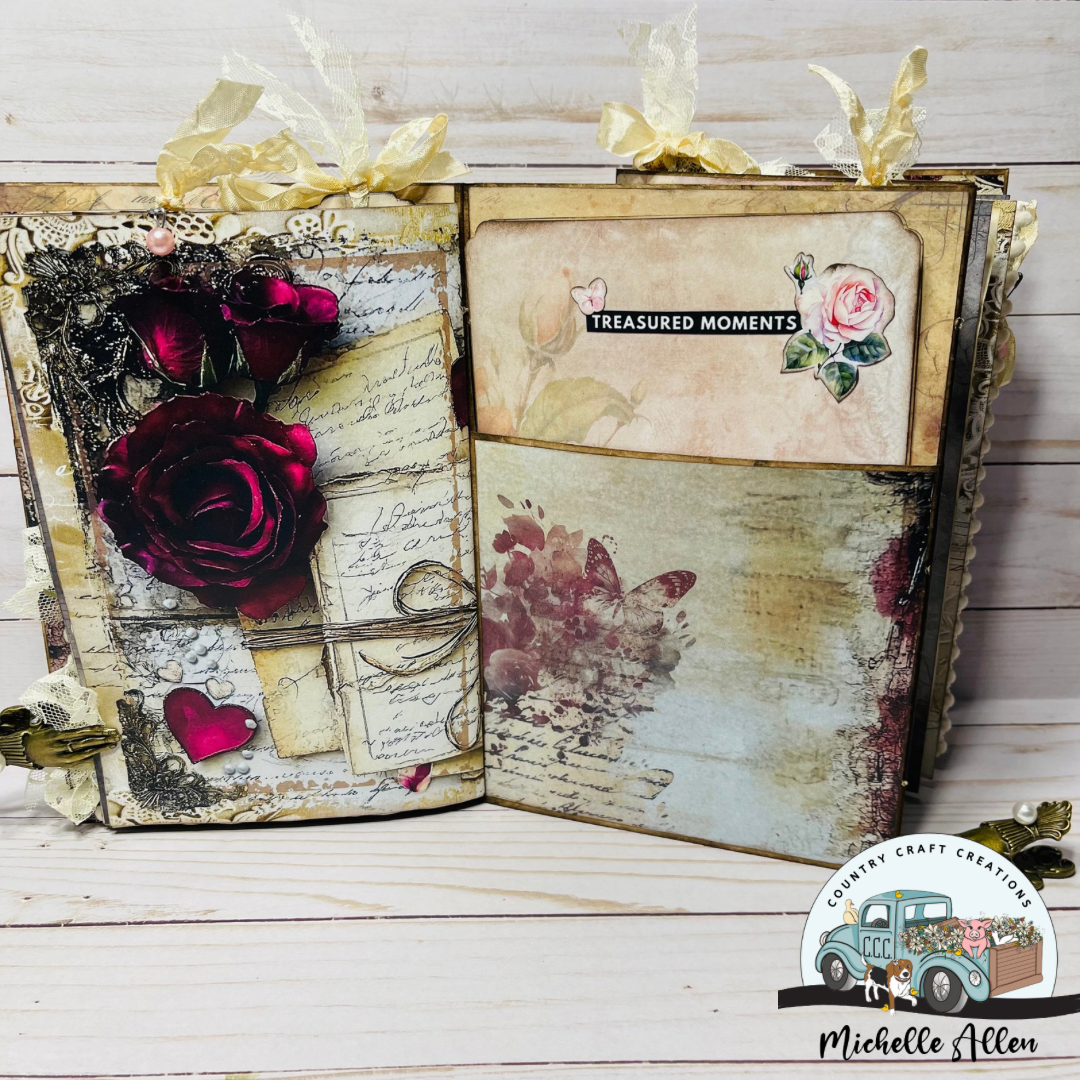
Today I have a video share for you. I made this gorgeous junk journal with a template by Bohemian Crafting (on YouTube), it turned out amazing. Papers are printable images are by Daisy Journal Co. that I've had for a while, and finally used! I'm so happy with how this turned out. Let me know what you think. Lots of info and details in the video's description. Have a fabulous Saturday!
Country Craft Creations Design Team, Petals and Letters Junk Journal Tutorial & Walk Through
https://youtu.be/WvIWgrI8en8 In this video I will show you how to make a cardstock version of this base for you in the event you don't have these bags. I used the Parchment Artisan Cardstock from Country Craft Creations, for this tutorial. All measurements are in the video.


Art Glitter Glue
Scor Tape
Artisan Cardstock
Heavy Weight Chipboard
Light Weight Chipboard
Use my referral link to start an account and I’ll earn points for crafting supplies so that I can share more tutorials!
Country Craft Creations is an amazing online community. Please visit the store.
We have an amazing Facebook Community as well, so please check it out.
🌺My social sites:
Instagram, @michellescreativeoperation
Facebook, https://www.facebook.com/mycreativeoperation
Pinterest, https://www.pinterest.com/jamallen/
Blog, http://creativeoperation.blogspot.com
DISCLOSURE: Some links in the description of this blog post and in the video contain affiliate links, which means I may receive a small commission on purchases made through the use of my referral code and/or affiliate links.


