WELCOME!!

We are so glad you are here! We love making and sharing our projects, and we are excited to have you visiting our site. Please leave us a comment and let us know what you think!

Jackie and Michelle

Followers

Saturday, March 28, 2020

What to do with your leftover paper packaging

Good afternoon!  I have come by today to share with you my ideas for using up leftover paper packaging.
 I used this kit by Authentique some time ago to create an album.  The first in that tutorial series can be found here.    I had the leftover packaging, and I loved the images, so I kept it, knowing that I would use it in an additional project.
I also had these stickers leftover.
 I grabbed my box of leftovers from Artisan Cardstock (from Country Craft Creations) and started creating.  
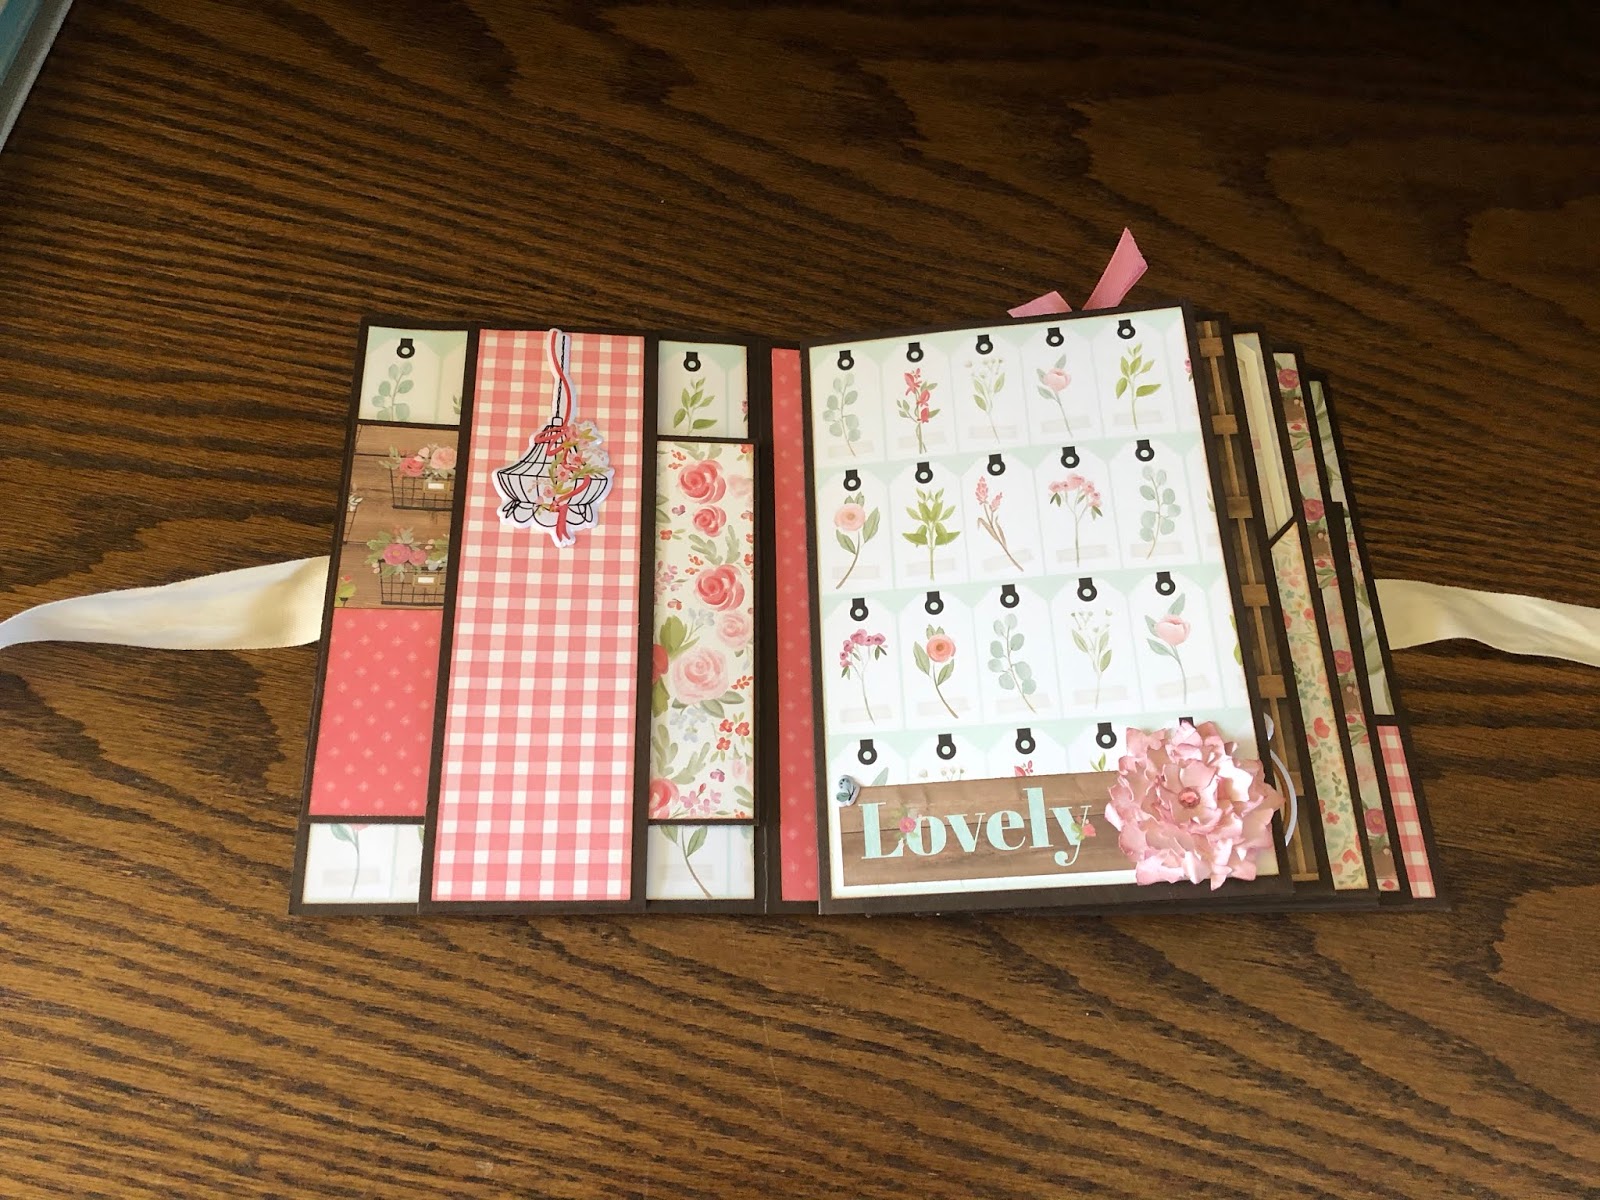
These are just a few of the things I did with this paper.  On YouTube I have a short video ( > 6 minutes) in which I talk about how I did these, and other things that I made.  

I hope you like it and I hope you have a crafty day!!!

Michelle

Monday, March 23, 2020

Farmhouse Market Stacked Page Mini Album and Bin Tutorials

HI!  I hope you all are doing well!  This is a very strange time and I just hope that you all are safe, well, and that this will be over soon.
Today, I am sharing my 2nd design team project for Country Craft Creations using the Carta Bella paper collection "Farmhouse Market".  It is a beautiful line of papers and I had a lot of fun designing this album.  I also used Artisan Cardstock from Country Craft Creations.  The fun part is that it only takes 3 sheets of cardstock!

 I did use almost a full 6x6 pad of patterned paper along with assorted embellishments that I got in the design team package.

 The album was made to go into the bin you see in the first picture.  I have a tutorial for that here on my YouTube Channel. 
Here are the cutting guides for this project.


Come on over to the YouTube Channel to see this mini album tutorial.  I think you will love how easy it is to put together!  I also share a few ideas a tricks to use for this and other album you may want to make.

Have fun, take care, and stay crafty!
Michelle

Tuesday, March 3, 2020

Purebred Folio Tutorial

Hello, and good morning.  I have the tutorial available for my Purebred Folio available on YouTube today!  This is my 3rd design team project for Country Craft Creations.
 I am using Authentique's "Purebred" paper collection and you will LOVE IT!  It is sooooooo pretty!
 This is a fun folio with a lot of space to put your pictures of your beloved pets.  
 It includes waterfall pocket features and an expandable envelope among other fun interactions.  
It also features a few new rethinkings  (is that a word?) of closures that you won't want to miss.

Head on over to YouTube for the tutorial here.

Head on over to Country Craft Creations for your supplies here.  

Below is the Cutting Guide in pictures, and following is a list of the pieces/supplies needed.


Folio Base Pieces:
A  1 at 9 x 8 1/2
B  1 at 8 1/4 x 8 1/2
C  1 at 6 1/2 x 8 1/2

Folio Flaps (Added on):
2 at 7 x 8 1/4

Horizontal Pockets:  
2 at 3 x 7 1/4

Vertical Pockets:
2 at 3 x 9 1/2

Midsection:
  Belly Band  1 at 2 x 7 1/2
Top and Bottom Flaps 2 at 5 x 6 1/4

Water Fall Pockets:
Pages 6 at 9 x 7 1/2
Tags 6 at 4 1/4 x 6 1/4

Accordion Pages:
2 at 6 x 12

Envelope:
A  1 at 11 1/4 x 8
B  1 at 3 1/2 x 8
Envelope Sides 2 at 3 x 5 3/8

Notes:


On the blog there will be a cutting guide to aid in the cutting of the card stock.  I used a total of 13 pieces of card stock, 7 in Grey and 6 in Kraft.  I used approximately 13 full sheets of 12 x 12 patterned paper (which included 3 of the Authentique Spectrum papers).  The cut parts are not included in the paper count.  I added more Kraft and Grey card stock for mats on the outer covers, spines, and for various cut aparts (not included in the total card stock count.)  II also used 3 large magnets and 14 lengths of seam binding (12” in length each).  If you only use two strands to do the folio closure (I used 6, 3 on each side), then the count would be 10 lengths.  I give this information to the best of my ability, and tried to keep track of the amount of supplies used.  If you have questions please let me know.  


Thanks for stopping by and have a crafty day!
Michelle