If you all aren't tired of these, here are my February and March planner pages for your viewing pleasure.
I still love my Arc planner, and use it every day.
This wasn't a very good page, but that's what happens when you are in the hospital. :(
This page is better…I liked it a lot.
My dachshund, Ace, wanted to help...
Here he is, ready for his close up.
I loved this page, I loved the October Afternoon line of 9 to 5! It worked very well for my planner!
I have been doing a lot of sorting of things, and ran across these that I had in my stash, so used them. It just felt right.
This page was a hodgepodge of weirdness. I put the Llama sticky note on it, and added the "I'm a Llama not a Narwahl" because of that commercial. I can't get that song out of my head. I guess I was trying to do that.
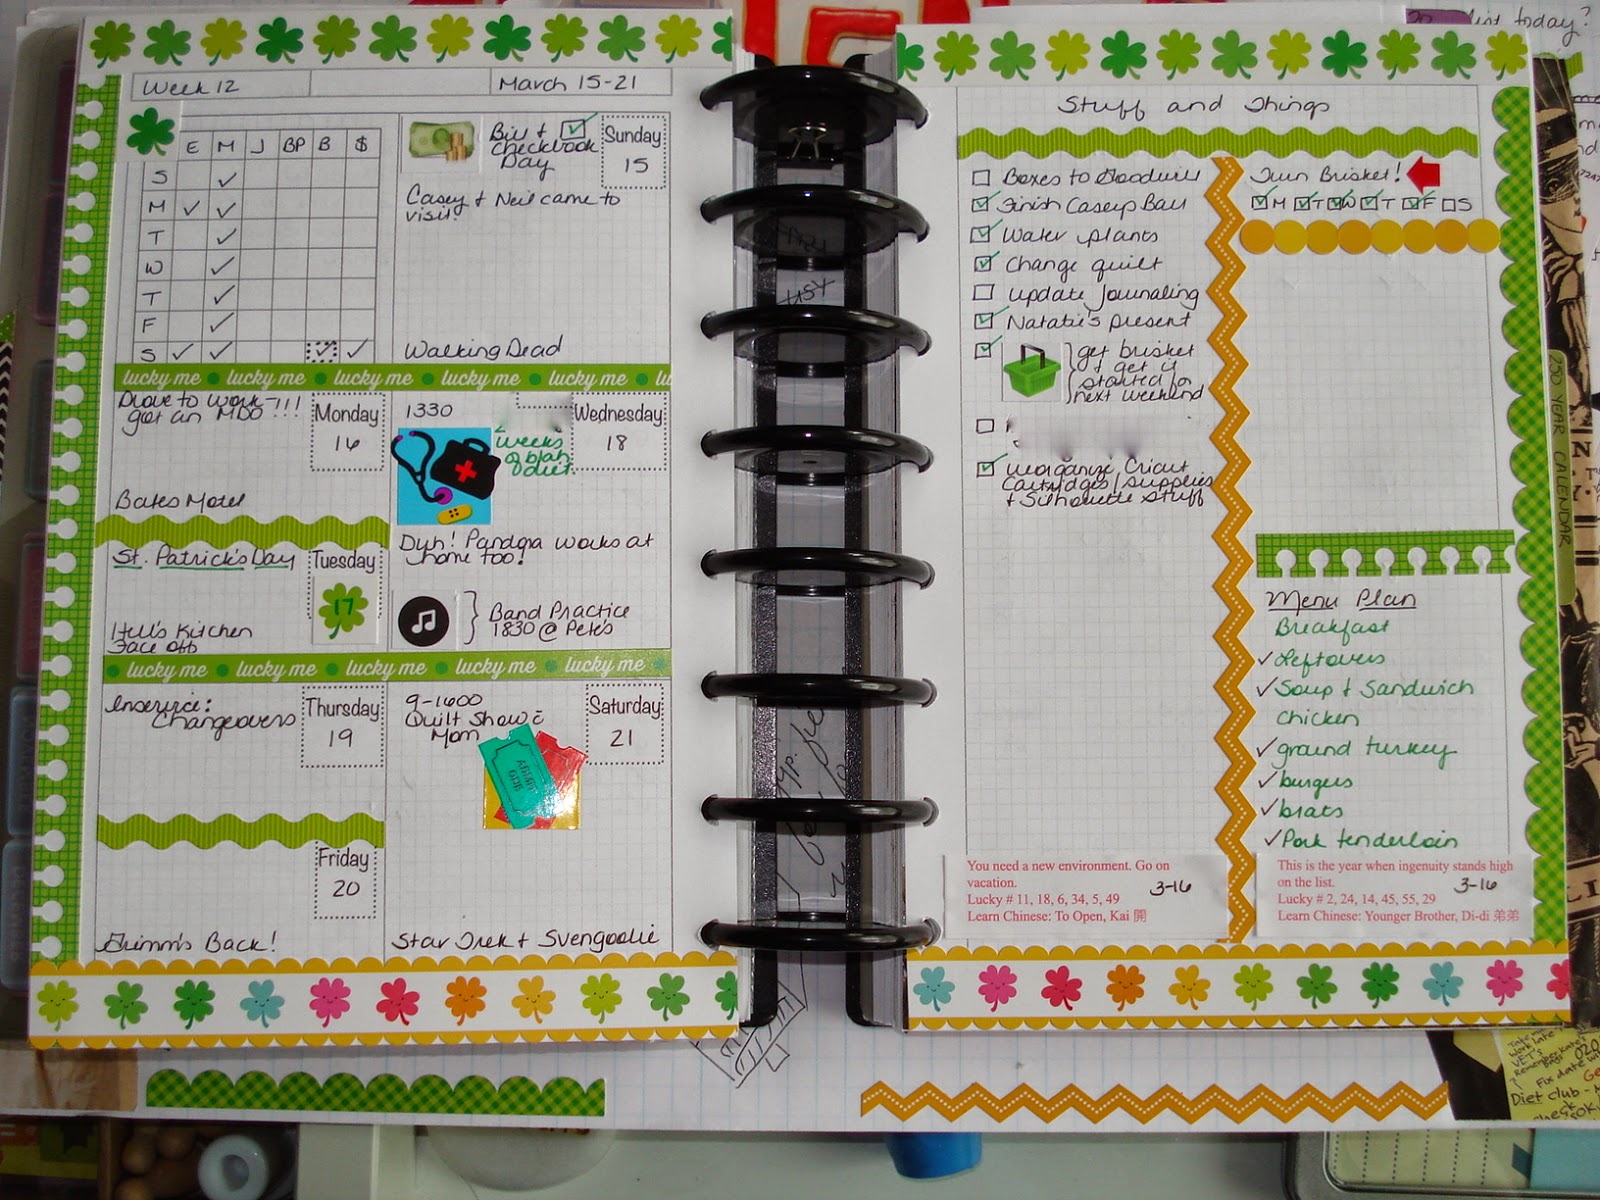
Decorated for St. Paddy's day. I had to do it. I had a checklist on the right page for turning my brisket, that I was corning myself. The unfortunate part is I totally spaced out and didn't buy it in time, so we ate it on Saturday after St. Patrick's day. It was DELICIOUS!
These old Mrs. Grossman's stickers were in my stash, and I felt like using them. I made the Treble Clef sticker on my computer, imported it into my Silhouette, and made the stickers with my sticker paper. I also made the gnomes. Can you see them?
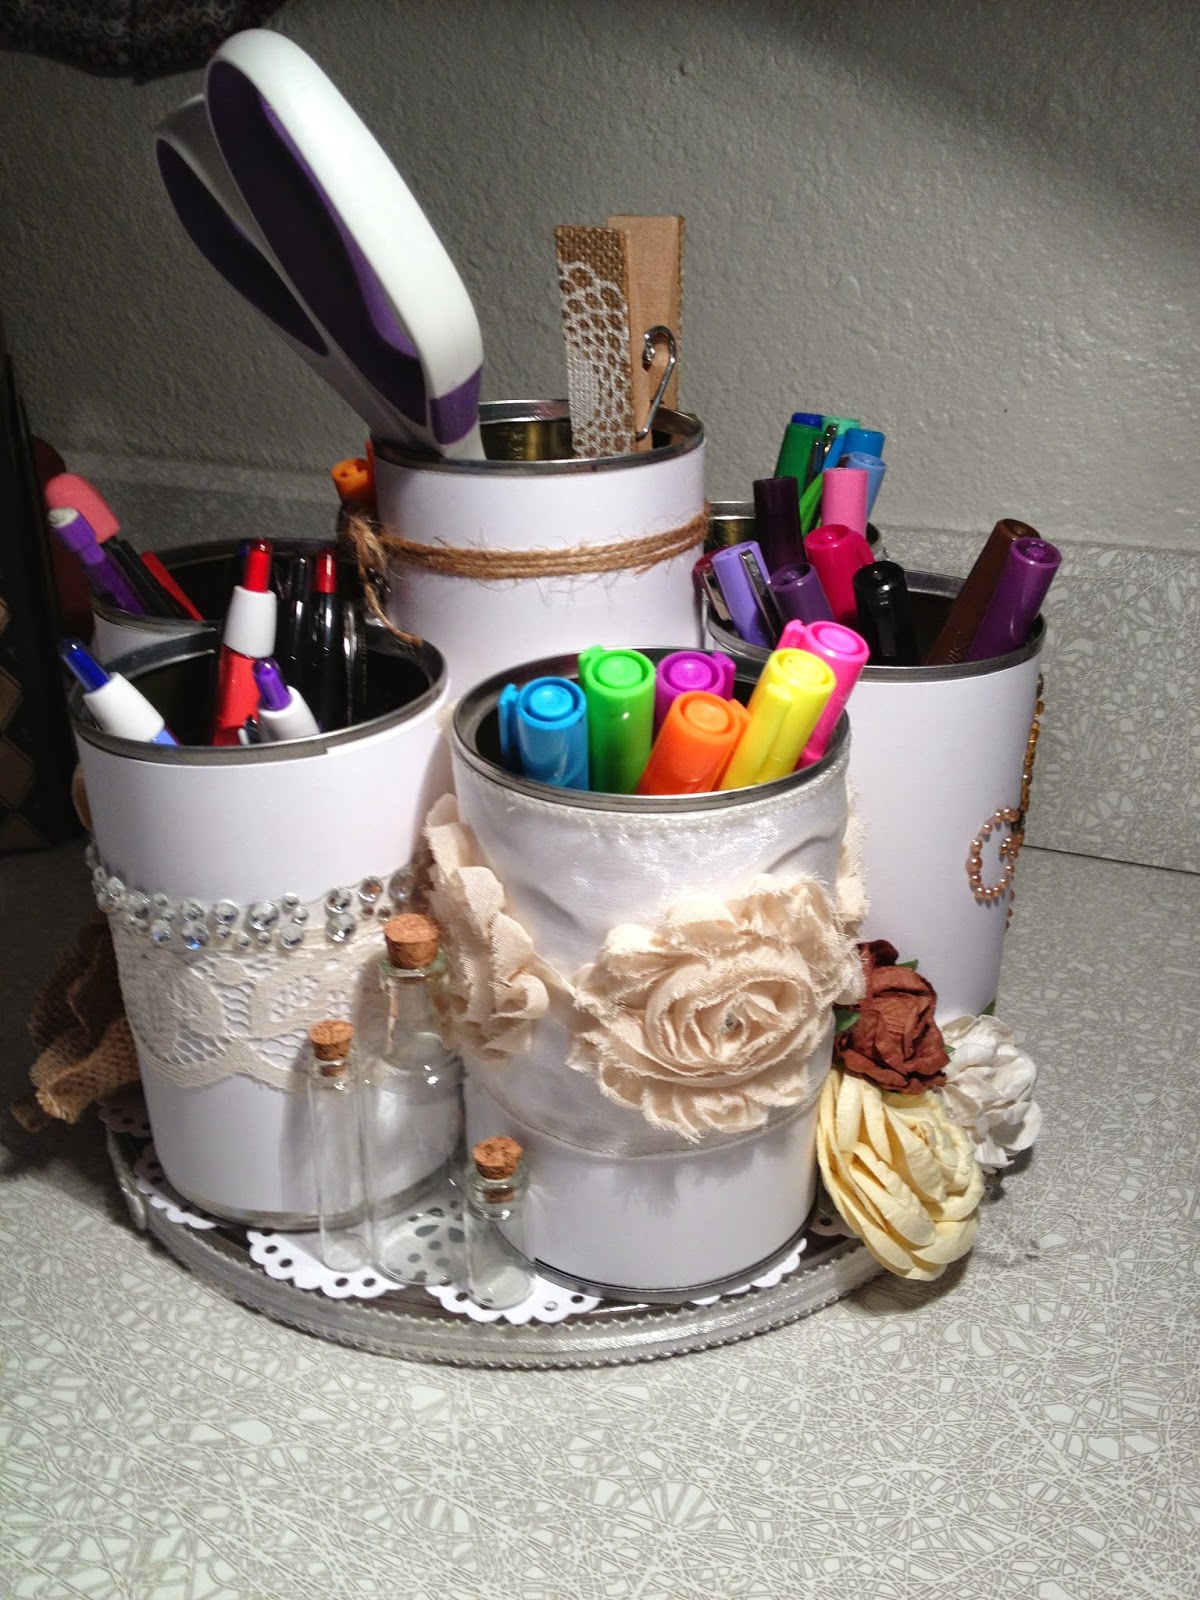
Stay organized, my friends!