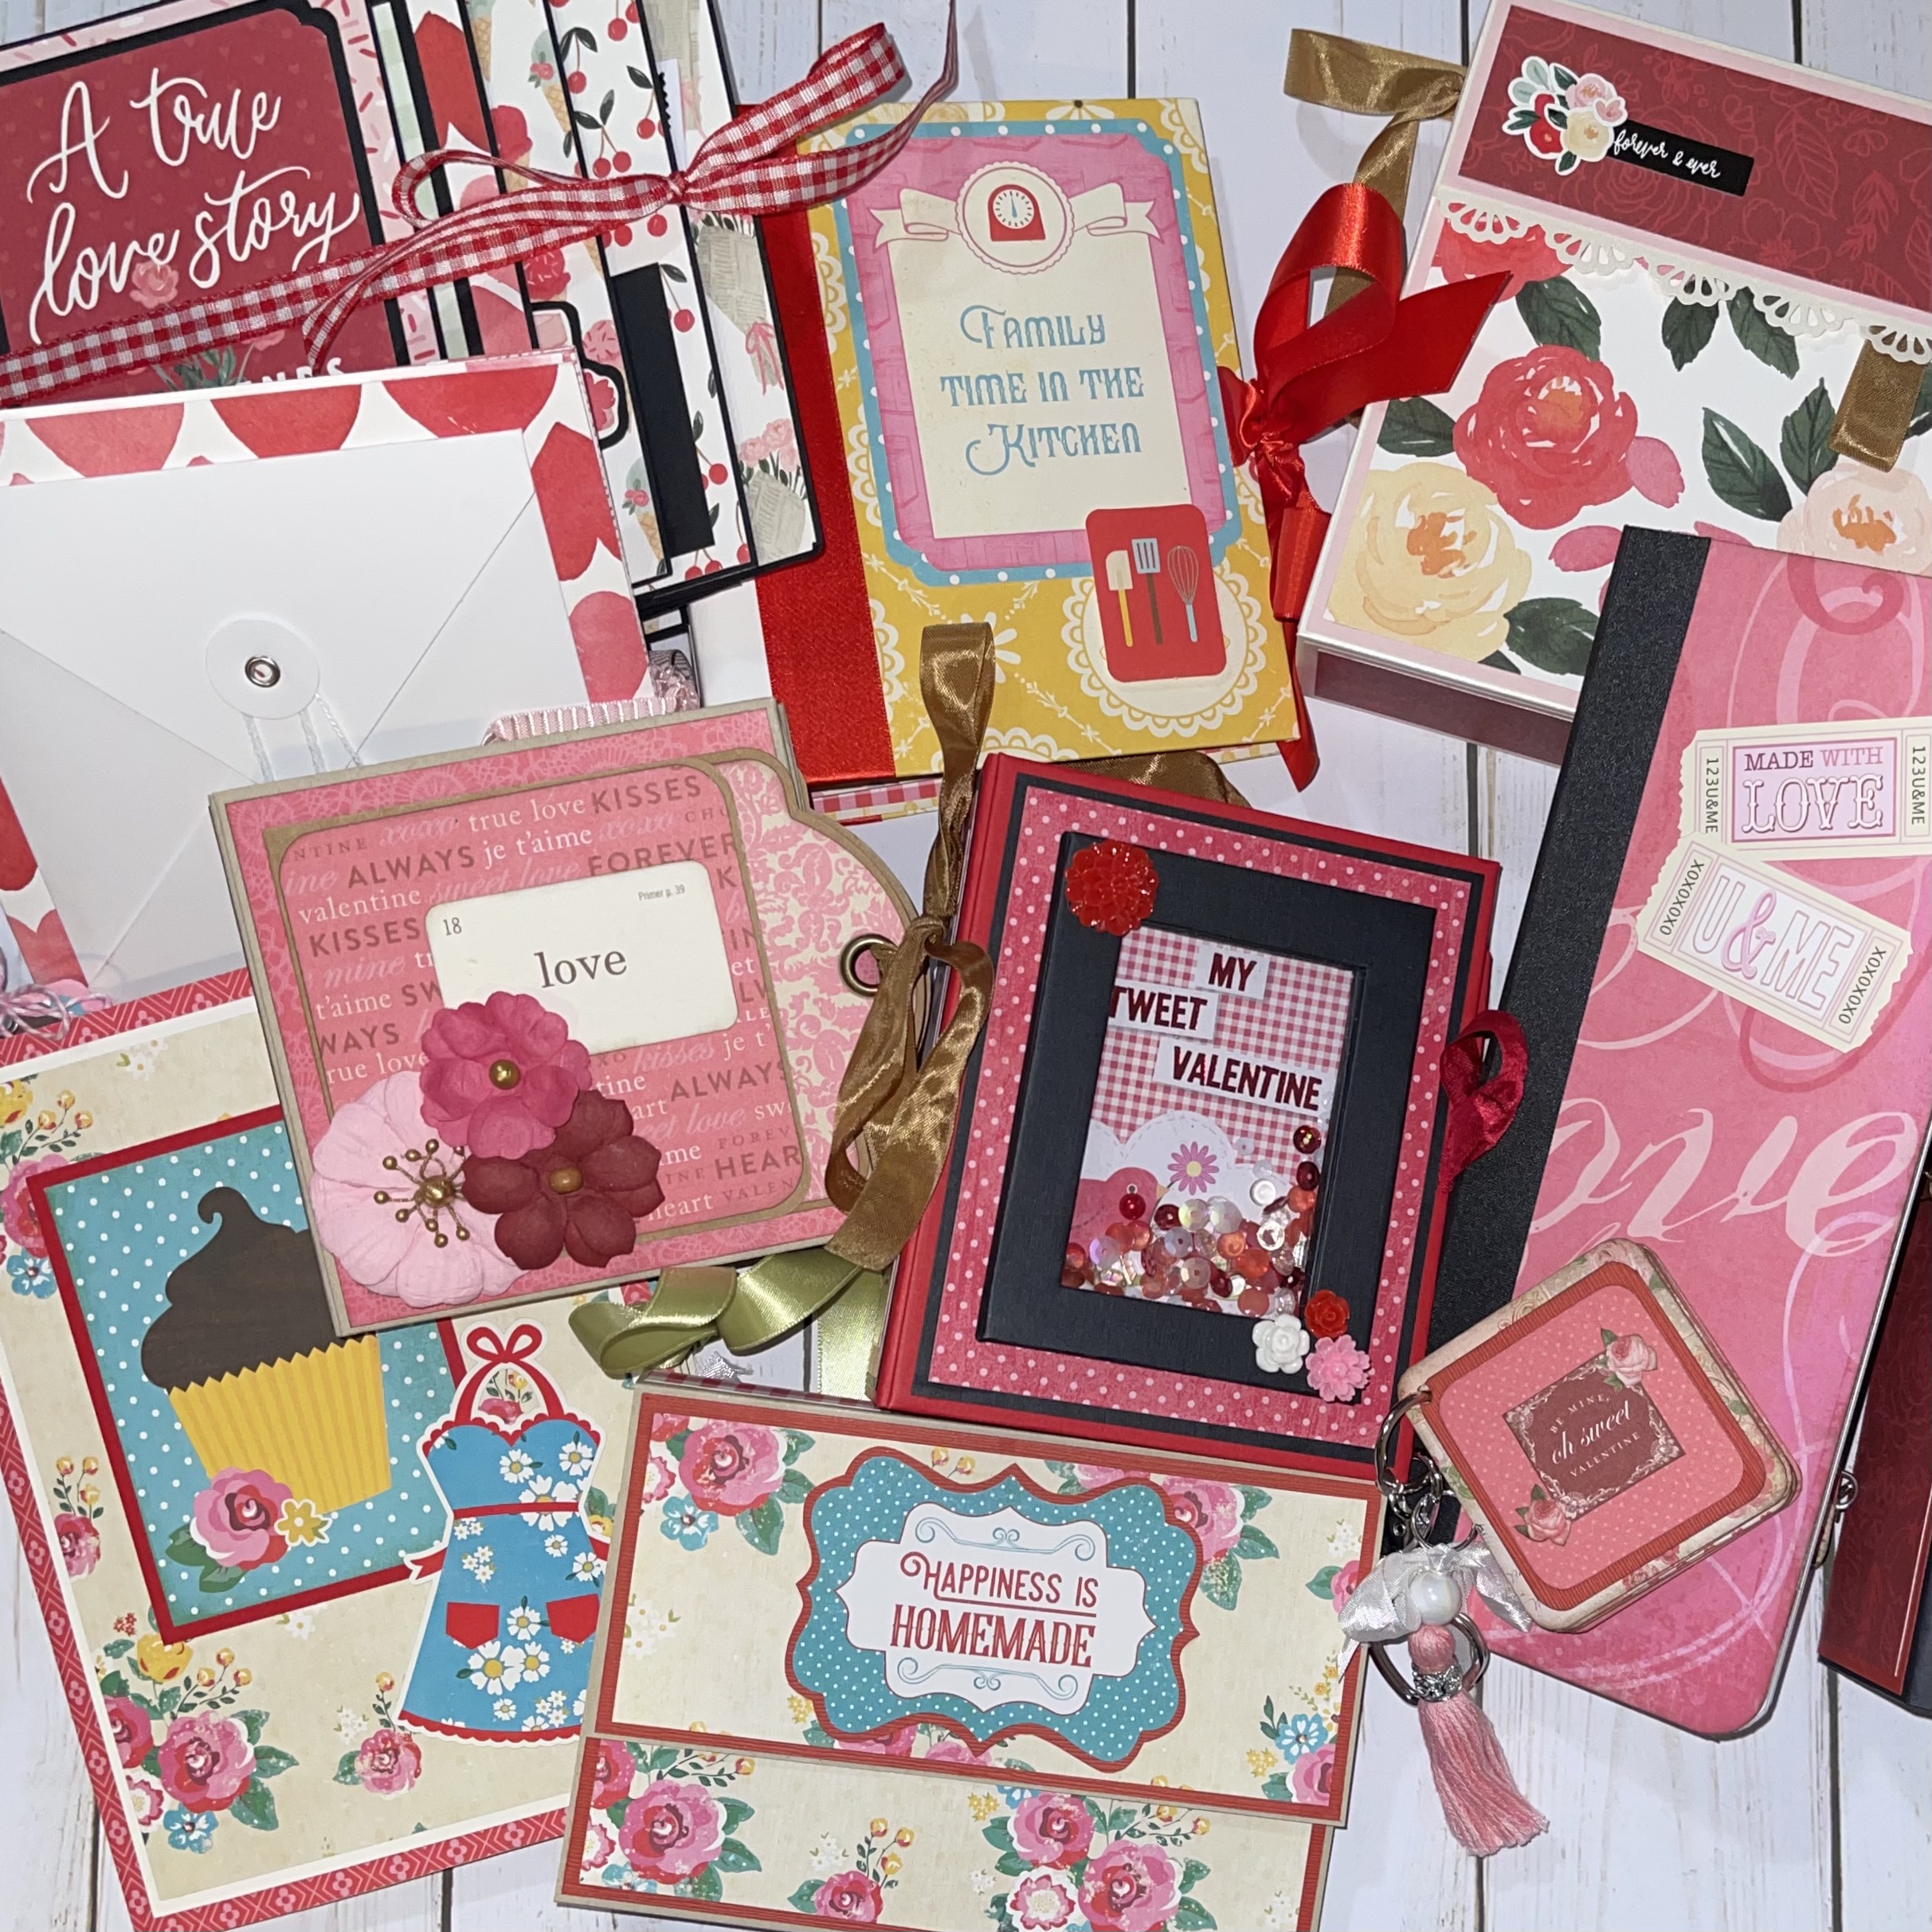
We are so glad you are here! We love making and sharing our projects, and we are excited to have you visiting our site. Please leave us a comment and let us know what you think!
Here it is!!! I am so excited about this tutorial and you will be too!
Thanks so much for all of your support and for watching my tutorial.
Here's some information for you:
Here's the package haul video in case you want to go back and
check out the items I received.
Here's the walk through of my project so you can see what
you are going to be making.
This is the cut guide for my project, for all three boxes.
CUT GUIDE:
Navy Blue (three sheets total)
Box, 3 - 12 x 12
Baby Blue (approximately 9 sheets total)
Lid, 3 - 8 3/4 x 8 3/4
Accordion fold outs for pockets, 6 - 10 1/2 x 3 3/4
Accordion booklets in the center of the box:
3 - 8 x 3 3/4
27 - 3 3/4 x 3 3/4
White Artisan 65 lb for photo mats, one sheet
The entire selection of Echo Park, “Baby on Board, It’s a Boy!” can be found here
With the package I received 2 each of every paper, including the coordinating cardstock, a page of stickers, The Frames and Tags pack and the enamel dots.
Seam Binding, 2 yards each of Golden Rod and Nurust
Burlap Jute Twine, 2 yards of Navy
Tonic Studios Pearlescent Cardstock, Navy Dazzle
I also received two sheets of heavy weight chipboard (see link below)
And don't forget your adhesives, cardstock, and chipboard...these are what I love to use:
Art Glitter Glue
Scor Tape
Artisan Cardstock
Heavy Weight Chipboard
Light Weight Chipboard
Use my referral link to start an account and I’ll earn points for crafting supplies so that I can share more tutorials!
DISCLOSURE: Some links in the description of this video contain affiliate links, which means I may receive a small commission on purchases made through the use of my referral code and/or affiliate links.
I came up with a cute project you will love. It's an album, a decor piece, and a memorabilia holder all in one! The paper told me to make "wooden blocks" and this is what I came up with! The paper is gorgeous and bright and so fun. I hope you enjoy the video. The tutorial will be up soon!
I have all of the supplies I received and more listed below!
Thanks so much for supporting me and Country Craft Creations. I will see you soon!
Stay Crafty, My Friends!
The entire selection of Echo Park, “Baby on Board, It’s a Boy!” can be found here
With the package I received 2 each of every paper, including the coordinating cardstock, a page of stickers, The Frames and Tags pack and the enamel dots.
Seam Binding, 2 yards each of Golden Rod and Nurust
Burlap Jute Twine, 2 yards of Navy
Tonic Studios Pearlescent Cardstock, Navy Dazzle
I also received two sheets of heavy weight chipboard (see link below)
And don't forget your adhesives, cardstock, and chipboard...these are what I love to use:
Art Glitter Glue
Scor Tape
Artisan Cardstock
Heavy Weight Chipboard
Light Weight Chipboard
Use my referral link to start an account and I’ll earn points for crafting supplies so that I can share more tutorials!
DISCLOSURE: Some links in the description of this video contain affiliate links, which means I may receive a small commission on purchases made through the use of my referral code and/or affiliate links.
I received my Country Craft Creations Design Team Package and you have to see this collection. Echo Park's "Baby on Board, It's a Boy!" is so dang cute, I can't wait to share with you and get to making a great project!
I have all of the supplies I received and more listed below!
Thanks so much for supporting me and Country Craft Creations. I will see you soon!
Stay Crafty, My Friends!
The entire selection of Echo Park, “Baby on Board, It’s a Boy!” can be found here
With the package I received 2 each of every paper, including the coordinating cardstock, a page of stickers, The Frames and Tags pack and the enamel dots.
Seam Binding, 2 yards each of Golden Rod and Nurust
Burlap Jute Twine, 2 yards of Navy
Tonic Studios Pearlescent Cardstock, Navy Dazzle
I also received two sheets of heavy weight chipboard (see link below)
And don't forget your adhesives, cardstock, and chipboard...these are what I love to use:
Art Glitter Glue
Scor Tape
Artisan Cardstock
Heavy Weight Chipboard
Light Weight Chipboard
Use my referral link to start an account and I’ll earn points for crafting supplies so that I can share more tutorials!
DISCLOSURE: Some links in the description of this video contain affiliate links, which means I may receive a small commission on purchases made through the use of my referral code and/or affiliate links.
I had an idea today! LOL! I am remaking and reimagining the Love Letters Configuration Tag, Card Album Tutorial that I did for Country Craft Creations in January of 2022. That tutorial will be referred to a lot in this video so please see it again (or for the first time if you missed it).
This is really easy and a fun way to expand on that idea. I did the tutorial "on the fly" so if you have questions please let me know. There is a lot of information in this video so please check it out :)
If you are new to Country Craft Creations and want to start shopping use my referral link to start an account and I’ll earn points for crafting supplies so that I can share more tutorials!
Country Craft Creations Papers: I used Ireland Forever in this tutorial, and used Love Letters and Love is in the Air in the previous tutorial. All Country Craft Creations exclusive papers can be found here.
I used Green Artisan Cardstock (link below)
Alternates for the Gold include:
Tonic Studios has gold mirror paperSeam Binding, I used Ivory
Graphic 45 tags, I used 2 of the Large ones
Prima Flowers
Don't forget your adhesives, cardstock, and chipboard...these are what I love to use:
Art Glitter GlueScor TapeArtisan CardstockHeavy Weight ChipboardLight Weight Chipboard
CUT GUIDE
Covers
2 - 12 x 12
Connector/Spine
1 - 2 1/2 x 9
Inside Cover Flaps
2 - 5 x 6 1/2
2 - 4 1/2 x 4
Inner Page
1 - 9 1/2 x 8
Diagonal Pocket
1 - 5 1/2 x 5 1/2
Waterfalls
2 - 3 1/8 x 10 3/4
2 - 3 1/8 x 9 3/4
2 - 3 1/8 x 8 3/4
Country Craft Creations is an amazing online community. Please visit the store. We have an amazing Facebook Community as well, so please check it out.
🌺My social sites:
Instagram, @michellescreativeoperation
Facebook, https://www.facebook.com/mycreativeoperation
Pinterest, https://www.pinterest.com/jamallen/
Blog, http://creativeoperation.blogspot.com
DISCLOSURE: Some links in the description of this video contain affiliate links, which means I may receive a small commission on purchases made through the use of my referral code and/or affiliate links.
I had an idea...I had made a prototype for my Season to Celebrate project folio (that I ended up not using) and decided to use it. In this video I will share how to make that, how I made the flowers, and share a 12 x 12 layout that I did with my Patchwork Paper Technique. ENJOY! At the end I will share what I did with the folio I created in this video using Country Craft Creations "Blossom in Springtime" paper! The folio is 5 1/4 x 7 1/4 with a 1/2" spine.
There's lots of info, so here we go...
If you are new to Country Craft Creations and want to start shopping use my referral link to start an account and I’ll earn points for crafting supplies so that I can share more tutorials!
Country Craft Creations Exclusive paper collections: I used Love Letters and Blossom in Springtime for this tutorial.
Seam Binding, white
Paper Roses Dies for flowers
🌺My social sites:
Instagram, @michellescreativeoperation
Facebook, https://www.facebook.com/mycreativeoperation
Pinterest, https://www.pinterest.com/jamallen/
Blog, http://creativeoperation.blogspot.com
DISCLOSURE: Some links in the description of this video contain affiliate links, which means I may receive a small commission on purchases made through the use of my referral code and/or affiliate links.
This is a new idea using the patterned papers leftover from my previous tutorial to make a new page idea.
This works perfectly with 49 & Market papers because it is so thick, and I think you'll like it!
There is a lot of info in the video's description box, including a cut guide, so have fun and let me know what you think!
Stay Crafty, My Friends!
Country Craft Creations is an amazing online community. Visit the store . We have an amazing Facebook Community as well, so please check it out.
🌺My social sites:
Instagram, @michellescreativeoperation
Facebook, https://www.facebook.com/mycreativeoperation
Pinterest, https://www.pinterest.com/jamallen/
Blog, http://creativeoperation.blogspot.com
DISCLOSURE: Some links in the description of this video contain affiliate links, which means I may receive a small commission on purchases made through the use of my referral code and/or affiliate links.
You are going to love this video! I made so many things with my paper collections that I picked out, and I added more collections. There’s so much to share with you. I am so excited! Please check out my video link and have a great and crafty day!
I recently made a couple of projects you have to see. This first one is by Nicole of MadeFromScrap one YouTube and she did an amazing folio that I made twice. You have to see how these turned out, and then check out the link in the video description to see her quick and easy tutorial. You will love it!
This one is by Karolina of KarolinasKrafts, on Youtube. She did a tutorial of a 4 x 4 mini album that I adore. It came out too cute and I am just so happy with it. I'm keeping this one for myself to use as a 2025 journal of things I want to do in this year.
Hi all! This was a request by a subscriber of mine, @mgobluebo and I am so excited to be able to share this tonight. She specifically requested using the scoreboard to make a 2 x 2 box. This will work with all 7 of the box sizes/lid sizes you can make with this scoreboard. The only adjustment is that you will cut the lid cardstock 1/8" smaller, but still use the same lid line to score with. It makes for a tighter lid for this type of box.Here is my comprehensive scoreboard video with links to printables that you can view if you would like to. What to do with your Explosion Box Score Board
https://youtu.be/pGCKys5ln4s?si=Phk2an3estR7DYm-
I hope you enjoy, it is quick and easy. As always, if you have any questions please let me know. I appreciate your support. Stay crafty, my friends!
Hi all and welcome! Thanks for stopping by to see this amazing collection by 49 & Market called “Cottage Core”. This is my Country Craft Creations design team package for January and it is exquisite! This is just gorgeous and I can’t wait to share with you. Below are links so you can go get the supplies and be ready for my upcoming tutorial!I also mentioned a project I made using a previous 49 & Market Collection, if you would like to check that out, here is my tutorial. Academia Album Tutorial, for the Country Craft Creations Back to School Hop.
Below is a list of links for the products I received. I do hope you check them out!
49 & Market Cottage Core, I received 2 each of the 10 papers (with a two extra of the “Remember” papers, the package of die cuts and a package of the laser cuts
My Colors papers, two each of Cotton Grass, Desert Cactus and Cafe Ole
Seam Binding, 2 yards each of Khaki and Light Brown
Burlap Jute Twine, 2 yards of Olive
I also mentioned that I will be using some foam dots.
I will also be using Kraft Artisan Cardstock for the base of the project. I have links below for the Artisan Cardstock.
Don't forget your adhesives, cardstock, and chipboard...these are what I love to use:
Art Glitter Glue
DISCLOSURE: Some links in the description of this video contain affiliate links, which means I may receive a small commission on purchases made through the use of my referral code and/or affiliate links.
If you are new to Country Craft Creations and want to start shopping use my referral link to start an account and I’ll earn points for crafting supplies so that I can share more tutorials! https://www.countrycraftcreations.com/?ref=MICHELLEALLEN
Hello and welcome to the unboxing of what you will get in the February 2025 Seasons of Creativity subscription box from Country Craft Creations! I will go through all of the kits and give some information in this video about the subscription box we offer at Country Creations. If you have already subscribed, THANK YOU! If you haven’t, please check out the link below and get signed up. There are still boxes available!! You will get exclusive content/tutorials, full color guides for the projects, access to a private Facebook group, newsletters, bonus projects and so much more. I do hope if you haven't joined that you do decide to check it out!
Thanks so much for watching, and I’ll see you soon! Stay Crafty!
Seasons of Creativity Subscription Box
https://www.countrycraftcreations.com/collections/seasons-of-creativty-subscription-box
Country Craft Creations has an amazing online store.
Visit the store at https://www.countrycraftcreations.com/ .
We have an amazing Facebook Community as well, so please check it out... https://www.facebook.com/share/g/Ht5LGCknpXpDksFU/
🌺My social sites:
Instagram, @michellescreativeoperation
Facebook, https://www.facebook.com/mycreativeoperation
Pinterest, https://www.pinterest.com/jamallen/
Blog, http://creativeoperation.blogspot.com
Good morning! I have a new tutorial for you. I decided to list all of my videos for this paper collection so that you can see all of the fun things I have done with it.
These are design team projects for Country Craft Creations, and I'm using the gorgeous collection by Graphic 45 called "Season to Celebrate". I hope you like them!
The first one is my latest project I just shared today. I used leftover paper and scraps to make these stunning tags that you can use on their own or add to the previous project I just made.
Below is the first project I made and it is a big one, and sooooooo wonderful. It is a yearly folio project with a box to store the folios. You can add your memories throughout the year!
The video below is a full walk through of the folio and box project I made.
I also put this link to the design team package haul video I did, just in case you want to see that too.
I have a list of the supplies I used. Please check out Country Craft Creations and get all of your supplies for this and more!
DISCLOSURE: Some links in the description of this video contain affiliate links, which means I may receive a small commission on purchases made through the use of my referral code and/or affiliate links.
Oh my! Can you believe it's 2025? I can't. Time is flying by and the holidays were a blur. Between work, being sick, the holidays, and prepping/participating in a Country Craft Creations New Year's Eve Hop...all of the sudden its January! WOW! I hope you all have had a great holiday and are renewed and refreshed for the new year and all of the fabulous things to come.
I am going to link a lot of things for you today. Yes, I'm doing another catch up post. I am hoping this will be the only one I do this year!
First, I would like to share the latest Country Craft Creations New Years Eve Crop that we did.
This alubum is so cute and it really used up a lot of scraps from the paper collection I have been using up all year in my #craftygoals2024 card making project. I love what Debbie of Project39 Mini Albums did with it.
It is that time of the year...What kind of planner set up did you come up with? I found my dream planner with Magic Witch Souvenirs printables. She is on Etsy, and the printables are FABULOUS!
And who doesn't love a quick and fun one page wonder? Check out what I made with Crafty by Toni's Inspiration
And, as you all know, I love me a good repurposing...So I decided to repurpose a calendar into a new notebook and try out my new We R Makers stack cutter. That cutter is amazing!!!
I did the last of the 2024 #craftygoals2024 videos recapping December...and introduced a new collaboration, which is really a morphing of the old one. Welcome to the Paper Stash Smash Collaboration! You have to check this one out. It is an awesome concept and I am so excited to be a part of it.
Finally, this is my latest design team tutorial for Country Craft Creations. I made this folio project that will be a year round joy for years to come. I used the Graphic 45 collection "Season to Celebrate" and it turned out just amazing. There are a ton of links in the video description and also a link to a cut guide to assist you with your project. I do hope you enjoy it!
That's the catch up. Thanks for reading and watching, and I am excited to see what 2025 brings to all of us.
OHHHHH, you have to check this out. This is what I made with leftovers from my first design team project using this gorgeous collection by Echo Park. Chilling with my Snowmies is SOOO DARN CUTE! I just can't stand it. This is a great project, a quick 6 x 6 board book with lots of fun little ways to use up your scraps! There is a lot of links and info in the the video description, so please check that out!
It's been so busy I don't know whether I'm coming or going...but here are my latest videos for you!
This first one is my latest design team project for Country Craft Creations. I love how this turned out. It has so many cool elements that you won't believe!
I posted my December Crafty Goals video. It is loaded, I mean LOADED with projects I have made. There are links to the inspiration/tutorials in the video's description so you want to check that out!
And, I have this tutorial for two styles of gift cards available.
SO MUCH CRAFTING TO DO! I hope you enjoy the videos. Stay crafty, my friends!


.PNG)
.PNG)