I have been decorating it, and I started using it! The original post is here.
I had the word "Scary" leftover from a project from last year, so I added it to the spine of the book. I punched a hole, set an eyelet, and hung some charms.
I added an envelope to the inside front to hold some more tags that I made out of my scraps of papers.
So, here's what I am going to do with it. I am collecting ideas for Halloween. Decorating, cooking, whatever. This will be an ongoing project. I don't expect to fill it up this year. This could eventually turn into my Halloween Reference!
These pictures I just found on the net...
This pumpkin vase idea came from a catalog, the little pumpkins from DCWV. I put a label on the envelope...
Inside I printed out pictures, and wrote information on the backs of them.
Love the bat houses...
OMG!!! The cookies ROCK!
I just wanted to show you what I did with the paper bags. I glued the bottoms so that I could put tags in them, then I added labels to cover the "bottom" of the bag.
I found these huge cardstock tags at my LSS, for only 10 cents apiece! I inked with black and brown distressing inks to age them, and put one in each paper bag.
I punched the envelope flaps, then added paper behind the punching to show it off a bit.
I threw in some binder clips and stuck some stickers in for decoration.
More pages.
So, that is the book. The rings are huge, and I only have 31 pages, 4 bags, and 4 envelopes. There is plenty of room to add things and even more pages as I need to.
What do you think?
Stay Scary, My Friends!
Friday, September 9, 2011
Thursday, September 8, 2011
How I made my mini books
I had a request to show how I made my mini books for my Haunted Medicine Chest...so here it goes. Happy Thursday Tutorial!
I made 4 of them for this project, titled "Magic", "Hexes", "Potions", and "Spells". For this tutorial, I will use some leftovers...
I cut my "pages" at 1"x 1 1/2", and cut enough for a 1/4" spine, in this case, it required 20 pages. I cut a cardstock piece as shown. I used a gold pen, and quick dry glue.
I scored the cover paper as shown...
I wrote my title on the spine, then added lines to look like the spine of a real book.
Fold your cardstock, and apply a generous amount of the wet glue to the inside spine.
Gather your pages neatly, and center into the inside of the spine on the glue.
Fold the covers over...
Clamp until dry. Done. You can make these any size you like, I just cut the cover so that when folded there was about 1/8" of cardstock extending over the pages...and make sure you measure for the spine!
Thanks for asking me to show how I did it, now I have another book to tuck into this project!
Have fun, and stay scary!
Wednesday, September 7, 2011
The Haunted Medicine Chest
I made this over the weekend, and I am really excited to show it to you. Remember, it is never too early to start thinking about Halloween.
I really don't know what else to call it, but it does make a cool medicine chest! I will show you the pieces of it, and then how it all came together.
I made little books and even cut the "pages" to look authentic.
I used Tim Holtz bottles, and put labels on them from the new Teresa Collins Halloween paper line.
I had these skull beads left over from last year, and I put Stickles in the eyes.
I also had the new Tim Holtz Halloween papers, a new EK Success punch, and leftover lenticular stickers by Recollections. I made these into pictures by creating a cardstock easel for the back. I think the punch made a cute "doily" for the shelf.
I constructed the "chest" entirely out of paper, except for, of course, the Tim Holtz corners.
I found some spider rings, and mini ravens.
This is what I got when I put it all together! I love how it turned out!
There are a couple of spiders in the chest, and one on the outside. There are books inside and books on top.
I used three skulls in all, each with different colored eyes.
Then I decided that the top needed something...I created the witch had out of cardstock, then put some fibers around the base of the hat. I added the raven and a couple of books. Then, I decided I needed a crystal ball. I got a Tim Holtz dangle and one of his metal flowers. I bent the petals of the flower to create the base, used glue, and I got my crystal ball.
What do you think?
Stay Scary, My Friends!!!
Monday, September 5, 2011
A Soap Mini Album Swap
I made this mini album for a swap I am in over on Mini Album Scraps. We could use either TP rolls or soap boxes, and our partner picked the theme. My partner gave me a lot of ideas but when she said "anything with a nature theme" I knew what I wanted to do.
I used papers from K and Company, the Cottage Garden line. I had a bunch of the cool doo-dads that they made to accessorize it. I chose a soap box because I wanted a little more room to play. I have done this before, and have a tutorial here. I used some lace from my stash. The transparent bee is suspended by a Tim Holtz memo pin. I colored the butterfly with some alcohol inks to make the silver into a more bronze.
The closure is a ribbon, looped through an eyelet in the back of the book (shown below) and then tied in a bow for the front, and hooked on a Tim Holtz post.
The bling on the tabs is Prima, the rest of it is Recollections.
I used 6 boxes. Each box is attached i such a way to make a pocket on each side.
Each pocket has a pull out tag. I used a MS punch on the corners.
I know the pic is fuzzy, sorry. The tag in the seed packet comes out.
Another page...
...and another fuzzy picture. Sorry.
In inked everything with Distress Ink.
In each box, the tag comes out. On the front of them all is a journaling spot by Colorbok.
It opens, and each has another seed packet and tag. I punched out the pulls with my Fiskars flower punch.
And then the back of the tag.
This is the first mini album swap that I have ever done. It was a lot of fun to do.
Stay Crafty, My Friends!!!!!!
Saturday, September 3, 2011
Lookie what I got!
I was in a swap on Mini Album Swaps, and my partner, Sonia, made these wonderful albums for me! Click on her name to visit her blog! What a surprise when I opened the box and found all of this wonderful goodness!!!
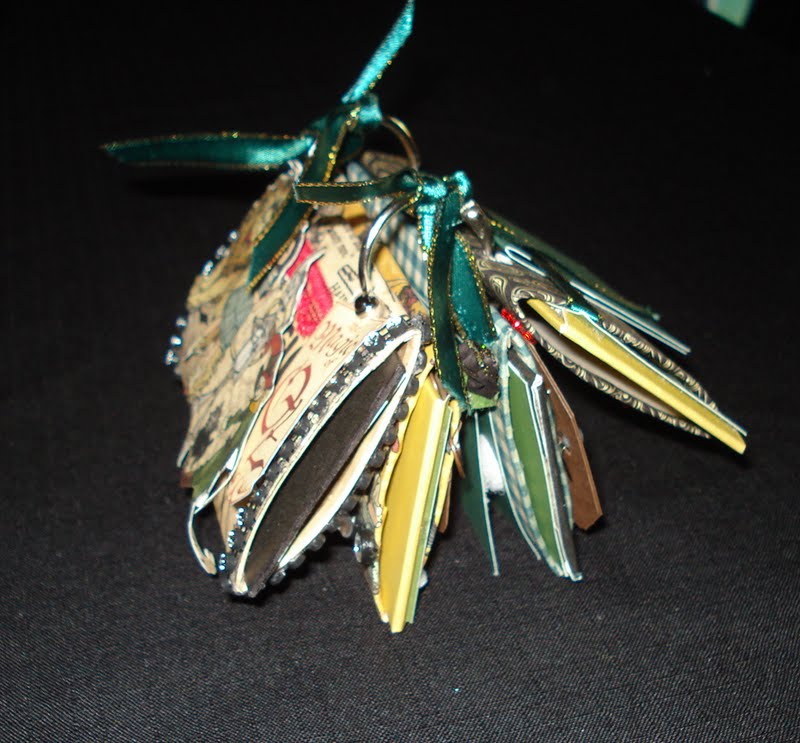
The first album is made with the Graphic 45 "Magic of Oz" papers. She did a lot of fussy cutting on this for me!
Side view...
Aren't these pages gorgeous?!
This one is blurry, I know, sorry!
This page opens for more stuff!
The tag has a brad for a pull.
In each of these TP rolls are a covered chipboard pullout for more space to put things!
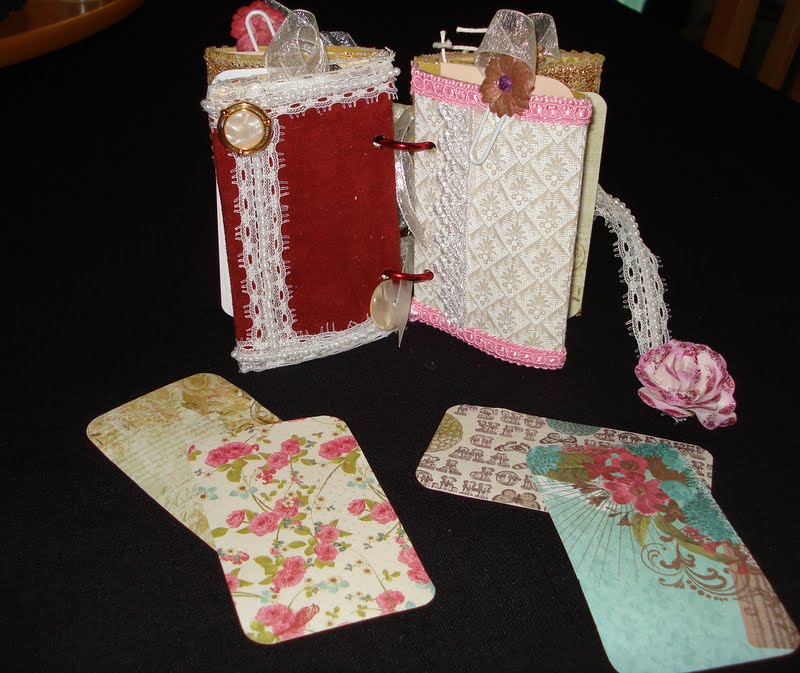
This is the second album, and it is also GORGEOUS! The closure is the flower with a magnet on it, the other magnet is hidden under the button...genius!
Here are the pages...
The tags that are tucked in the pages.
Don't you just love it...so cool!
More of the tags...
She even got her stamps out!
The back.
Check out the charm assembly she did...very cool! I love love love the baby in the picture!
Then, she shared some awesome goodness with me! Look at the flowers she made for me! Awesome!
On Wednesday, I will show you the album I made for her!
Stay Crafty!
Subscribe to:
Posts (Atom)