WELCOME!!

We are so glad you are here! We love making and sharing our projects, and we are excited to have you visiting our site. Please leave us a comment and let us know what you think!

Jackie and Michelle

Followers

Saturday, February 27, 2016

Crafty Decorating

I have been fascinated with some beautiful vintage items that I have, and have been wondering what to do with them.  I found ideas on Pinterest…Don't you just love that site???  I thought I would show you what I did with these wonderful treasures from our past.
 Jackie had given me some wonderful vintage handkerchiefs that belonged to her grandmother.  On Pinterest I saw that some folks are decorating with them, and I loved this idea.  So I put them over the curtain rod in my craft room.
 I think it looks very cool over my Cricut and Silhouette station.
 My husband had this stash of beautiful vintage potholders that his Grandmother made.  They are beautiful, but also very fragile.  There is no way on Earth that I would ever try to use them, but I saw on Pinterest that there are many ways to display them.  
 I found this awesome basket at the local store, on CLEARANCE!!  I bought two little ones like the one you see here, and two larger ones.  You never know when you are going to need a basket, right?  But, then it hit me, this is the perfect way to display his collection of her potholders!  It sits in my kitchen windowsill …I love them!
 My poor hope chest has been sitting on our upstairs hallway, just being all naked.  So, on Pinterest (Did I tell you I love that site???) I saw that folks are using a variety of crocheted doilies to make runners.  YES!!!  I have some doilies (the two on the ends) that Jackie gave me (they belonged to her Grandmother), and some that I had in my stash, and a few that I whipped up to fill it out.  Taa Daa!!!  I have a runner for my hope chest!
 Above the runner is the mini wall quilt that my mom made for us when we got married.  I put a small vintage looking suitcase that I have had for years, a book (Grimm's Fairy Tales) and a brass candle holder.  I think it needs a few more "things" to make it cooler looking, but it's a start.
I think it is GORGEOUS!!!  I tied the doilies together, so that if I ever want to separate them, it wouldn't be hard to do.  And, yes, those are battery operated candles.  I probably will never light them (unless we are having company or something) and I do NOT want to chance wax all over my vintage goodies!

There it is.  My vintage decorating in my "modern" house.  I hope you like this post, and I hope you try some of these ideas.  I really want to go to some antique shops now…I am getting more ideas.

Stay crafty, my friends!

Saturday, February 20, 2016

Crochet Away!

 My mom gave me a Cabbage Patch Twin to keep at my house for the grand babies to play with when they visit.  I felt like little Addison Delaney needed some things to keep her comfy and cozy.  I found these free pattens and I went to work.
 They were all so easy to make, and fun to do.


This diaper is to darn cute!  Hop on over to my Pinterest site, and you can get the links for the patterns for yourself, to keep your little baby doll warm and cozy!

Stay crafty, my friends!

Monday, February 15, 2016

Happy New Year, Valentine's and President's Day!

Wowsers, I sure have been absent…but I am going to be back.  I have finally emerged from my crafty funk and I am working on a few projects.  This one I will share with you is one I finished today…I am kinda excited about it.

We had a Keurig.  Sadly, it went to the instant coffee maker in the sky, and now I have these drawers left.  What to do with them?  They are just strips of metal used to hold the cups, and it's pretty hard to store things in these drawers with no floors.  So, I decided to create some.
 I measured my spaces, and they are 1 3/4" square, with 1/4" strips between.  I used very heavy card stock, and made the drawers, and created ends to cover them.  Then I just attached them together.
The outside bars are round, so I created a card stock square tube to attach the drawer to itself around it, securing it.  Nothing is glued onto the actual drawer itself, it is removable if I decide to turn it back into a K cup holder.
Here is a picture of the whole thing put together, ready to slide into the spaces.
And here it is inside the drawers.  I put it on my desk, it will be a perfect place to sort my numerous pens that I just can't do without.  I had two drawers, so I have even more space to sort my pens!

Thanks for looking, so sorry for the delay in creating posts.  I will be more in touch, I promise, now that the heavy veil of crafty gloom is gone!!

Stay crafty, my friends!

Wednesday, December 30, 2015

An Update

Hello, Everyone!

I trust you had an awesome Christmas.  I sure did!  We worked way too much, but we did have a wonderful time with our family and friends…and that is what is most important about the holidays!  I am hoping the New Year brings lots more time with them, and I hope you all have a wonderful New Year as well.  I wish you all health and happiness!

I know I haven't been around in Blog Land much lately, and I am truly sorry.  But, I thought I would take a moment and let you know what I have been up to.  First off, I have been in a bit of a crafty funk. I have lost some mojo.  I think that work stress has taken a toll, and I have had to take a breather from crafting.  I have done some things, and here is a brief summary of my activities.

 Jackie and I went to the Creating Keepsakes Convention in November, and had a blast!  We both worked on our December Daily albums, as we did every crop time they offered.
I also spent some time working on my Christmas Cards.  I found this polar bear card at the Silhouette website, and it turned out sooooo cute!
 My Mom and I went to a sewing expo the very next weekend and did this pumpkin make and take.  We loved them so much that I bought a kit and made some more, and created the centerpiece below for my Thanksgiving table.
I think it turned out super pretty.  I put large candles on upside down taper candle holders, and added mini pinecones to the pumpkins.  
 Speaking of December Daily, this is mine for the year.  I found a book tutorial on YouTube by papercrafter45.  You can find her video on the finished book here, and there are tutorials on how to make it.  She calls it the Index Card December Daily.
 I altered the pattern a bit, and made my book bigger, 8"x11".
 I love her idea of using index cards, but I also wanted to be able to add more to the daily pages if I wanted to.
 The pages flip out, and has a waterfall set of pages on each one.  The back page is meant for the 25th of December.
But, as I said before, I lost my mojo, and have been really stressed out about work.  I made the full book, but when I realized that it was December 20th and I haven't done one single thing to the book, I decided that I wasn't going to do a December Daily this year.  I immediately felt a sense of relief…Imagine that, I was stressed out about a craft project too!  I did take lots of pictures, but this year, they might just end up in a nice little keepsake box instead.
 I crocheted some play food, with patterns that I found for free on the net!
 I have a Pinterest board of knitting and crocheting patterns, and you can go there by clicking this link and then if you are interested you can see the patterns and print them and use them yourselves!  If you want to just see the patterns…the sandwich is here, and the eggs and bacon are here.
The beetroot is here, the broccoli is here.  I made bunch more, but you can find those patterns on my Pinterest board, besides, I didn't get pictures like a dummy!
 My BFF, Jackie, shared this pin with me, and I thought it would look lovely on her, so I made her one.  It turned out beautiful, and I was right, it looks gorgeous on her.  The pattern is here.
Last, but not least…our 20 year old dryer finally went to the great appliance store in the sky, so we decided to get a brand new set.  We got these, and I love them!  They aren't really what we wanted to spend our money on right before Christmas, but we needed them and they are purty!!!

As far as my planner stuff is concerned…I love the size of the happy planner, and the papers and stickers are divine!  But, I am still not a fan of the vertical layout.  I have tried all sorts of different options, and I have gone back to my tried and true layout that I had been using in the past with my ARC planner.  I have decided not to share my monthly/weekly pages for 2016.  However, if I come up with cool new inserts or ways to organize things, I will definitely share with you those ideas and templates.

So, that's what I have been up to.   I am hoping my mojo comes back full force and I will start designing projects again.  I think my brain just needed a break.  Maybe in the new year, I will get reenergized.

Stay crafty my friends, and have a safe and wonderful New Year!

Saturday, October 24, 2015

Purple Pumpkin


I got an idea from looking at a free flyer from Jo Ann's.  I got a paper mache pumpkin and painted it metallic purple.  I chose purple because I am going to put it in my spooky dining room that is done in black and purple for Halloween.  I had some sequins and rhinestones by Recollections that I used to decorate the pumpkin.  
I adhered ribbons in purple and silver to the top, and then cut out leaves in black shimmery paper and added them to the top by the stem.  I think it turned out super cool.

Stay scary, my friends!

Wednesday, October 21, 2015

A Halloween Banner Project

A friend of mine asked me to make her four banners for a get-together she is having.  She supplied the idea and the paper, and I put my Silhouette to work.  I had the banner shape and the font purchased already.  I added a tab to the top of the banner so she could attach them to string to hang them.

I like the font, it is hard to see but there are spiders and spiderwebs in the letters.  I think that it turned out pretty cool.

Stay scary, my friends!

Saturday, October 17, 2015

Spooky Candlesticks

I wanted to make a display for my coffee table.  I found some wooden candlesticks and painted them black.  Then I made some paper bobeche type pieces for the candles.  I found a spider web for my Silhouette, cut it out, made a hole in the center, then after placing the candles in it I folded them down a bit so they wouldn't be sticking straight out.  It looks perfect on my spider web table runner!

Stay scary, my friends!

Wednesday, October 14, 2015

An Award Box Turned into a Witch Box and Book for Halloween

 I received a pin from work to mark my 25th year of service there.  The pin is really pretty, and the box had a lot of potential.  So I saved it because you never know when you might need a big box that held a little tie tack pin.  The front of the box was open, like a picture frame, and the inside had a hollowed out  portion.  This season, I finally had the idea to finish the box.
 I used  papers from my stash by My Mind's Eye, called "Wicked Merchant".  I also used stickers and die cuts by Echo Park, "Chillingsworth Manor", and My Mind's Eye, "Lost and Found Halloween".  I put the beautiful Witch on the front, and used the image also for the title of the scrapbook that I put inside.
 The scrapbook is made from a sketchbook that I had in my stash by Bee Paper Company.  I had to cut the sides down to make it fit the box inside.  The band for the closure is by 7 Gypsies.
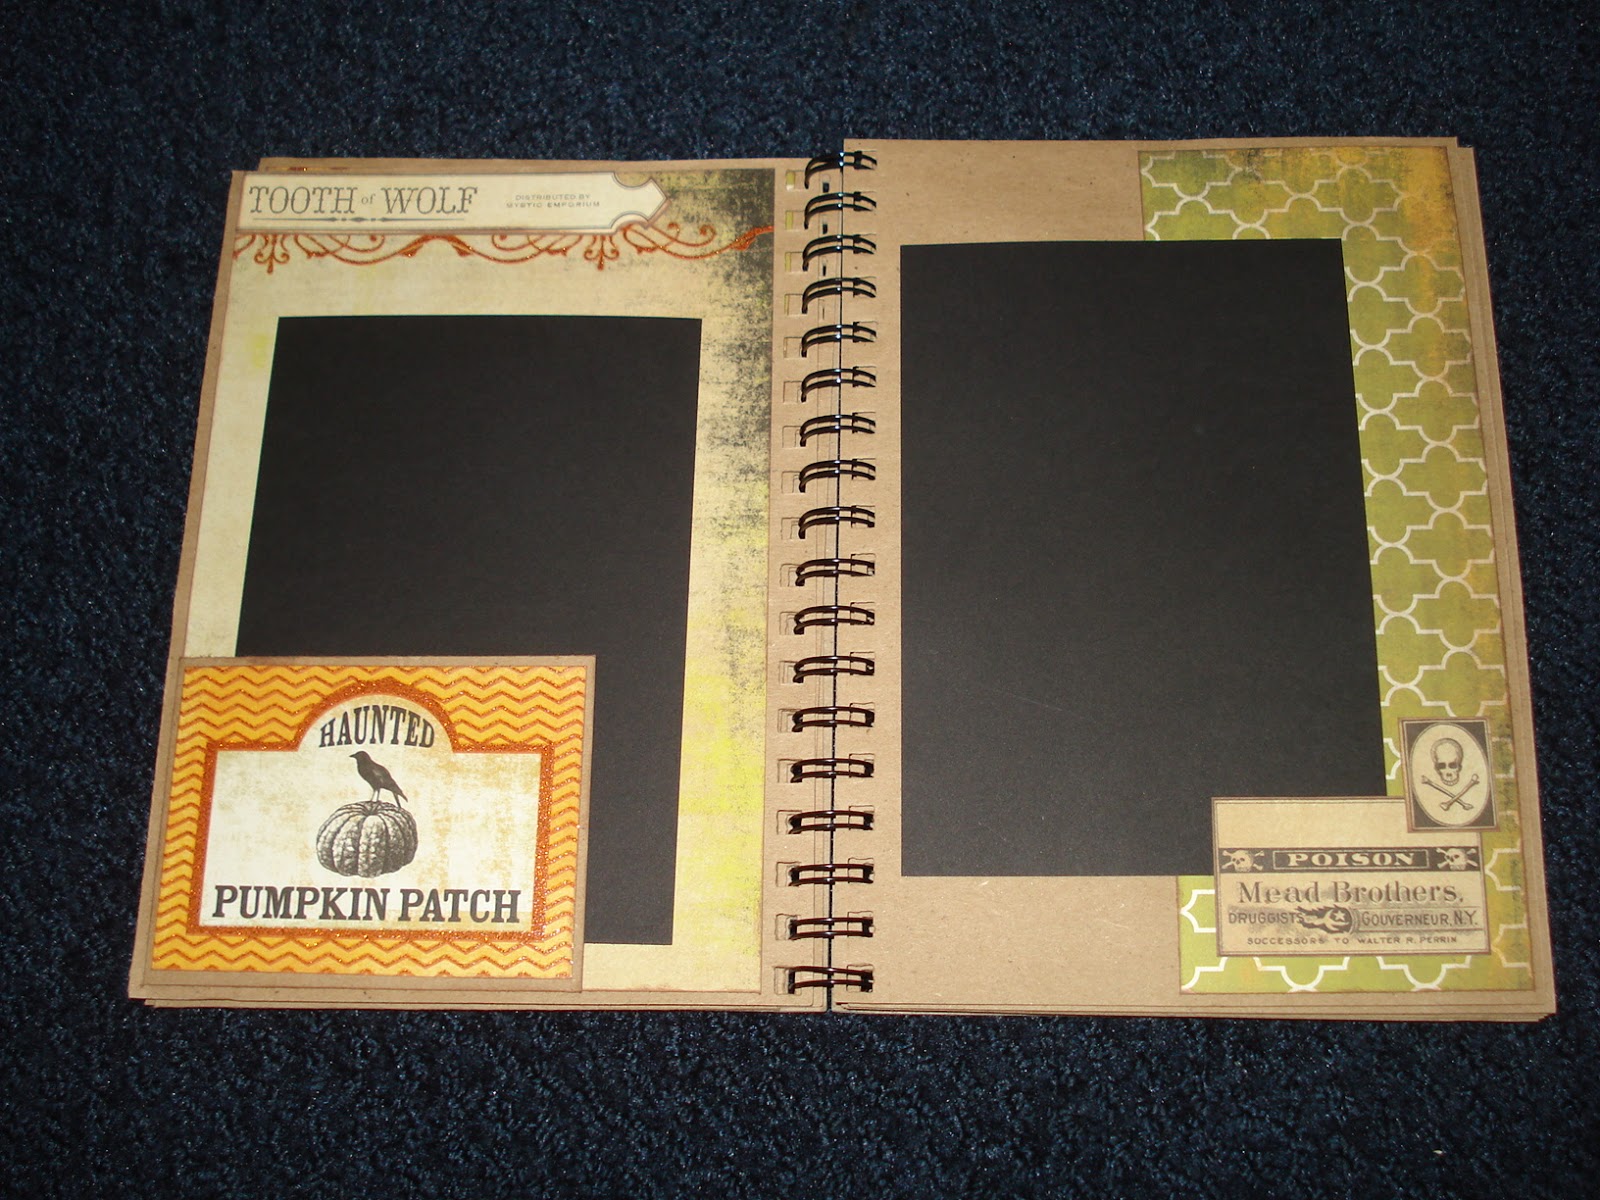
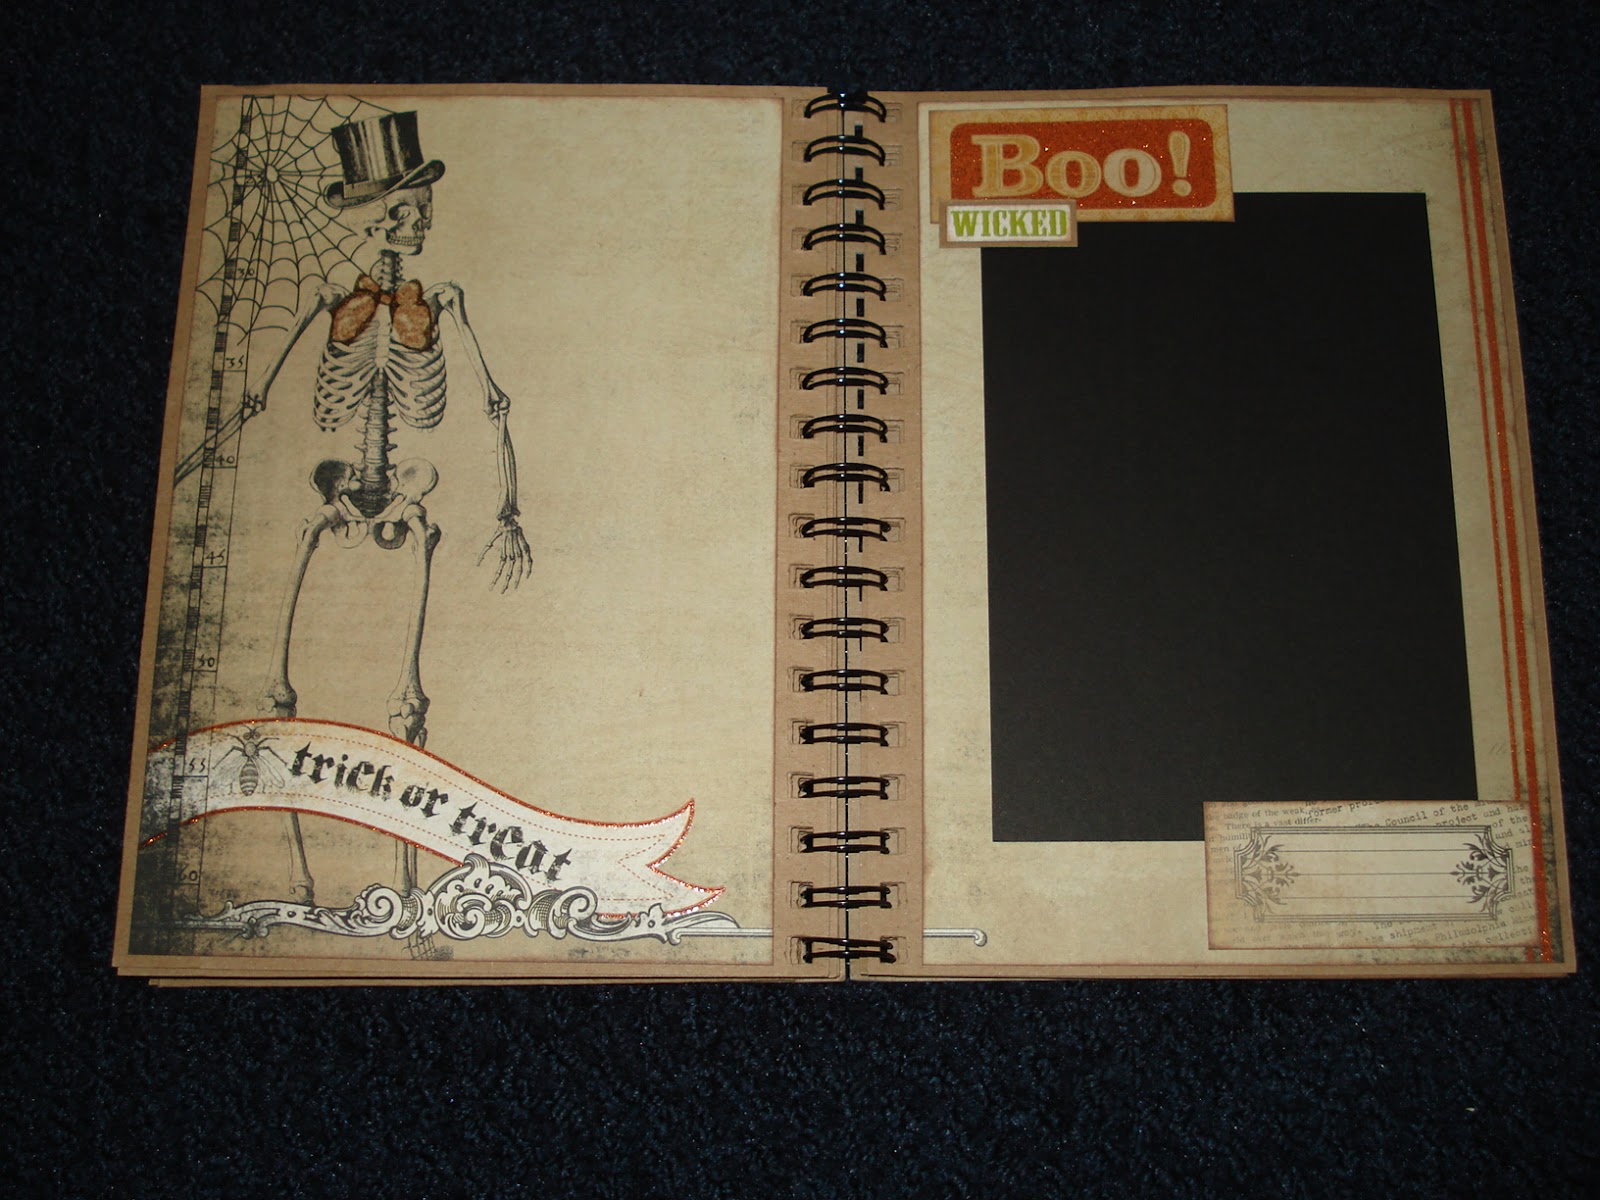
 I did simple pages, since I didn't have a lot of room to bulk out the album.  I made some simple pockets and put simple black mats in them.

 I also thought that the empty space on the pages could be good for some journaling about the photos.
 I made this page as a flap page.
 I used this sticker as a pocket for a photo mat.
 This page is very interactive...
 I created three flaps for this layout.

 I made this a flap and pocket page.


 I created vertical pocket pages here and…
 …made tags to join them.


There it is.  Thanks for looking.

Stay scary, my friends!