
Pull Out Accordion Album
OK. You saw the little book with the butterflies and the Halloween book. Here is the way I made this book to create the bigger size used for the Halloween book. This is the basic book, not including how to create all of the page pockets, or the bonus "pull out" pages. Hummm, should we do a Take 4?

Take the first, cut into two 6" strips. Take one strip, and score at 5 3/4" and at 6 1/4". This is the cover of the book, with a 1/2" spine.
Take the second strip and cut off 2 1/2", then cut off 1" of this piece. Score the 1" piece at 1/2". This is the binding strip that attaches the pages to the book cover and reinforces the spine of the book. Take the 9 1/2" piece and score at 5".
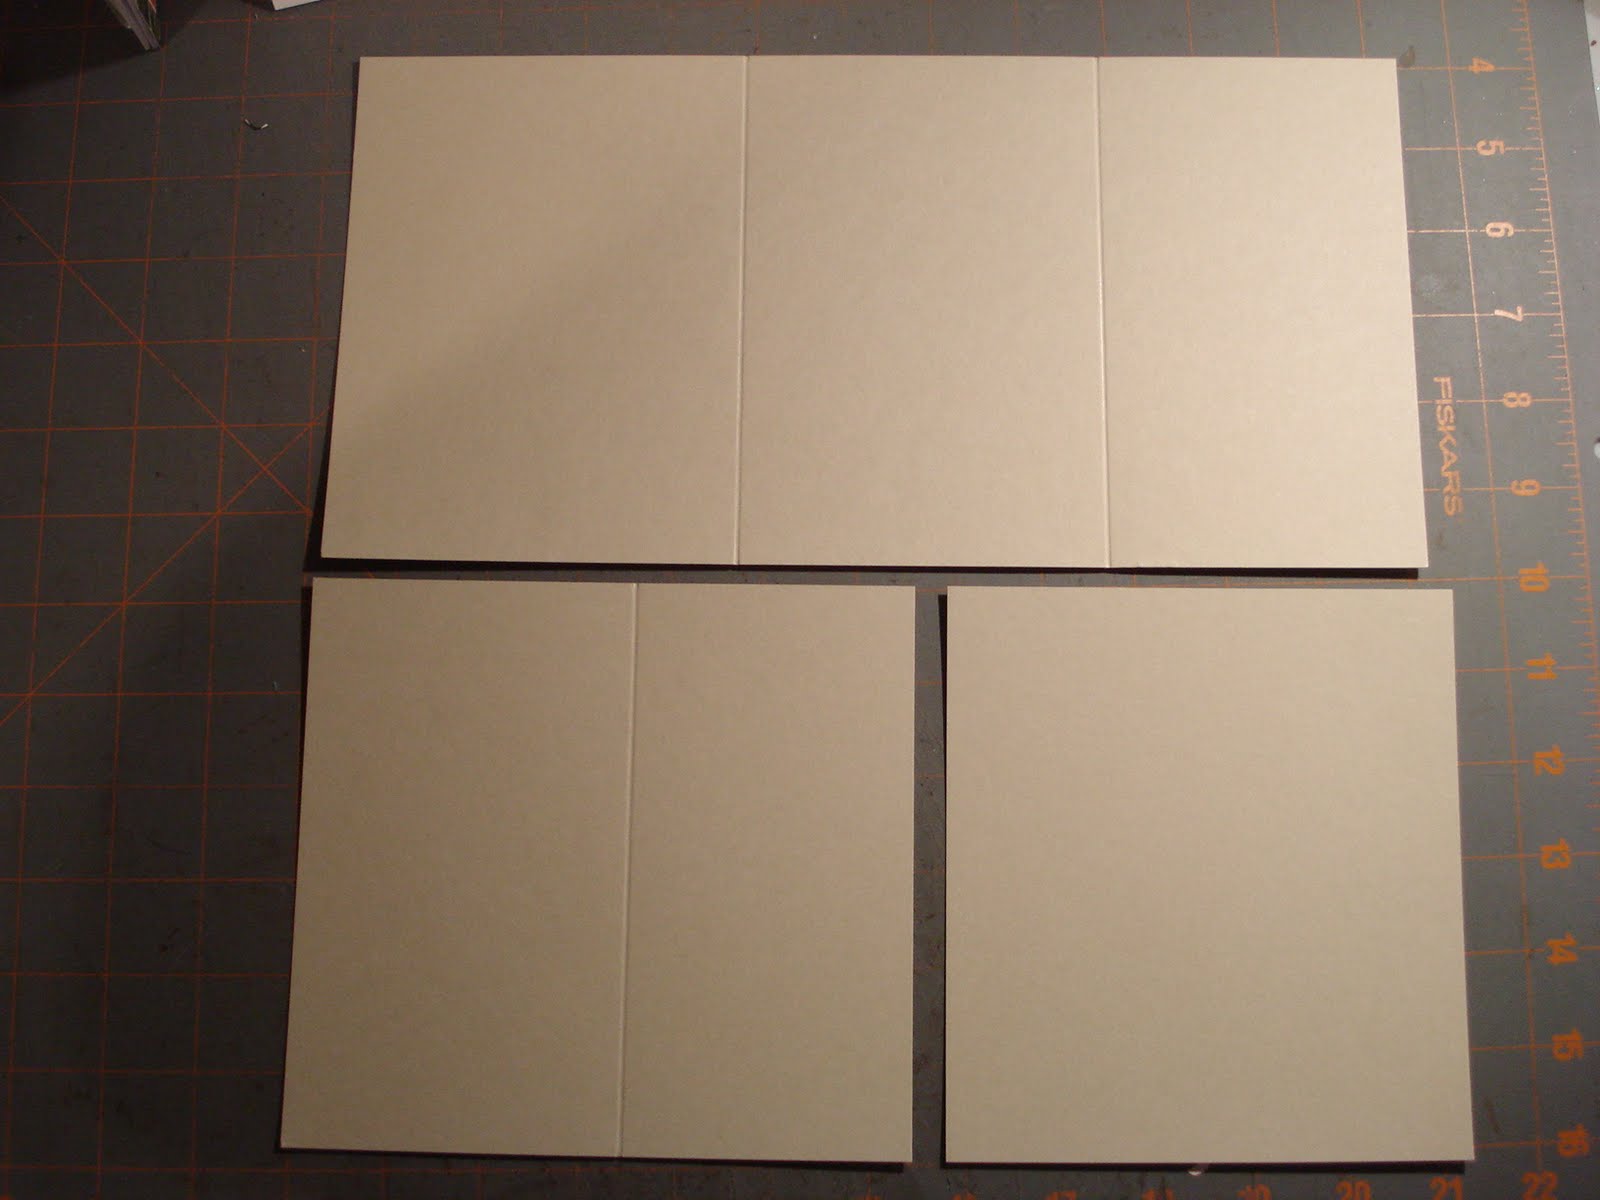
Take the first strip, score at 4 1/2" and 8 1/2". This gives you a 4 1/2" section, a 4" section and a 3 1/2" section.
Take the next strip, cut it at 6 1/2". Take this 6 1/2" piece and score it at 3 1/2". This will give you a 3 1/2" and a 3" section. Take the piece that s 5 1/2" and set aside for use making tags or pockets later.


Match the 3 1/2" sections and repeat. Your accordion is complete!


Now decorate to your hearts content and have fun!!!!!!!!!!
Thanks for this fabulous tutorial! I will let you know when I attempt to make one of these!
ReplyDeleteThis is genius! I love how you created tag pockets when you overlapped papers to "extend" the album. I've never seen this before and I LOVE it!
ReplyDeleteWould love to see take 4 if you did one. Just starting my very first album and am reading up on as much as can along with gathering supplies before I start.
ReplyDeleteVerry nice tutorial thanks
ReplyDeleteThanks for this tutorial. Very easy to follow!
ReplyDeleteHow many actual surfaces are there to decorate etc? I'm looking for an idea for a baby album that isn't over top. I want to have 12 surfaces so that there can be one for each month of the baby's first year. I'm thinking I could make this design work.