I was playing with ideas, and came up with a variation to the albums I made like these...
I have a link to this post
here.
The link to this post is
here. And I came up with this!
Open...
24 pages...12 pockets for 12 tags... SWEET!
First page opened...
And the other side opened...
The mid section opened...
The other side of the album, mid section...
And the other flaps in the middle of this section opened...
The tags I made, 4 of each, butterflies, birds in a birdhouse (Yes, I need to put a "roof" on the birdhouse to make it look right!), and layered flowers.
I used K and Company papers and chipboard stickers, and Bazzill cardstock. I used an assortment of punches, and the envelopes are from Recollections...gold colored that fit beautifully with the papers.
Here's how to do it...
For tutorial purposes, I used greeting card papers in different colors so that it is easier to see. For the project, if you want pockets, use envelopes. I used business sized for the "Sing Like No One's Listening" book. For the Halloween themed and the Immortal love books I used brochure sized envelopes. You can use any size you want, as long as they are all the same size. Sooooo...use 6 of them. If using envelopes, seal them, and cut the top edge off...I did mine at about 1/8", just a sliver needs to be removed to create the pockets. Then score in half, with the pockets on top.
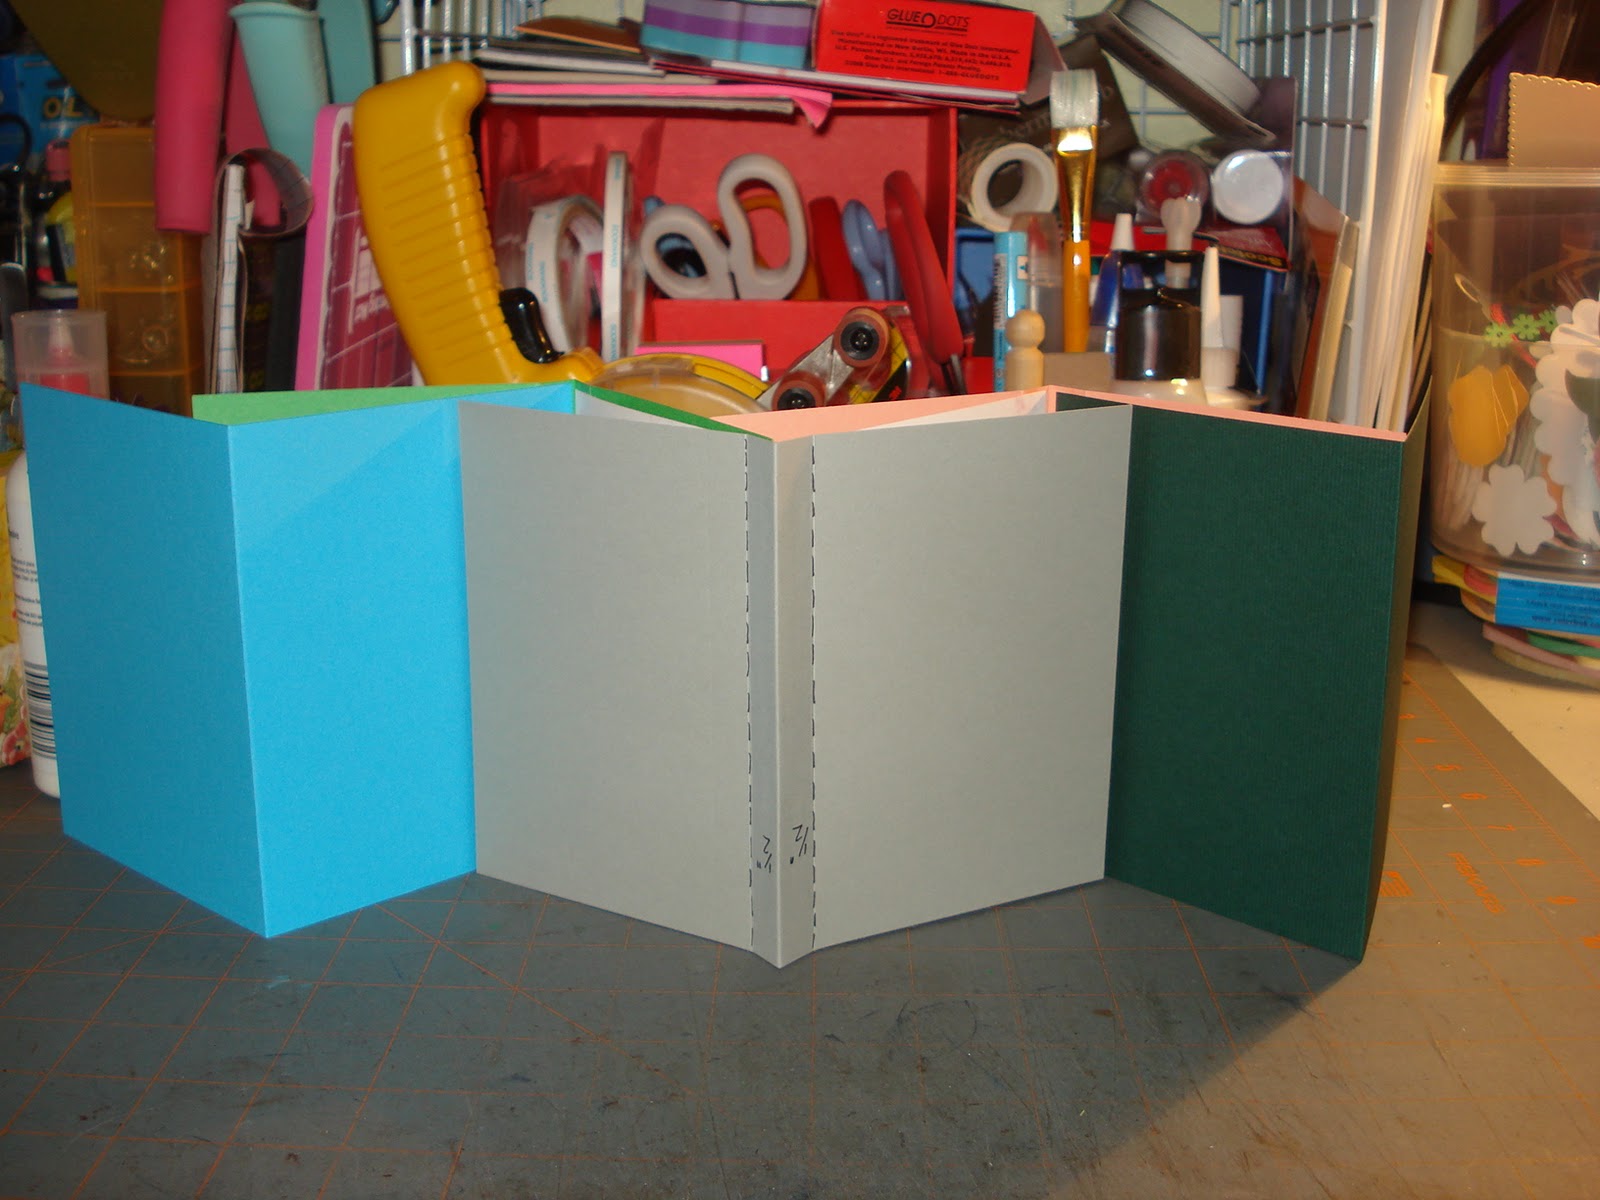
Take three of them, and add additional scores 1/2" from the middle score line, then fold as shown. These are the hinges of your book, and the secret to the making of this book.
Add glue to the first hinge piece where the black line shows...use liquid glue, and DON'T USE TOO MUCH! You only need a little.
Take your first two "pages", stand them up as shown, and glue the hinge piece to them.
It should open like this. You do not want glue inbetween the dark green and light pink page, only between the hinge piece and the "outside" of the other pages. This is where you can stop if you just want the versions like I did with the Halloween and the Immortal Love mini albums. I also stopped here when I did the Valentine's book that I taught at the retreat. It will give you, if you use envelopes, 12 pages and 6 pockets for tags.
If you want to continue on and make a bigger book...
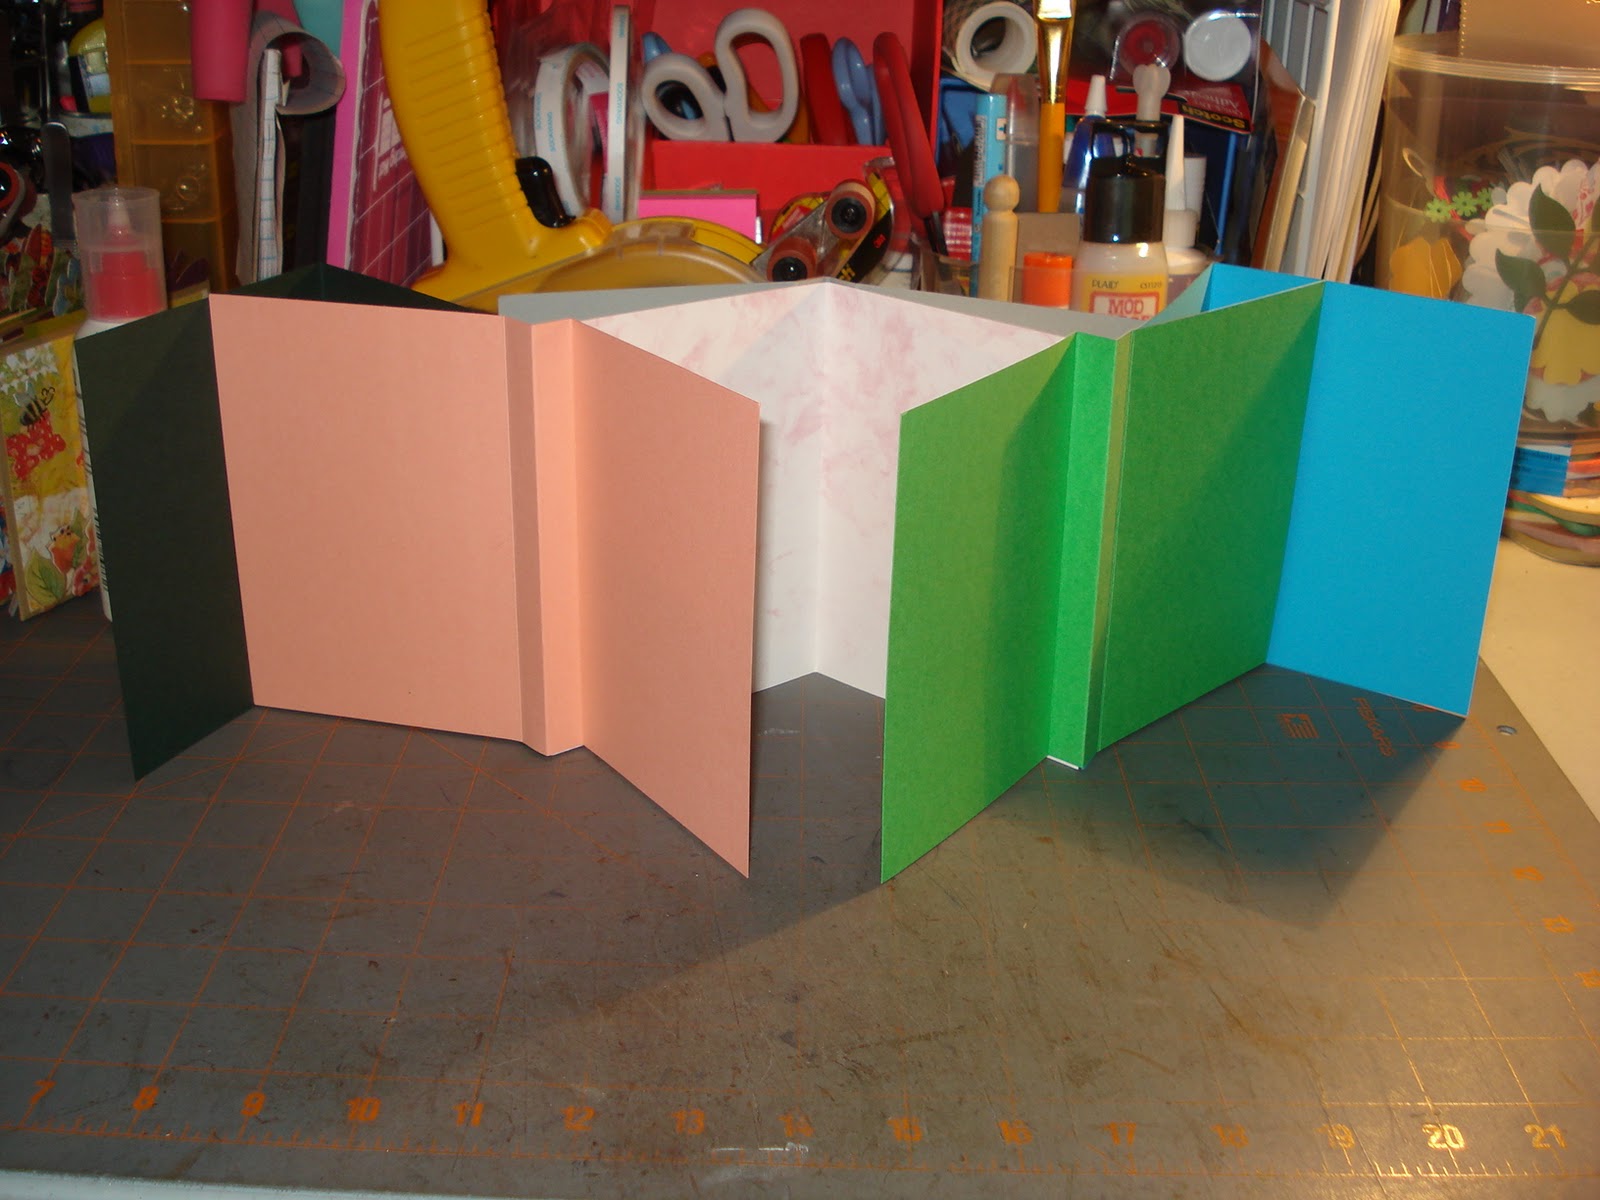
Add the third page (the blue one) by the light pink page, and in the same manner attach the second hinge, which is the medium green one.
Take the last hinge, and on the other side (the left side, the gray paper) of the book, attach it to the light pink (or middle) page in exactly the same manner.
Fold it all up. The hinge papers (or envelopes) fold into the book. Here is a view with the first page opened.
The first middle part opened...
Back page opened...
Other side of the book opened...
This shows the last hinge piece that you added opened.
If you used envelopes, you now have 12 pockets to fill! If you used plain cardstock, you have a canvas to put papers on, if you used double sided cardstock, add your pictures and embellish. Decorate to your hearts content!!
I tried really hard to make this tutorial easy by using the colored greeting cards to show placement. I suggest making a mock up to get the hang of how this goes together. So grab your spare greeting card blanks, have fun, and
STAY CRAFTY!


Wow!!! This is awesome!!! I LOVE this!!! TFS!
ReplyDeleteHey girl, I hope you have fun! I'll miss you. I was looking at your never ending mini and it's almost the same thing as my mini tag album that I have a class for soon! Great minds think alike...mine is a lil bit different but same theory. Hope to see ya next time.
ReplyDeleteloves and hugs
Elsa
hi!
ReplyDeleteyou have great ideas, and you are my inspiration!