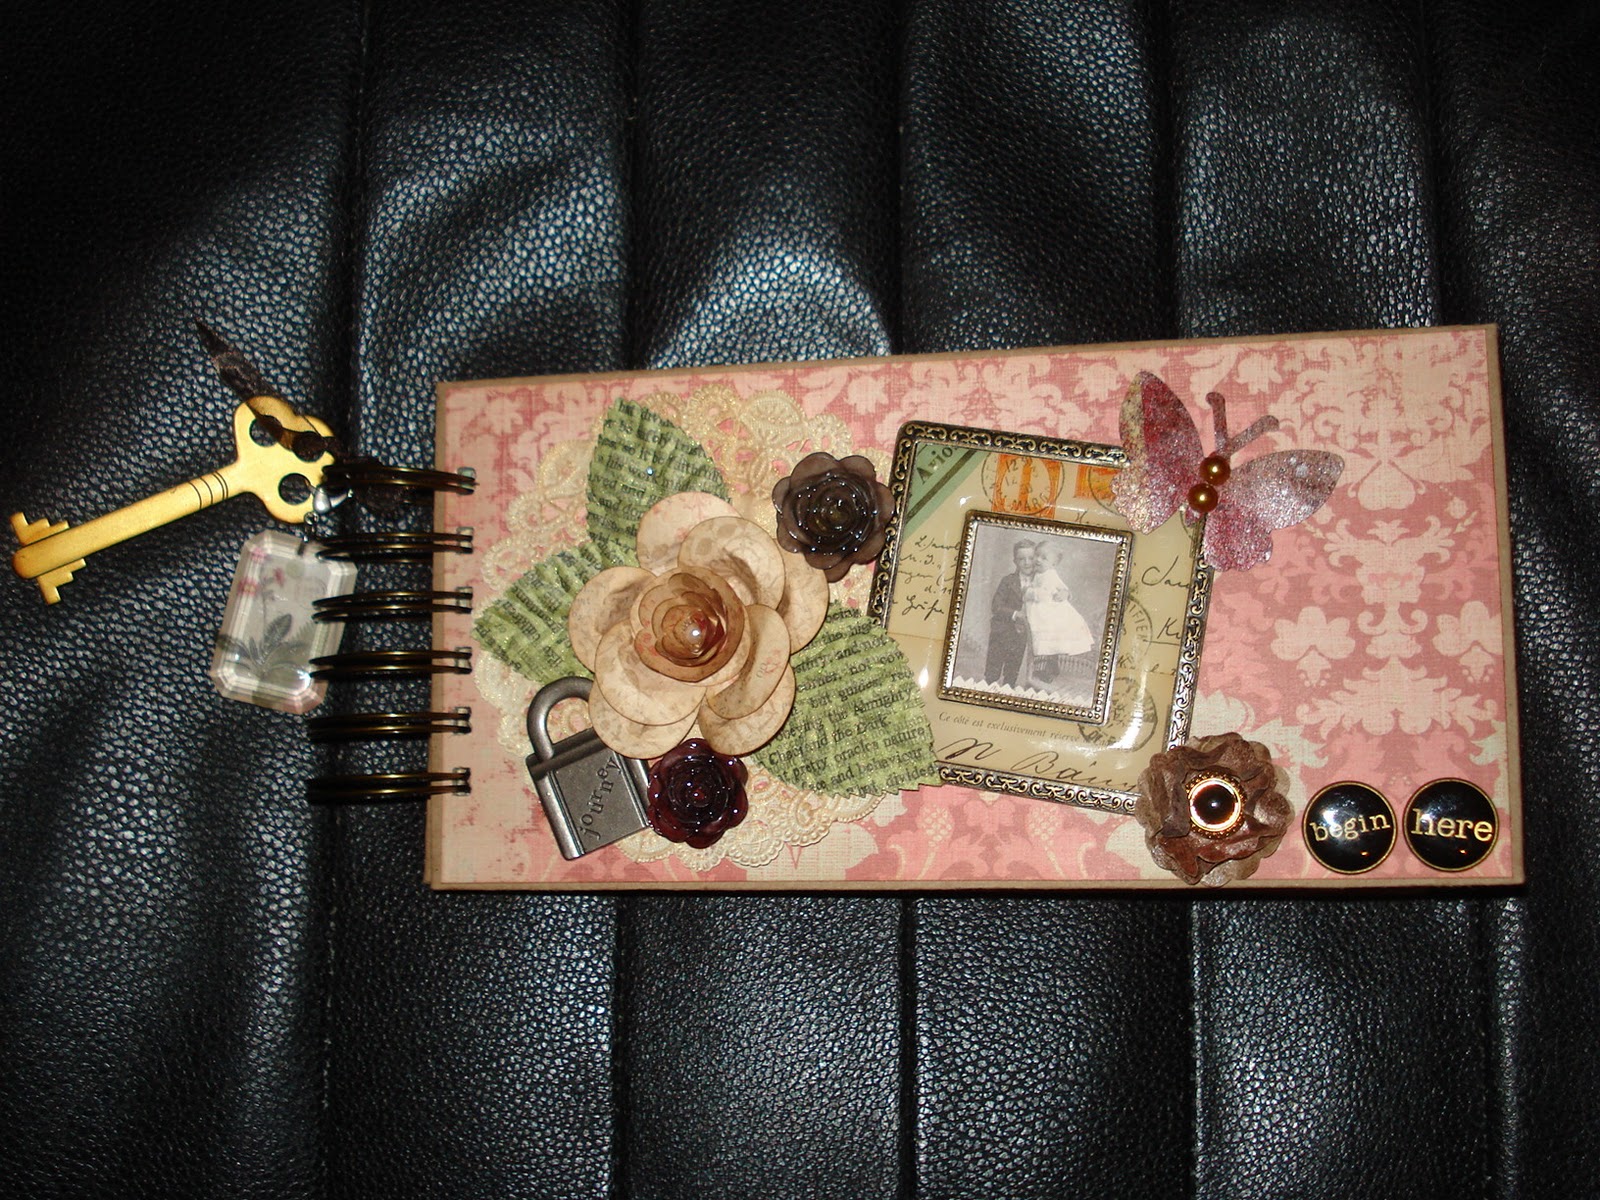
Here is the mini album that I showed you yesterday. I made this tutorial to give you the basics of how to make the envelopes. The one above, that I posted yesterday, is a variation of this tutorial. I folded this one differently, to give different sized pages. I also added more "pockets". You can do so many things with this album! Let your imagination run wild!
So, without further delay...the basic tutorial!
I love the look of the policy envelope mini albums. But, I didn't have any and for me, they are hard to find. Then, one day I was walking through the office aisle at the grocery store and it hit me, I could make my own from document sized envelopes. I bought a package of 9x12" envelopes and cut them in half, which made two 4 1/2" wide pieces.
I scored 1/2" in on the cut end...
and 4" in from the bottom sealed end.
Then I cut off the 1/2" piece on the back side of the envelope that included the flap. It left me with a 1/2" piece on the other side of the envelope.
I used my ATG and applied adhesive, folded over and sealed.
Then, since I scored it from the bottom, I folded and taa daa! A page for a mini album with a 4x4" page and a 4x8" page with a pocket and a flap.
I inked edges and applied papers.
I made a chipboard cover and used my bind-it-all. I made four envelopes total out of two big envelopes. It gives you lots of room for stuff.
Inside the front cover with the flap open...I just reshaped the flaps.
Top view.
Then I decorated the cover. I made the charm with some of the papers and a Tim Holtz Crystal. The flower was made following a tutorial by
Valita. I don't have an owl punch, so I used a balloon punch. The little roses are mine from this post
here. I also made the flower on the lower right and the butterfly...and that little tutorial will come later! (It was quite cool how those came about!)
I added tags in the four pockets. That is my mini, I hope you like it! I am going to add more embellishments to it later. The other cool thing about this mini album...The only thing I bought to make it was the envelopes, I had everything else in my stash! Thanks to
Counterfeit Kit Challenge! They are really encouraging me to raid my stuff FIRST!
Supplied used:
Jolee's: Key
We R Memory Keeper's: Eyelets
American Crafts: Ribbon
7 Gypsies: Lobster Claw, Type Buttons
Tim Holtz: Distressing Ink, Crystal
K & Co.: Paper, Metal Snaps, Frame
Recollections: Leaves
Tattered Angels: Glimmer Mist
Wilton: Doily
Fancy Pants: Journaling Cards
Have a crafty day!


Thanks for the tutorial - your mini album is beautiful. Very creative way to get the size you wanted. Thanks for the inspiration!
ReplyDeleteFabulous album....just fabulous. And you are so clever to think of using larger envelopes and cutting them down. I have a ton of the larger ones I can do that with. Thanks.
ReplyDeleteLovely tutorial! Thanks for sharing!
ReplyDeleteI love your mini -- it's fabulous!!! TFS! I'll have to try this one!
ReplyDeleteVery clever cutting up those envelopes. Great idea.
ReplyDeleteTFS
Ang
Love Love Love! Thanks for the tutorial!
ReplyDeleteBethany
this is so awesome!!!!!
ReplyDeleteWow, how creative and how nice of you to share "how to" with us.
ReplyDeleteThis is such a great idea! Your little book is amazing, and makes me wish I had a bind it all! Thanks for the aweosme tutorial!
ReplyDeleteSo cool! Neat idea! Thanks so much for the tut and the inspiration!
ReplyDelete:-)
Cute mini albums! Thanks for the tutorial :)
ReplyDelete- Jessica
Counterfeit Kit DT Member.
very nice - thanks for sharing
ReplyDeleteBeautiful album! Makes me wish for an excuse to make one.
ReplyDeletewow fabulous tutorial thanx for sharing.superb creations.
ReplyDelete