WELCOME!!

We are so glad you are here! We love making and sharing our projects, and we are excited to have you visiting our site. Please leave us a comment and let us know what you think!

Jackie and Michelle

Followers

Friday, July 29, 2011

Mariposa Album

I have been working on this album for months!  I started it before the CK Convention last November, I worked on it at the convention, and showed Jackie how it comes together, and I finally sort of finished it yesterday!


The tutorial can be found here, on You Tube, by RoseS915!  This is a cool way to use those huge business document envelopes to make a super cool mini album.


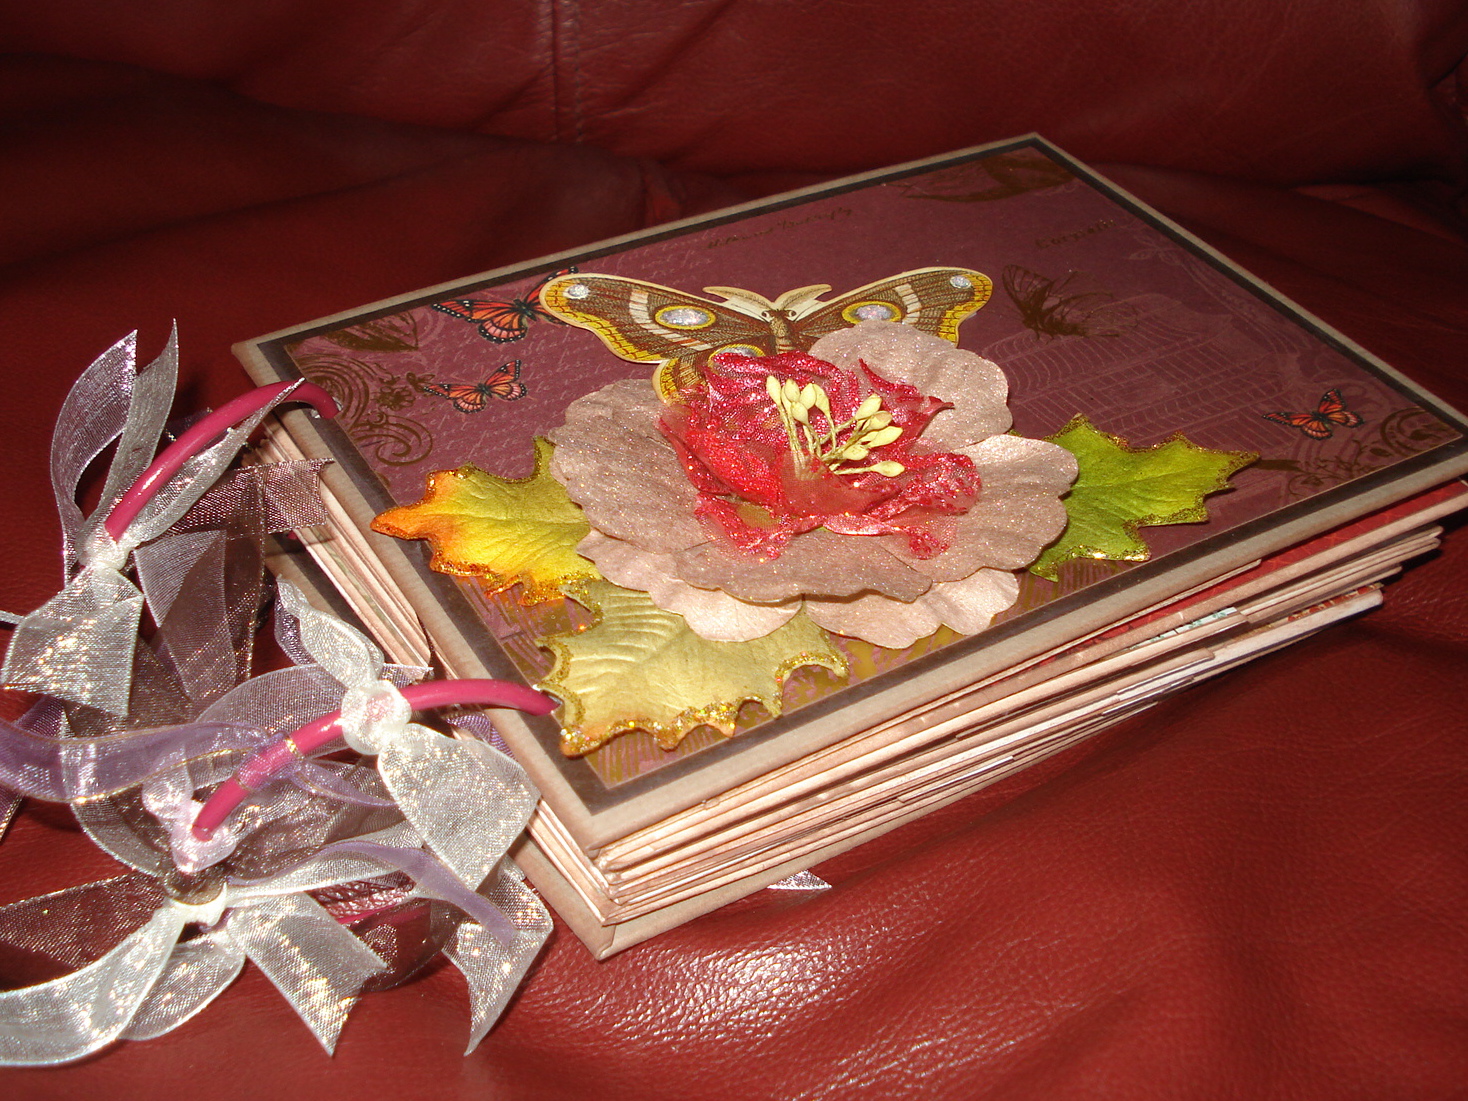
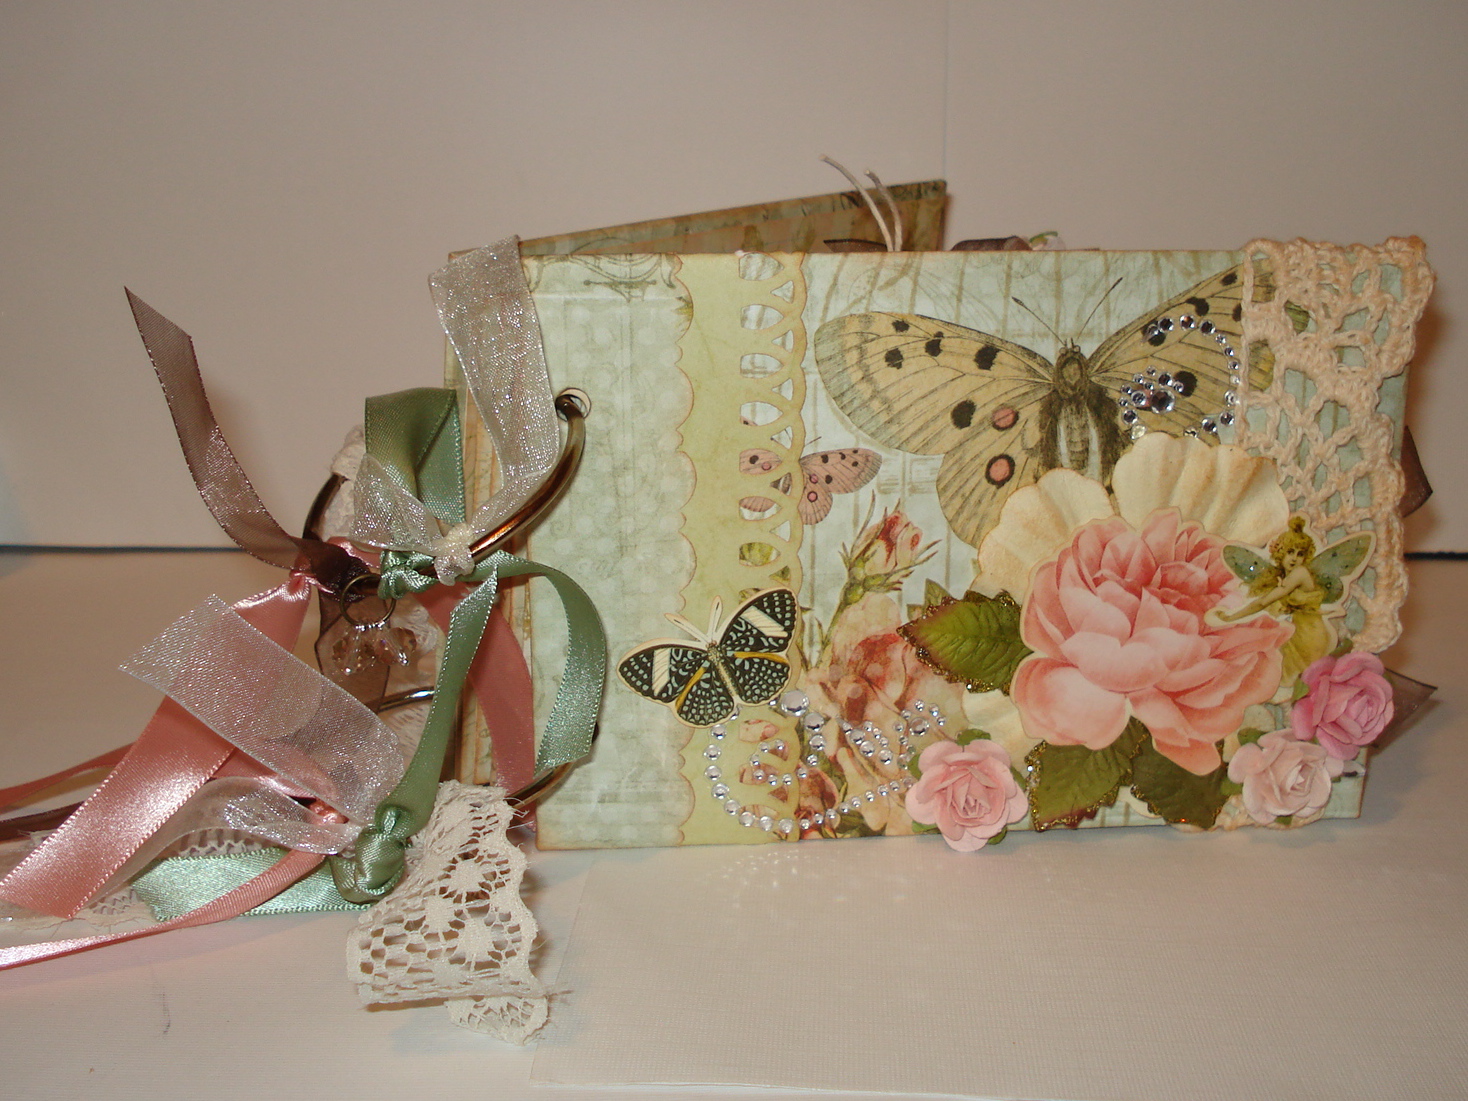
I used the Mariposa line of papers by DCWV.  I think it turned out really pretty.  I did a simple binding with book rings and used ribbons on them.  For the cover, I just glimmer sprayed some flowers, layered a Recollections flower and leaves, and added a butterfly die cut left over from my Butterfly Garden Mini Album, that I stickled.


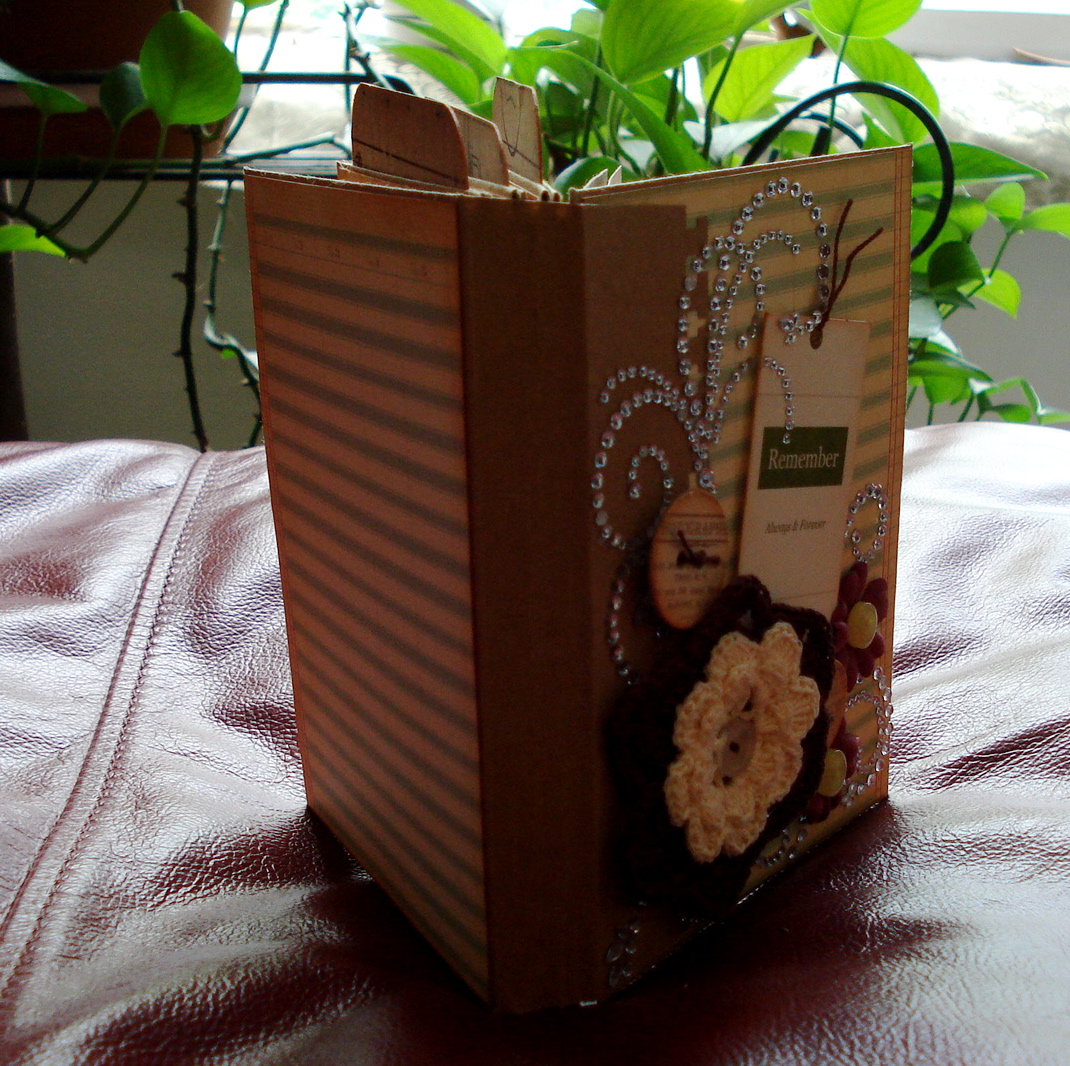
I used 6 envelopes in all, each with at least three pockets, some have up to 5.  Each pocket has a tag.


The little pages have tags made from the paper line, the larger tags are plain cardstock.


Some of the pocket flaps open into the book, some open to the outer part of the book.


I left the pages kind of plain as far as embellishments go, because the papers are sooooo pretty, and I want to make sure I have enough room for adding pictures.


 I love the colors!


I had a great time with this mini.  After I made the envelope pages, I inked edges, and inked all of the covering papers.


I need to add some ribbons to the tags, then I think it will be complete.  I didn't want to punch finger holes because I don't want to cut out the paper on the pages.


Thanks for checking this out, and please go check out the tutorial.  You will want to make one too....

Stay Crafty!!!!

Wednesday, July 27, 2011

Explosion Album Tutorial

Hi, Everyone!  Today I have for you the tutorial for how I made my explosion albums.  They are...

This post can be found here...
And this one can be found here.

The cool thing is that you can make these any size you want, as long as your pieces are square.  For the tutorial I used 6" squares, which will give a 12x12" album  when fully opened.  The ones I made above are 9" squares, which gave an 18" album when opened.  I also used different colored cardstock so that it would be easy to see the pieces...Let me know if it works!
 You will need, for the base of the album, 6 pieces of cardstock, two unscored for the inner piece and the back of the album.  Then, score 4 pieces as shown making the "explosion page". You will score at the half way measurement for the squares.
 I scored the papers and folded them...The valley and mountain scores are on the other side of the paper, sorry it looks backwards.  :-)

 Adhere one corner of each of the explosion pages to the back of the inner paper...
 This will be the inside of the book.
 This is what the back of the book will look like now.
 This is what it looks like folded up on the front.
 To make the "gatefold" type page, just cut a paper 1/2 the width plus 1/2" for adhering...
 adhere to the back....
 This is what it will look like with the page (which could be the "cover" of the book) folded to the front of the book...
 And opened.  I used this for the cover of my birthday book.
 You could also use the same technique to add a page to the inside of the book.
 This page opened...
 ...then I covered the adhering tabs with another piece of paper.
 You could also use a full square of paper and attach a page to the inside either on the top...
 ...or the side, then cover the adhering tabs with cardstock.
 This is a full page opened, with the inner adhering tabs covered.
 To attach a ribbon tie one method is to lay and adhere ribbon on the back of the book, after all of your cover pages you want are added....
Then cover the back of the book with cardstock to finish it.

If you check out the other album I did, you can see that I added pockets to the outer corners of the explosion pages and put tags in them.  In the birthday album, I created another exploding section in the book, so that there are two of them.  The possibilities are endless to what you could do with this!  You can make it as big or as little as you want!

I sure hope this makes sense!!!  Please let me know if you have any questions.

Monday, July 25, 2011

Butterfly Garden Mini Album


I took a class by Elsa on Ustream this weekend and learned how to make this mini album.  It is soooooo clever how she put the pages together and how the pockets are formed!  Check out Elsa here, and see for yourself!  Go to the Ustream channel and see her Butterfly and Bird Album.  You will love it.

Here is my version!


I used the Butterfly Garden paper by Pink Paislee.  I also used Recollections bling, Prima Flowers, and assorted ribbons.  On the cover, I used a piece of crochet lace that I made, I tied it around to the inside cover with ribbon.

There are journal spots by Color Bok.  I used some as a pocket, like above, so tags could be put behind.


There is a tag, using those journal spots, behind the birds.  The die cuts go with the paper line.


I used foam tape on some of the die cuts for dimension, and used one of Tim Holtz memo pins to attach the bird.  I also used two manilla tags in this book, this one behind a photo mat.


I used a lot of bling...


More tags sticking out of the right hand side page.  The paper line had a sheet of print that I cut apart to make various tags for this book.


I used the daisy die cut and adhered it so that a tag could be put behind.


I wrapped a piece of lace around the page and slipped another tag in it.


There are tons of pockets and tags.  I love this!


More beautiful pages...


I adhered a strip of paper on the left page and made another pocket.  I used the packaging from the die cuts to create more tags.


The tag on the left is made from that packaging.


The last page.  I sure hope you liked it!  Go check out Elsa's blog and Ustream.  You will love it.

Stay Crafty, My Friends!!!

Friday, July 22, 2011

Card and Envelope Mini Album


Jackie and I went to the CK convention when it was here last March and we did a Make-and-Take with a lady from Stampin' Up, Jan House.  This is a wonderful little mini album, made of envelopes and cardstock.  It is bound with cards and envelopes in a cute and cool way.   I remade it with my July Counterfeit Kit...I used 8 envelopes and 8 greeting cards...doubling the size of the book I learned to make.  Here it is!  I crocheted the flowers on the front cover, and layered them.


Inside the book, there are 16 "blank" pages, 8 decorated  pages, and three pockets with tags.


I used the flash cards as the tags, and added the paper from Basic Grey to the backs for journaling.


I used the name of one of the papers I used as an embellishment for some of the pages.


Here is another tag that I used on one of the pages.


Thanks for looking!  Stay Crafty!!!