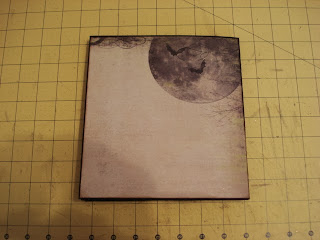
This album measures 8" high, and 7 1/2" wide. I used some papers I found from Office Depot that are 11"x17". The brand is "Neenah Creative Collection". It is 32lb paper so it is heavier duty, not quite cardstock but better than standard paper, and it comes in black, kraft, and white.
I scored the first piece on the left at 1", then at 8 1/2", then I cut off 1" on the right side. I saved that piece to make the two hinges you see right by my fingers. I scored the bottom at 3" for the pocket. I made the hinges by cutting the 1" scrap into two pieces at 3" and beveling the edges. I adhered them one to each side of the bottom score line. When you put the fold up and adhere the bottom tabs, taa daa, pockets. The right side is adhered only by one strip of 1/4" score tape on the 3" side. This cut edge is going to be bound into the binding of this book, so that's why we don't need a hinge here. The 1" side on the page is just adhered down to help create stability to the page since this isn't cardstock. If it was cardstock, I wouldn't have done it. The left side is the side you will be touching to turn the pages. ADHERE THE RIGHT SIDE 1" FLAP DOWN FIRST BEFORE FOLDING UP AND ADHERING THE POCKETS!!
I scored and cut the second piece exactly the opposite of the above piece. (Please ignore the length of the hinges. I goofed!)
The third piece is scored at 1", 8", 8 1/2", 9" and 16". Then at 3" on the bottom. Cut as shown. The pockets will be formed with the 1" tabs on the side and the 1/2" tabs in the middle.
When everything is scored, cut folded and adhered, take the two cut edges of the pages and stand them up. Put two strips of score tape on the inside of the 1/2" scores on the third piece, and adhere them down. You do NOT want to adhere anything between the first two pieces. Just adhere the cut edge into the 1/2" score. Line up the pockets as shown.
Top view. Sorry the picture is a little dark, but this will give you the visual also. The two strips of the Scoretape in the 1/2" score space is the binding.This is the cover.
Opened to see the pockets...I added tags made from the scraps left over. Since the base paper isn't card stock, I put full pieces of patterned paper into the pockets to add some stability. The folded 1" edge also helped with stability of the edges.
Then the album opens again to the right. You will have 4 pages with no pockets.
This is the back of the book.
It opens to see pockets...
And opens again for another full page.
This is the middle of the book. I created pockets for this page with the papers, otherwise this would be a full page.
Heres a "front view" of the book.
Here is a top view. The left side in the back is the inside front cover, the right side in the back is the inside of the back cover. The two pieces in the front are the third piece we scored, the binding of the book. The "V" in the center opens to reveal the black and white harlequin paper in the middle of the book.
I used My Minds Eye papers for most of the book, with one page of Recollections. This book is not good for a lot of embellishments, so decorations with paper, stickers and tags is a must since it folds pretty flat.
I hope you liked this book! Let me know if you have any questions.
Stay Scary, My Friends!


Love this! Thank you for posting!!!
ReplyDelete