Here is another project I made for dealing with my shopping and coupons. I think this is a perfect solution to keep my shopping organized!
I had a coupon planner that used the ARC rings, and it was an 8 1/2" by 5 1/5" notebook. I have loved the larger size of the happy planner, and it is much prettier, so I changed my book. I was able to use the same inserts in this planner since the punches match, so it was a quick change. In the front cover I have a couple of paper clips to attach the coupons I am definitely going to use on that particular trip. I also have a pouch for pens, scissors and clips.
I found this list of coupon categories. I printed it out, and in the next picture you will see how I use it to organize my coupons. You can get this list for yourself, just click this link. Scroll to the end of the post, and you will see the link to click on for the PDF. Just size and print.
In my old ARC notebook, I had some pocket pages that I put the coupons in. In each pocket I put a journaling card and wrote the category and the contents of the pocket. I then used stickers to add headings to the pockets.
Now all of my coupons are nicely organized and I can find them easy. Before each shopping trip I go through the pockets, pick out what I will use, get rid of the expired ones, and clip the coupons inside the front cover. Going through them before the trip reminds me what I have, so as I go shopping and I find a good sale, it tends to jog my memory and I can use a coupon and save even more. (That leaves more money in the budget for craft supplies! SHHHHHH, don't tell the hubby!!)
I also have these grocery lists that I salvaged from my old system. I love how they are so organized. You can get them for free here at this link.
Here is some list pages that I got from Levenger. They also make nice lists, and are perforated so you can pull them out. These are awesome if you have multiple stores you go to, just use a list per store if you are on a massive shopping adventure.
I found these pages for free on the Arc It blog. She no longer posts on the site, but I just checked and it is still there, and the free printable tab is still there. I used them to create a master shopping list for our family.
I have a pocket that has a notebook where I keep wish lists. Lists of DVD's I want, books I want, etc. You never know when you will run up on a sale and can not for the life of you remember the name of that thing you need!
I also made a list of my favorite and most frequented stores, their numbers and hours, just in case I need to check something before I go.
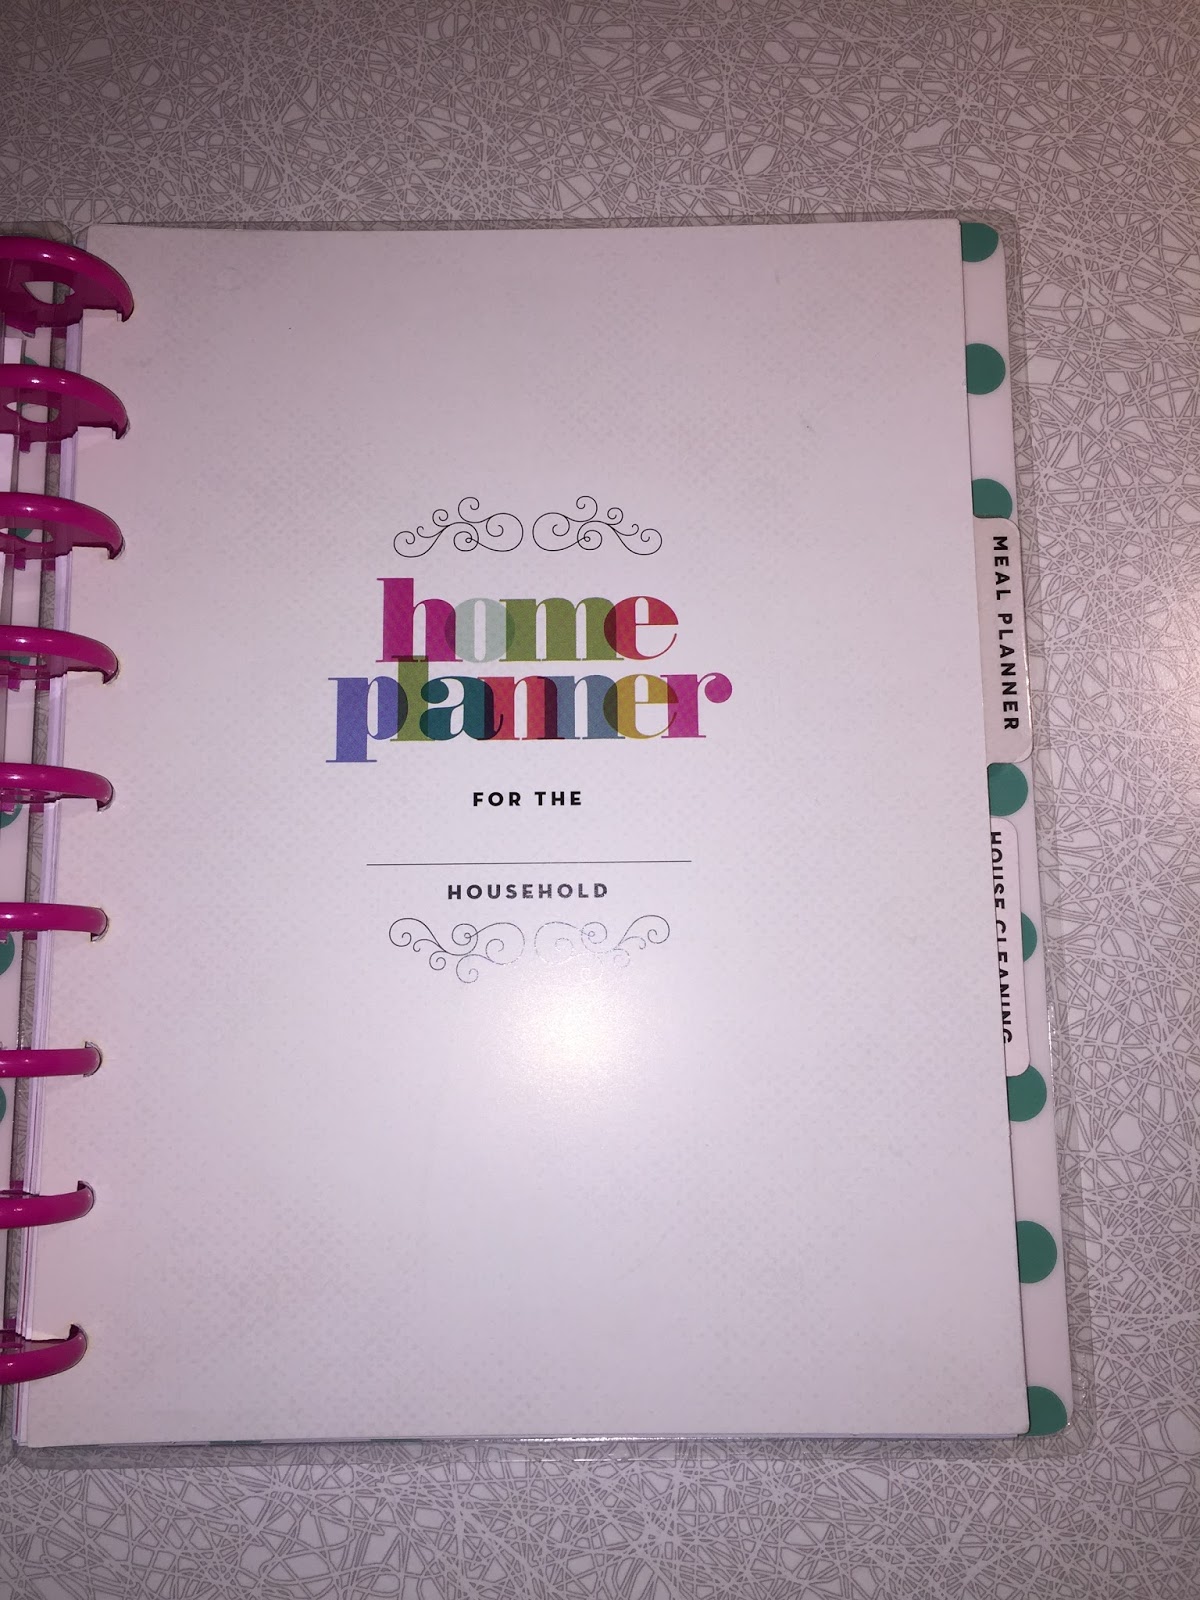
Then, in the back, I have the Happy Planner Home Pack. I am going to use the meal planner...I'm not sure about the budget planner though. We will just have to see.
This is a place in my office that I use for my coupon storage. I have a coupon box. In it, I have my coupon notebooks, and all catalogs, fliers, etc. Every weekend I go through it, sort it out, clean it up. It keeps me organized.
Hello, Ace! I was trying to take a pic of my other coupon notebook, and he wanted to help. That little Doxie doesn't let me do anything without him!
This coupon book has coupons, fliers, etc for stores other than grocery stores. When I am off on errands, this is the book I take. I organize them by the front pocket (craft store coupons)...
...and the back pocket for everyone else. I put some pocket pages in here so I can gather those little card coupons I get and keep them visible. I also have paper and lists making potential in this book.
I found this notebook carry tote the other day...the heavens broke open and the angels sang and I bought it (with my 40% coupon) and now it houses all of my coupon goodness. I can carry all of my stuff when I am on a serious shopping mission.
Pockets for scissors and pens...
...and pockets for notebooks. I love it.
OK, that's it for today. This is what I use some Happy Planner supplies for to keep me straight on shopping...and saving!!!
Stay crafty, and organized, my friends!
Saturday, June 4, 2016
Wednesday, June 1, 2016
Happy Memorial Day
Yes, I know, I am a little late. I'm sorry about that. But, what I want to show you is actually a project that can be used for Memorial Day, Independence Day, Veteran's Day, or any other time you want to feel patriotic and thankful for the men and women who have served our country past and present.
I have seen many examples of this type of project on Pinterest, and I thought that I would make myself one. I hung it in our upstairs hall and it is visible from the downstairs, so it's a perfect spot. I usually hang a quilt that says "Bless our Home" that my mom made for us when we got our first house. At Halloween I have another hanging that goes here, and a Christmas Quilt goes here for the month of December. We needed something for those other holidays.
There are many examples I looked at. Here are the links for a few that caught my eye.
The Ribbon Retreat Blog
Blazer Designs
Optimistic Mommy
Here is my interpretation. I got a piece of star fabric and sewed it to create a pocket. I put the strips of ribbon inside the pocket and sewed them in place. I used two strips of wide ribbon for the top, creating a tube for the curtain rod. When I sewed the bottom edge of the ribbon tube, I tucked the stars and the ribbons inside to attach them. I think it turned out pretty darn cool, and I will be proud to hang it in my home. The examples I linked to are a bit more ornate than mine, but that's the beauty of this project. You can make it as frilly as you like. I did use lace in the project, but just enough, I think, to make this project pop.
The piece is about 2 x 3' total, and it took about one hour to make.
Stay crafty, my friends.
I have seen many examples of this type of project on Pinterest, and I thought that I would make myself one. I hung it in our upstairs hall and it is visible from the downstairs, so it's a perfect spot. I usually hang a quilt that says "Bless our Home" that my mom made for us when we got our first house. At Halloween I have another hanging that goes here, and a Christmas Quilt goes here for the month of December. We needed something for those other holidays.
There are many examples I looked at. Here are the links for a few that caught my eye.
The Ribbon Retreat Blog
Blazer Designs
Optimistic Mommy
Here is my interpretation. I got a piece of star fabric and sewed it to create a pocket. I put the strips of ribbon inside the pocket and sewed them in place. I used two strips of wide ribbon for the top, creating a tube for the curtain rod. When I sewed the bottom edge of the ribbon tube, I tucked the stars and the ribbons inside to attach them. I think it turned out pretty darn cool, and I will be proud to hang it in my home. The examples I linked to are a bit more ornate than mine, but that's the beauty of this project. You can make it as frilly as you like. I did use lace in the project, but just enough, I think, to make this project pop.
The piece is about 2 x 3' total, and it took about one hour to make.
Stay crafty, my friends.
Labels:
Flag,
Independence Day,
Memorial Day,
Veteran's Day,
wall hanging
Saturday, May 28, 2016
My Happy "Bill" Planner
I thought that I would share with you today my Happy Planner turned Bill Planner. I bought last years Happy Planner on sale at my local craft store. It has 18 months, and included 2016. Perfect for what I wanted. I just made a few adjustments...and here they are.
On the back of the right side of the monthly calendar is the start of the weekly pages. I don't need them for my bill planner, so I thought about what to do with this page. I decided to make a notes page.
I took a note page and adhered it to the back of the calendar.
And taa daa, a note page and the weekly page covered up. This gives me space to write any notes about the bills that I need to write. I also might use them in the future to keep track of expenses, and maybe eventually write up an official budget.
The first thing I do is circle our paydays in red on the calendar. It helps me with keeping track of which bills get paid on which paydays. When I get the bills in the mail, I write who I owe, and the amount owed on the date that it's due. Then as I do my weekly bills, I know who to pay, and when. Once I pay the bill, I cross it off, write the date paid, and how I paid it (bill pay, check written, etc.). It's a super simple system, but it really works for me.
I still keep track of my expenses, checks, debit card purchases, etc., on paper. I quit using a check book register, and use a ledger book instead. It gives me a quick visual of stuff, and also allows me to double check things to make sure I get all my finances right. I know, I probably don't need to do this, with all of the online help with our banks these days, but I can't seem to break this habit. Do any of you still keep paper logs of your finances?
My ledger and my bill planner.
I put a pocket in my bill planner. I the first pocket I put the bills that I have received and written on the calendar, all clipped in my giant red paper clip. I love it when I have NOTHING in the clip. It's a good feeling to not have bills hanging out, waiting to be paid. Unfortunately I don't have an empty clip too often...haha!
In the second pocket I put another things I need to save for the time being. I keep some notes here, and a couple of the tabbed skinny pages in case I need to make special notes during the month.
That's about it for the bill planner. Next week I'll show you yet another way I use Happy Planners for keeping my life straight.
Until then, stay crafty and organized, my friends!
On the back of the right side of the monthly calendar is the start of the weekly pages. I don't need them for my bill planner, so I thought about what to do with this page. I decided to make a notes page.
I took a note page and adhered it to the back of the calendar.
And taa daa, a note page and the weekly page covered up. This gives me space to write any notes about the bills that I need to write. I also might use them in the future to keep track of expenses, and maybe eventually write up an official budget.
The first thing I do is circle our paydays in red on the calendar. It helps me with keeping track of which bills get paid on which paydays. When I get the bills in the mail, I write who I owe, and the amount owed on the date that it's due. Then as I do my weekly bills, I know who to pay, and when. Once I pay the bill, I cross it off, write the date paid, and how I paid it (bill pay, check written, etc.). It's a super simple system, but it really works for me.
I still keep track of my expenses, checks, debit card purchases, etc., on paper. I quit using a check book register, and use a ledger book instead. It gives me a quick visual of stuff, and also allows me to double check things to make sure I get all my finances right. I know, I probably don't need to do this, with all of the online help with our banks these days, but I can't seem to break this habit. Do any of you still keep paper logs of your finances?
My ledger and my bill planner.
I put a pocket in my bill planner. I the first pocket I put the bills that I have received and written on the calendar, all clipped in my giant red paper clip. I love it when I have NOTHING in the clip. It's a good feeling to not have bills hanging out, waiting to be paid. Unfortunately I don't have an empty clip too often...haha!
In the second pocket I put another things I need to save for the time being. I keep some notes here, and a couple of the tabbed skinny pages in case I need to make special notes during the month.
That's about it for the bill planner. Next week I'll show you yet another way I use Happy Planners for keeping my life straight.
Until then, stay crafty and organized, my friends!
Saturday, May 21, 2016
A New Planner Layout for my Happy Planner
Hello, everyone!
I know that I said I wasn't going to do any planner page decoration posts (otherwise known as the "my week" style posts), but I didn't say I wasn't going to show new additions or remodels of my planner!
Well, here it is. I decided to try a new layout, again. I don't know what inspired me to redo my layout that I usually use, but I decided to try another way to layout my week.
If you want to see my old layout...please check out this post.
I started using my new layout this week. So far I love that the work hours, meals, and appointments on specific days are in one spot. Before, they were in different places...not very efficient. I also found that most of the time in my old layout, I didn't use the huge spaces that I created for my days off, so the newer and smaller spaces seem to work.
I am not sure that I love the blog space, since I am working on a new blog/craft project notebook that you will be seeing soon. I also need to revamp the chore space, as I don't have enough room. For some reason I also decided to change the task layout, matching the vertical type layout, and it is confusing me. HAHAHA!
I think that I will use it for another week, and maybe make some changes. If I do, I will surely let you know.
I love the Happy Planner so much that I have made a bunch of books with them. I am planning a series of posts about what I have done, and how I am trying to organize my life with them.
Until next time, stay crafty and organized my friends!!!
I know that I said I wasn't going to do any planner page decoration posts (otherwise known as the "my week" style posts), but I didn't say I wasn't going to show new additions or remodels of my planner!
Well, here it is. I decided to try a new layout, again. I don't know what inspired me to redo my layout that I usually use, but I decided to try another way to layout my week.
I am trying to get all of the information on one sheet. I am trying to use a cleaning schedule and my task list is a must. I came up with a two page layout. I am also trying to use a version of the vertical layout. I placed my days on top, one week on two pages. I am adding a place to write the hours I work (the days I work don't change, but the hours can), and I also want to keep track/plan meals.
On the next page I have a place for the weekly chores (my version of the Zone Cleaning schedule idea), and I made a spot for some quick blog planning. If you want to see my old layout...please check out this post.
I started using my new layout this week. So far I love that the work hours, meals, and appointments on specific days are in one spot. Before, they were in different places...not very efficient. I also found that most of the time in my old layout, I didn't use the huge spaces that I created for my days off, so the newer and smaller spaces seem to work.
I am not sure that I love the blog space, since I am working on a new blog/craft project notebook that you will be seeing soon. I also need to revamp the chore space, as I don't have enough room. For some reason I also decided to change the task layout, matching the vertical type layout, and it is confusing me. HAHAHA!
I think that I will use it for another week, and maybe make some changes. If I do, I will surely let you know.
I love the Happy Planner so much that I have made a bunch of books with them. I am planning a series of posts about what I have done, and how I am trying to organize my life with them.
Until next time, stay crafty and organized my friends!!!
Saturday, May 14, 2016
Cantilever Sewing Box, Part 2
After I put the boxes together, shown in the previous post, I took it all apart, then I reinforced the levers with another piece of cardboard (making them double thick), and covered them with kraft paper. I also changed the color of the brads that I used. I think the gold matches the papers better.
I also changed the knobs to ones I felt more suited the project.
This is one side opened, you can see how big the drawers are! I covered the inside of the box with some kraft paper to cover the brads, but that is all of the papering I did on the inside of the boxes.
The handles were not to my liking, so I edged them with more papers. Then I stuck the whole thing together and attached it to the foam core base.
This is the finished project. I added feet to it to make it more pretty.
I love how it came out.
It will be so fun to fill with fun stuff. I just have to figure out what to put in it!
It's awesome, and a fun project to make. Below is a list of things I used to make it.
Papers: DCWV and Recollections Kraft Cardstock
Knobs: Tim Holtz
Feet: Graphic 45
Adhesive: Score Tape (Yup, just loads of Score Tape...I love that stuff!)
Miscellaneous: Brads, screws (for the feet), a drill to make the holes, paper piercer, rulers, etc.
Stay crafty, my friends!
I also changed the knobs to ones I felt more suited the project.
This is one side opened, you can see how big the drawers are! I covered the inside of the box with some kraft paper to cover the brads, but that is all of the papering I did on the inside of the boxes.
The handles were not to my liking, so I edged them with more papers. Then I stuck the whole thing together and attached it to the foam core base.
This is the finished project. I added feet to it to make it more pretty.
I love how it came out.
It will be so fun to fill with fun stuff. I just have to figure out what to put in it!
It's awesome, and a fun project to make. Below is a list of things I used to make it.
Papers: DCWV and Recollections Kraft Cardstock
Knobs: Tim Holtz
Feet: Graphic 45
Adhesive: Score Tape (Yup, just loads of Score Tape...I love that stuff!)
Miscellaneous: Brads, screws (for the feet), a drill to make the holes, paper piercer, rulers, etc.
Stay crafty, my friends!
Sunday, May 8, 2016
My Attempt at a Cantilever Sewing Box
I have been wanting to make one of these for years. I am finally going to try. I have been saving boxes for a while, and I think they will be perfect for this project. Below you see my sketch (not very detailed) and my paper attempt at figuring it out.
I've used these boxes in a variety of projects, now I'm going to use a bunch more!Here you see the two stacks of three boxes. I put the whole thing together and put knobs on it to see if the whole contraption will actually work.
It does!
Fully opened, this is what it will look like. I left the lid on the top box, now to figure out how I am going to close it.
These pieces were the "guts" of the inside of the boxes, that held the device all nice and safe inside. I think they will make perfect handles. So...
I covered them with craft paper...
...and this is what these turned out to be like. OK...Now I have to figure out how to do a base and put it all together.
I bought a thick piece of foam core board, and then I covered one side with kraft paper. I will attach the boxes and handle to this. This will put a nice base under the boxes and give stability without a lot of weight.
OK, that is part one...now to finish it and see how it works!
Stay crafty, my friends!!!
Saturday, April 30, 2016
Hi!
I don't really have anything to post for today, but I wanted to let you know what I have been up to. I have spent a lot of time lately reorganizing my craft room and trying to get my creative juices flowing again. Sometimes when I reorganize I find things I forgot I had, plans I drew that I forgot I did, and so on. It does sometimes helps to get me going!
I am, however, starting to work on a couple of ideas. One is a cantilever type sewing box using the cardboard boxes I get from work, and the other is a new blog planner/crafty idea book. Maybe that will help me not to forget the plans I have made! I have a doily in the works, but I'm not sure if I am going to use it for what it was intended when I started it. There is some talking happening
with my crafty group about doing a swap…I am hoping that comes true! When I get some stuff going I will let you know.
I found this random sign at my local Craft Warehouse. I think I need to add it to my craft room decor. What do you think?
So how are YOU doing? What are you up to these days? Leave me a comment, let me know!
Stay crafty, my friends.
I am, however, starting to work on a couple of ideas. One is a cantilever type sewing box using the cardboard boxes I get from work, and the other is a new blog planner/crafty idea book. Maybe that will help me not to forget the plans I have made! I have a doily in the works, but I'm not sure if I am going to use it for what it was intended when I started it. There is some talking happening
with my crafty group about doing a swap…I am hoping that comes true! When I get some stuff going I will let you know.
I found this random sign at my local Craft Warehouse. I think I need to add it to my craft room decor. What do you think?
So how are YOU doing? What are you up to these days? Leave me a comment, let me know!
Stay crafty, my friends.
Saturday, April 23, 2016
The finale of the potholder project
I have finished, at least for now, my own set of "vintage" potholders for my kitchen. I had so much fun making these! What I did do was update them a bit so I can actually use them. If you make them as the patterns state, the only thing you can use those for is looking at, or as a kind of hot pad for your counter…they WON'T protect you from cast iron skillets that have been in the oven! I added a layer of thermal batting for potholders between the layers so that I won't get burned when I use them. These aren't just for pretty!
The patterns (from top to bottom, left to right) can be found at these links.
Vintage Crocheted Dress
Raised Rose Potholder
Round Rose Potholder
Petticoat Fever Potholder
Queen Anne's Lace Vintage Potholder
Country Rose Decorative Potholder
Stay crafty, my friends!
The patterns (from top to bottom, left to right) can be found at these links.
Vintage Crocheted Dress
Raised Rose Potholder
Round Rose Potholder
Petticoat Fever Potholder
Queen Anne's Lace Vintage Potholder
Country Rose Decorative Potholder
Stay crafty, my friends!
Saturday, April 16, 2016
Mermaid Lapghan!
I have wanted to make one of these ever since I had seen one online. I love these lapghans and I thought that it would be a perfect story time cuddle blanket for when the grand babies are visiting.
Here you can see my dog, Ace, testing out the blanket. It's huge for a doxie!
I got this picture of me using it. It makes up as big as you want, so you can make it wide or skinny, whatever you like. I made it a bit wide, so that I could have a little one on my lap for story time.
The pattern can be found here: Crocodile Stitch Mermaid Lap Blanket by Felene Grammar
It was fun and challenging to do this stitch, as I had never done it before. It sure worked up nicely and the instructions are awesome.
Stay crafty, my friends!
Here you can see my dog, Ace, testing out the blanket. It's huge for a doxie!
I got this picture of me using it. It makes up as big as you want, so you can make it wide or skinny, whatever you like. I made it a bit wide, so that I could have a little one on my lap for story time.
The pattern can be found here: Crocodile Stitch Mermaid Lap Blanket by Felene Grammar
It was fun and challenging to do this stitch, as I had never done it before. It sure worked up nicely and the instructions are awesome.
Stay crafty, my friends!
Saturday, April 9, 2016
Baby Afghans
I was asked by two friends of mine to make some afghans for some cute little babies. They chose the colors, the yarn and the patterns. I made them both using Bernat Blanket yarn. I have to admit I was skeptical at first. I have never made a baby blanket with anything bigger than worsted weight yarn!
It's a wonderful yarn to work with and it is super bulky so it works up projects quick. You can find the pattern I adapted for the chevron blanket here. For the granny square blanket I adapted the pattern that you can find here.
Next week, I have another crochet project to share. I am most certainly on a roll with creating crochet projects!
Stay crafty, my friends!!
It's a wonderful yarn to work with and it is super bulky so it works up projects quick. You can find the pattern I adapted for the chevron blanket here. For the granny square blanket I adapted the pattern that you can find here.
Next week, I have another crochet project to share. I am most certainly on a roll with creating crochet projects!
Stay crafty, my friends!!
Saturday, April 2, 2016
Serving Tray Upgrade
We are lucky here in the Northwest. We have a wonderful resource in the McMenamin's restaurants and breweries scattered throughout the region. My husband and I have been to many of their restaurants and we have stayed at several of their hotels. The food is great, the atmosphere is amazing, the buildings are (most of them) historic places that have been preserved and now function as wonderful places to eat, drink, stay, and relax. If you are ever in this area, please stop at one and you will fall in love with them as we have.
That brings me to this tray. My oldest son gave me a collection of their beer label stickers. I have hung on to them for a long time knowing that one day I would find the perfect project for them. I came upon yet another pin on Pinterest and then go this idea. The pins are from here and here. They gave me the idea for this.
I took the stickers and layered them onto paper to fit this tray I bought. It is an awesome tray with rope handles that I got for $12. It said "Hello Gorgeous" on the bottom, and that had to go! HAHA! I then put the paper into the tray with Mod Podge to adhere it, then sealed it with Mod Podge on the top. It turned out soooooo cool!
So now I have a very cool serving tray, displaying the beer labels from my favorite local hangouts, and I couldn't have been happier with the results.
Stay crafty, my friends!
That brings me to this tray. My oldest son gave me a collection of their beer label stickers. I have hung on to them for a long time knowing that one day I would find the perfect project for them. I came upon yet another pin on Pinterest and then go this idea. The pins are from here and here. They gave me the idea for this.
I took the stickers and layered them onto paper to fit this tray I bought. It is an awesome tray with rope handles that I got for $12. It said "Hello Gorgeous" on the bottom, and that had to go! HAHA! I then put the paper into the tray with Mod Podge to adhere it, then sealed it with Mod Podge on the top. It turned out soooooo cool!
So now I have a very cool serving tray, displaying the beer labels from my favorite local hangouts, and I couldn't have been happier with the results.
Stay crafty, my friends!
Subscribe to:
Posts (Atom)