Hi, Everyone! Today I have for you the tutorial for how I made my explosion albums. They are...
This post can be found
here...
And this one can be found
here.
The cool thing is that you can make these any size you want, as long as your pieces are square. For the tutorial I used 6" squares, which will give a 12x12" album when fully opened. The ones I made above are 9" squares, which gave an 18" album when opened. I also used different colored cardstock so that it would be easy to see the pieces...Let me know if it works!
You will need, for the base of the album, 6 pieces of cardstock, two unscored for the inner piece and the back of the album. Then, score 4 pieces as shown making the "explosion page". You will score at the half way measurement for the squares.
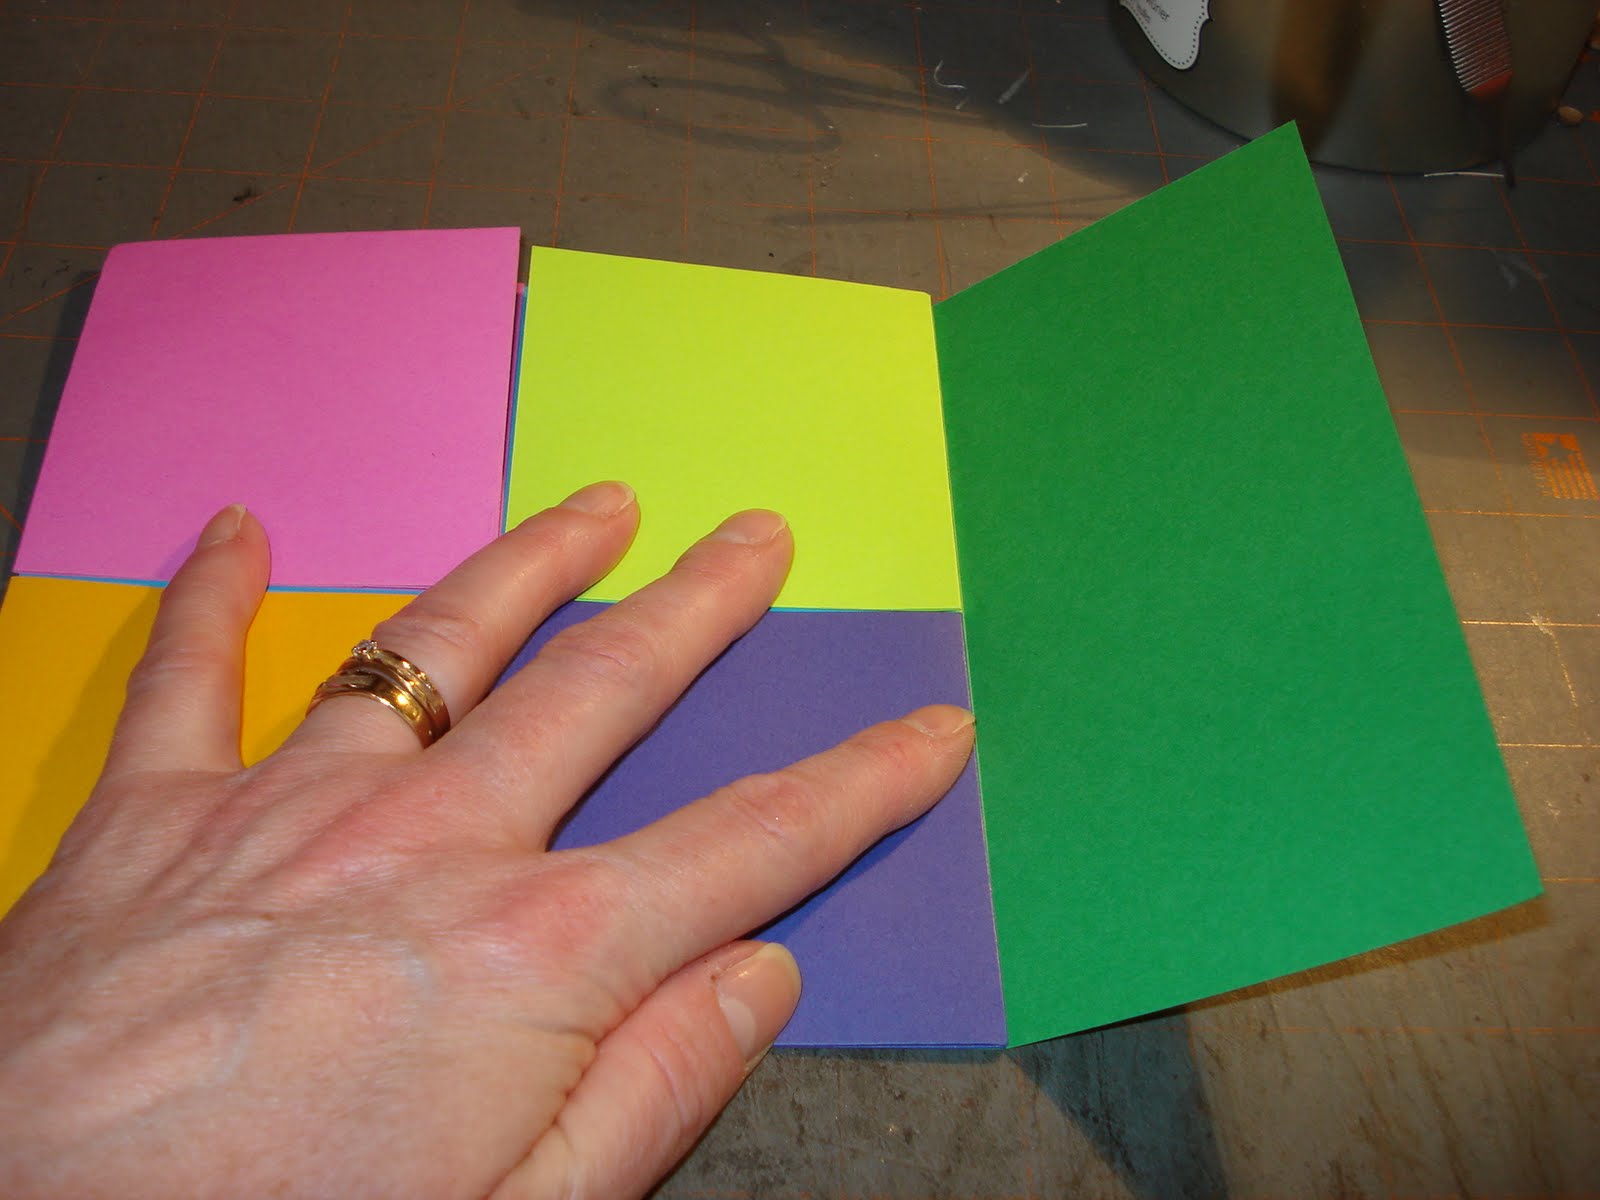
I scored the papers and folded them...The valley and mountain scores are on the other side of the paper, sorry it looks backwards. :-)
Adhere one corner of each of the explosion pages to the back of the inner paper...
This will be the inside of the book.
This is what the back of the book will look like now.
This is what it looks like folded up on the front.
To make the "gatefold" type page, just cut a paper 1/2 the width plus 1/2" for adhering...
adhere to the back....
This is what it will look like with the page (which could be the "cover" of the book) folded to the front of the book...
And opened. I used this for the cover of my birthday book.
You could also use the same technique to add a page to the inside of the book.
This page opened...
...then I covered the adhering tabs with another piece of paper.
You could also use a full square of paper and attach a page to the inside either on the top...
...or the side, then cover the adhering tabs with cardstock.
This is a full page opened, with the inner adhering tabs covered.
To attach a ribbon tie one method is to lay and adhere ribbon on the back of the book, after all of your cover pages you want are added....
Then cover the back of the book with cardstock to finish it.
If you check out the other album I did, you can see that I added pockets to the outer corners of the explosion pages and put tags in them. In the birthday album, I created another exploding section in the book, so that there are two of them. The possibilities are endless to what you could do with this! You can make it as big or as little as you want!
I sure hope this makes sense!!! Please let me know if you have any questions.


Wow....fabulous projects. Thanks for the tutorial. Ibookmarked it for future use.
ReplyDeleteCute, cute, cute!!! And, thanks so much for the great tutorial!!!
ReplyDeleteFun project!!!
This looks so fun! I can't wait to try it. Thank you for putting together such a great tutorial.
ReplyDelete