
Good morning, everyone!
I'm here today to share with you the tag album tutorial that I created for the Country Craft Creations design team! I'm really excited about this album, the paper collection that I was given is amazing...the colors are spectacular. The album is an easy one to do, but has so much interaction and opportunity to put pictures and journaling.
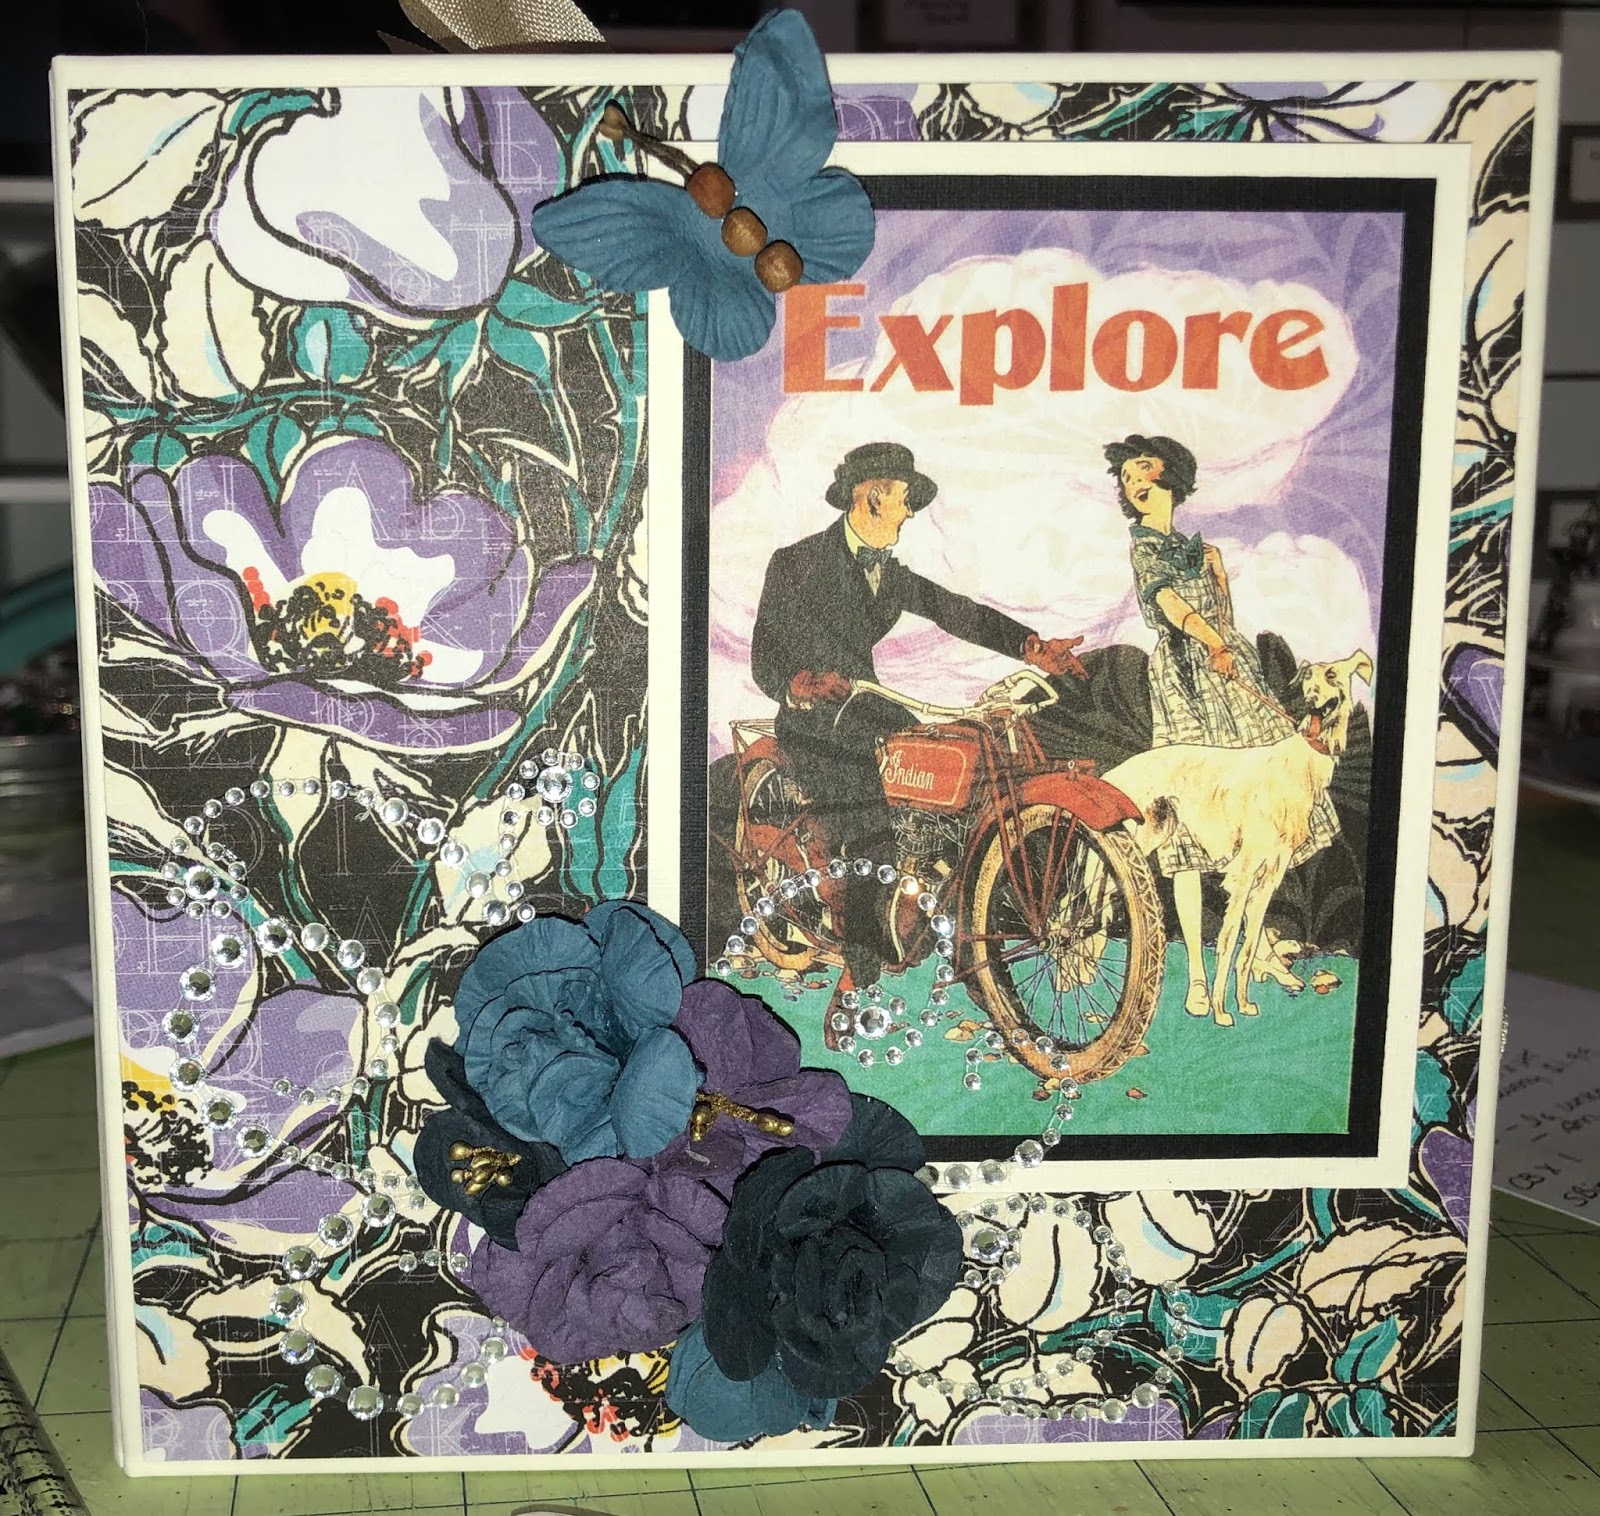
I used the Life's a Journey collection by Graphic 45, Graphic 45 square tags (which I built this album around) along with the Artisan Cardstock, seam binding, Graphic 45 pearl gems, and some various items from my stash.
Country Craft Creations is an amazing online store, and they have all of the supplies you need for this project. They have the best customer service around, your order will ship within 24 hours, usually in just a couple of hours (seriously!), and the Artisan Cardstock is the best cardstock I have ever, ever, ever worked with. Check them out by clicking this link!
The video tutorial is on my YouTube channel, and you can see it here by clicking this link.
I am using a new method of wrapping your chipboard designed by Tamra Kilgore-Merrill (who is the owner of Country Craft Creations and our awesome leader!). This is a link to her full tutorial that describes this method in detail. I do go over it in this video, but I encourage you to check out her tutorial! This is the second time I have done it and I love it! This is the link to her tutorial.
Here is a cutting list, and below that is a cutting guide to help you cut your cardstock. I used 1 piece of 12 x 12" chipboard for the covers. I used 10 sheets of cardstock. I honestly don't know how much patterned paper I used because I used up a lot of scraps from my first project for this month. I'm sorry about that!
Thanks for coming by and I hope you enjoy the tutorial!
CUTTING LIST
Chipboard:
2 @ 6 x 6"
1 @ 6 x 2 1/2"
Cardstock to cover chipboard:
2 @ 8 x 8"
1 @ 8 x 4 1/2"
Pages (Base pages, these will be built upon):
4 @ 11 1/4 x 10 1/2"
Keep the scraps removed (as shown in the tutorial) to create the following:
2 @ 5 1/2 x 5 (see tutorial, you will incorporate the score line)
4 @ 2 1/2 x 5" (for simple pockets)
Waterfall page/pocket assembly:
Pocket: 1 @ 6 1/2 x 4 3/4"
Pages: 6 @ 3 5/8 x 4 1/4"
Cover page: 1 @ 6 x 4 1/4"
Swivel Page:
2 @ 4 x 4
Belly Band Flip:
1 @ 3 X 11"
Simple double pocket:
1 @ 6 1/4 x 4 1/4
Accordion page:
2 @ 4 1/4 x 9
1 @ 4 1/4 x 4 1/4
Expanding pocket:
1 @ 11 1/2 x 8"
Below you will find the visual cutting guide!


Again, thank you for stopping by. Please let me know if you have any questions.
Stay crafty, my friends,
Michelle
No comments:
Post a Comment