
Welcome back to my site. This is a fun project that looks like a decorative book piece but is also a gift box. In these boxes you can put goodies for your Valentine, and I've also created a small tag album to go inside. I'm using Heartfelt Creations "Friendship Roses" by Country Craft Creations, which can be found here. The Heartfelt Creations Dies that I used for the album can be found here: Tag Die Pocket Die, this is currently sold out, I'm sorry, but please keep checking back. Each outer box used 1 (12 x 12) sheet of heavyweight chipboard, 2 sheets of main color of cardstock. Each inner box used about 1/2 sheet of lightweight chipboard and 3 sheets of main color cardstock. Patterned paper for the entire project totals about 8-10 sheets of 12 x 12, depending on how you want to decorate the boxes. I used 2 sheets of Summer Ivory, a coordinating color of cardstock for the outer boxes. Cutting Guide: FOR EACH BOX YOU WISH TO MAKE: OUTER BOX: Heavy Weight Chipboard 2 - 5 1/4 x 7 1/4 1 - 1 1/2 x 7 1/4 Cardstock 2 - 7 1/4 x 9 1/4 1 - 4 1/2 x 9 1/4 1 - 4 1/2 x 7 1/8 Coordinating Cardstock 2 - 7 1/8 x 5 1/8 INNER BOX: Light Weight Chipboard 2 - 1 3/8 x 4 7/8 2 - 1 3/8 x 6 7/8 Cardstock 1 - 7 x 11 2 - 3 1/2 x 6 Patterned Paper: OUTER BOX: 1 - 6 7/8 x 4 7/8 (FOR THE INSIDE OF THE LID ONLY) INNER BOX: For the outside of the Inner Box 2 - 1 3/8 x 4 7/8 1 - 1 3/8 x 6 7/8 For the inside of the Inner Box 2 - 1 3/8 x 4 7/8 2 - 1 3/8 x 6 7/8 1 - 6 7/8 x 4 7/8 For the Tag Album: I used the dies to create 5 tags. Cut patterned papers and cutaparts to fit the tags. Please see the video for the explanation of how I created pockets with the pocket die during the tutorial. Other items used from the Country Craft Creations store, https://countrycraftcreations.com Artisan Cardstock in White and Summer Ivory, https://www.countrycraftcreations.com/collections/artisan-cardstock Polka Dot Ribbon, https://www.countrycraftcreations.com/products/sheer-polka-dot-ribbon-light-pink-sold-by-the-yard Light weight chipboard , https://www.countrycraftcreations.com/collections/chipboard/products/chipboard-light-weight-12x12-sheet heavy weight chipboard, https://www.countrycraftcreations.com/collections/chipboard/products/chipboard-medium-weight-12x12-sheet As always, if you have any questions please let me know. Also please let me know what you think about the project. Have a crafty day!
Showing posts with label Box Book. Show all posts
Showing posts with label Box Book. Show all posts
Monday, January 16, 2023
Friendship Rose Stacked Book Decor/Gift Box, a Country Craft Creations Design Team Project
Welcome back to my site. This is a fun project that looks like a decorative book piece but is also a gift box. In these boxes you can put goodies for your Valentine, and I've also created a small tag album to go inside. I'm using Heartfelt Creations "Friendship Roses" by Country Craft Creations, which can be found here. The Heartfelt Creations Dies that I used for the album can be found here: Tag Die Pocket Die, this is currently sold out, I'm sorry, but please keep checking back. Each outer box used 1 (12 x 12) sheet of heavyweight chipboard, 2 sheets of main color of cardstock. Each inner box used about 1/2 sheet of lightweight chipboard and 3 sheets of main color cardstock. Patterned paper for the entire project totals about 8-10 sheets of 12 x 12, depending on how you want to decorate the boxes. I used 2 sheets of Summer Ivory, a coordinating color of cardstock for the outer boxes. Cutting Guide: FOR EACH BOX YOU WISH TO MAKE: OUTER BOX: Heavy Weight Chipboard 2 - 5 1/4 x 7 1/4 1 - 1 1/2 x 7 1/4 Cardstock 2 - 7 1/4 x 9 1/4 1 - 4 1/2 x 9 1/4 1 - 4 1/2 x 7 1/8 Coordinating Cardstock 2 - 7 1/8 x 5 1/8 INNER BOX: Light Weight Chipboard 2 - 1 3/8 x 4 7/8 2 - 1 3/8 x 6 7/8 Cardstock 1 - 7 x 11 2 - 3 1/2 x 6 Patterned Paper: OUTER BOX: 1 - 6 7/8 x 4 7/8 (FOR THE INSIDE OF THE LID ONLY) INNER BOX: For the outside of the Inner Box 2 - 1 3/8 x 4 7/8 1 - 1 3/8 x 6 7/8 For the inside of the Inner Box 2 - 1 3/8 x 4 7/8 2 - 1 3/8 x 6 7/8 1 - 6 7/8 x 4 7/8 For the Tag Album: I used the dies to create 5 tags. Cut patterned papers and cutaparts to fit the tags. Please see the video for the explanation of how I created pockets with the pocket die during the tutorial. Other items used from the Country Craft Creations store, https://countrycraftcreations.com Artisan Cardstock in White and Summer Ivory, https://www.countrycraftcreations.com/collections/artisan-cardstock Polka Dot Ribbon, https://www.countrycraftcreations.com/products/sheer-polka-dot-ribbon-light-pink-sold-by-the-yard Light weight chipboard , https://www.countrycraftcreations.com/collections/chipboard/products/chipboard-light-weight-12x12-sheet heavy weight chipboard, https://www.countrycraftcreations.com/collections/chipboard/products/chipboard-medium-weight-12x12-sheet As always, if you have any questions please let me know. Also please let me know what you think about the project. Have a crafty day!
Monday, November 29, 2021
Photo Box Project using Country Craft Creations "Bountiful Blessings" and "Santa's Little Helper"
Below is a cutting guide for the base cardstock. All measurements and instructions will be given in the tutorial. This album didn't take too many papers. I used about 8 sheets of a main color cardstock, and 1-2 sheets of a coordinating cardstock. I used about 10 sheets of 12x12 paper ("Bountiful Blessings") and about 16 sheets of 8x8 paper ("Santa's Little Helper"). Additional supplies from Country Craft Creaiotns include seam binding, lace, score tape sheets, Art Glitter Glue, flowers and tags. I added bling and a mini wooden spoon from my stash.
Please visit Country Craft Creations for all of your paper crafting needs. Thanks for watching!!! Heavy Weight Chipboard: 2 - 6 x 8 1 - 2 1/2 x 6 Cardstock to Cover Chipboard: 2 - 8 x 10 1 - 5 1/2 x 8 1 - 5 1/2 x 5 7/8 Inside Left Cover Pocket Assembly: 1 - 5 1/2 x 8 1 - 3 x 8 Right Cover Base: 1 - 5 7/8 x 7 7/8 Flaps to Cover the Box: Piece A: 1 - 5 7/8 x 10 3/8 Piece B: 1 - 7 7/8 x 8 1/4 Piece C: 1 7 7/8 x 8 1/8 Inner Box: Base: 1 - 5 1/2 x 7 1/2 Sides: 2 - 4 x 8 1/2 2 - 4 x 5 Lifter: 1 - 9 1/2
Monday, September 5, 2011
A Soap Mini Album Swap
I made this mini album for a swap I am in over on Mini Album Scraps. We could use either TP rolls or soap boxes, and our partner picked the theme. My partner gave me a lot of ideas but when she said "anything with a nature theme" I knew what I wanted to do.
 I used papers from K and Company, the Cottage Garden line. I had a bunch of the cool doo-dads that they made to accessorize it. I chose a soap box because I wanted a little more room to play. I have done this before, and have a tutorial here. I used some lace from my stash. The transparent bee is suspended by a Tim Holtz memo pin. I colored the butterfly with some alcohol inks to make the silver into a more bronze.
 The closure is a ribbon, looped through an eyelet in the back of the book (shown below) and then tied in a bow for the front, and hooked on a Tim Holtz post.
 The bling on the tabs is Prima, the rest of it is Recollections.
 I used 6 boxes. Each box is attached i such a way to make a pocket on each side.
 Each pocket has a pull out tag. I used a MS punch on the corners.
 I know the pic is fuzzy, sorry. The tag in the seed packet comes out.
 Another page...
 ...and another fuzzy picture. Sorry.
 In inked everything with Distress Ink.
 In each box, the tag comes out. On the front of them all is a journaling spot by Colorbok.
 It opens, and each has another seed packet and tag. I punched out the pulls with my Fiskars flower punch.
 And then the back of the tag.
This is the first mini album swap that I have ever done. It was a lot of fun to do.
Stay Crafty, My Friends!!!!!!


This is the first mini album swap that I have ever done. It was a lot of fun to do.
Stay Crafty, My Friends!!!!!!
Monday, November 8, 2010
Box Book for Christmas


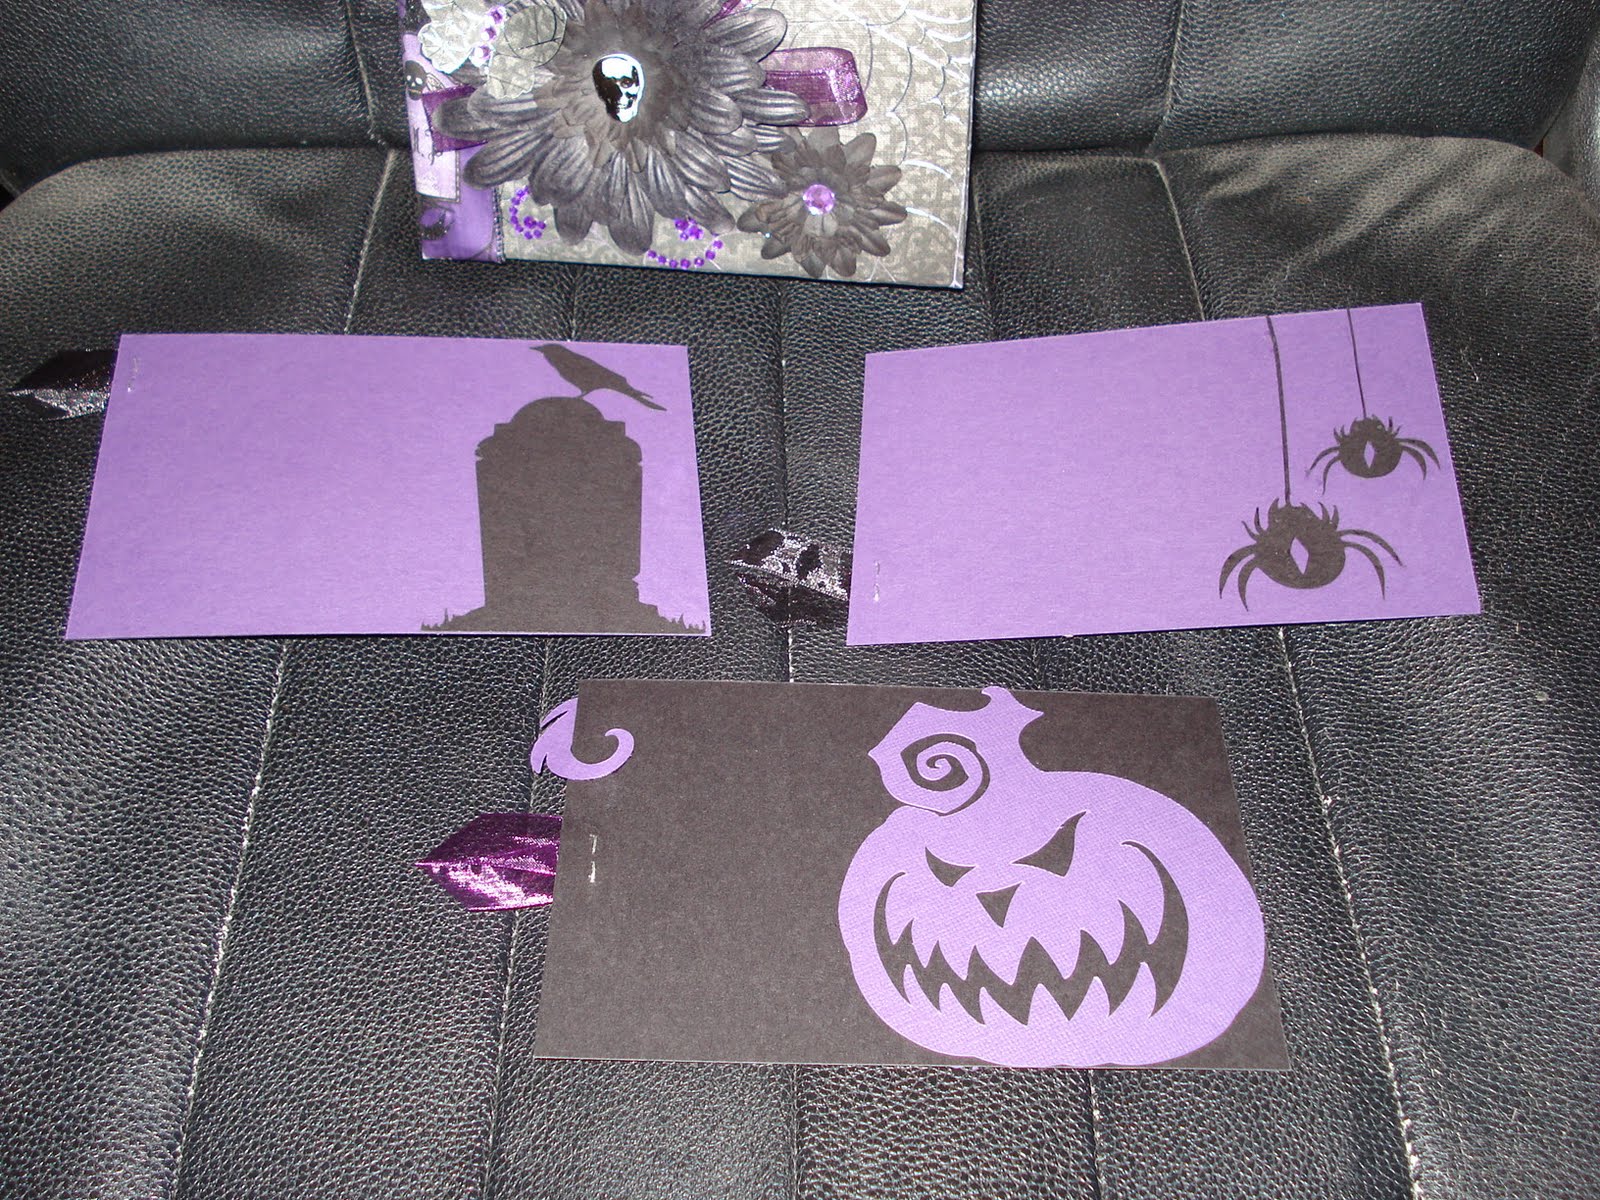
Wednesday, October 6, 2010
Box Book for Halloween, with a Mini Tutorial


Subscribe to:
Posts (Atom)


