I don't know about you, but I have a Cricut, a Gypsy, AND a Silhouette. (Not to mention the manual paper punching/cutting tools in my stash!) I needed a better way to store my cartridges. I was on Pinterest and found an idea, so I adopted it for my own purposes.
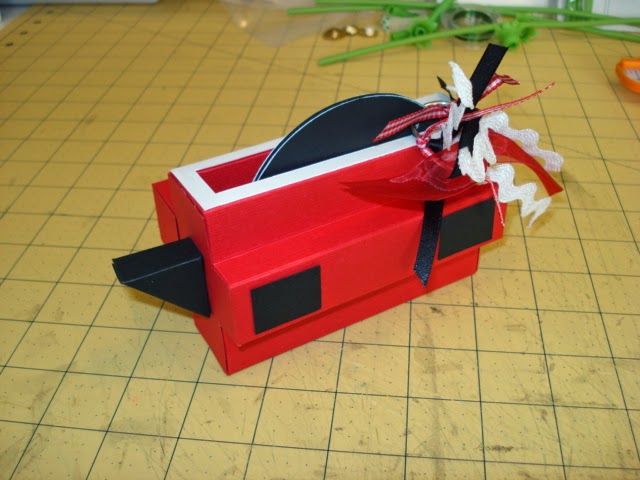
Here is the original idea that got me started.
Here is my adaptation of that idea. I made my own little boxes for my cartridges. The funny thing is that I used my Silhouette to do it, not my Cricut. Is that sacrilegious? I don't have near as many cartridges as some do, but for what I have, this worked great. The drawer is in a kitchen microwave cart that I am using in my craft room. On the top shelf is my TV. On the shelf above the drawer shown is my DVD player, and two of my smaller Xyron sticker makers. Then this drawer, which fit my cartridge collection perfectly.
In the cupboard under the drawer are my Gypsy machine, Xyron refills, my large Xyron, my Dreamcutz machine, and my Your Story book maker and laminator.
Right next to that is my desk from Ikea. I organized the drawers to hold my laminating and book making stuff on the left, and my Cricut and Silhouette stuff on the right. And, on top of the desk are my machines. Everything is all in one place and works well for me.
Thanks for looking, and stay crafty!
Showing posts with label Cricut. Show all posts
Saturday, April 18, 2015
Saturday, April 26, 2014
View Master Mini Album
In keeping with buy 3D theme of making things (like my post on the Polaroid Mini Album), I decided to make a View Master Camera.
I had made the reels a while ago, using my Gypsy to design them for my Cricut. I used a few in miscellaneous projects, and had a few left over. I bound them simply with a ring.
The body of the camera is one sheet of paper, the eye pieces on the front and the lever are separate pieces glued onto the project. The space for the album is 3/4" wide, so I am going to make a few more reels to put into the album.
I wonder what I should make next???
Oh, please tell me, what do you think???
Stay crafty, my friends!
Wednesday, October 6, 2010
Box Book for Halloween, with a Mini Tutorial
I was looking in my closet and saw some boxes my husband saved for me, and an idea struck me like a lightening bolt...MAKE A BOOK WITH THEM. But, how? Then another thought...do it like a toilet paper book!!
I only had three boxes...
I cut the ends off of one edge...
I trimmed the other to 1/2".
I tucked in the 1/2" flaps and glued with strong glue to create a flat, closed ended pocket.
I covered them with paper, just like you would do with a toilet paper roll. I bound them by punching strips with my EK Success border punches, and used them to attach the pages to eachother.
I created tags for the pockets with my Cricut.
The backs of the tags.
I found some wide and wired ribbon that I put on the outside spine of the book. The flowers added the details for the cover. What do you think? I LOVE IT!
Subscribe to:
Posts (Atom)