After I put the boxes together, shown in the previous post, I took it all apart, then I reinforced the levers with another piece of cardboard (making them double thick), and covered them with kraft paper. I also changed the color of the brads that I used. I think the gold matches the papers better.
I also changed the knobs to ones I felt more suited the project.
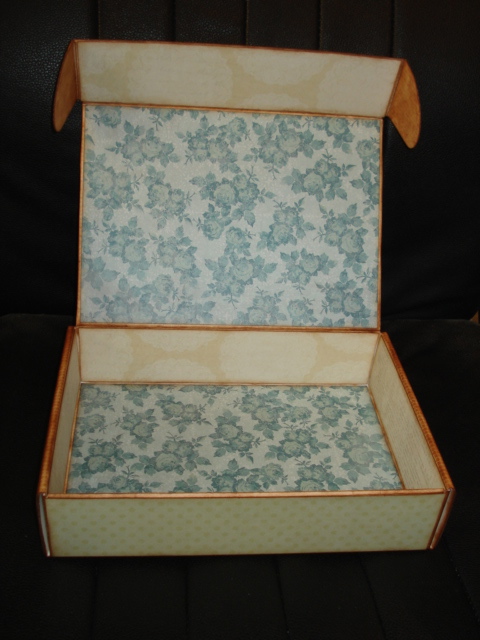
This is one side opened, you can see how big the drawers are! I covered the inside of the box with some kraft paper to cover the brads, but that is all of the papering I did on the inside of the boxes.
The handles were not to my liking, so I edged them with more papers. Then I stuck the whole thing together and attached it to the foam core base.
This is the finished project. I added feet to it to make it more pretty.
I love how it came out.
It will be so fun to fill with fun stuff. I just have to figure out what to put in it!
It's awesome, and a fun project to make. Below is a list of things I used to make it.
Papers: DCWV and Recollections Kraft Cardstock
Knobs: Tim Holtz
Feet: Graphic 45
Adhesive: Score Tape (Yup, just loads of Score Tape...I love that stuff!)
Miscellaneous: Brads, screws (for the feet), a drill to make the holes, paper piercer, rulers, etc.
Stay crafty, my friends!