WELCOME!!

We are so glad you are here! We love making and sharing our projects, and we are excited to have you visiting our site. Please leave us a comment and let us know what you think!

Jackie and Michelle

Followers

Showing posts with label envelope mini album. Show all posts

Monday, August 4, 2025

Do you want to see some really cool cards and ideas with envelopes?


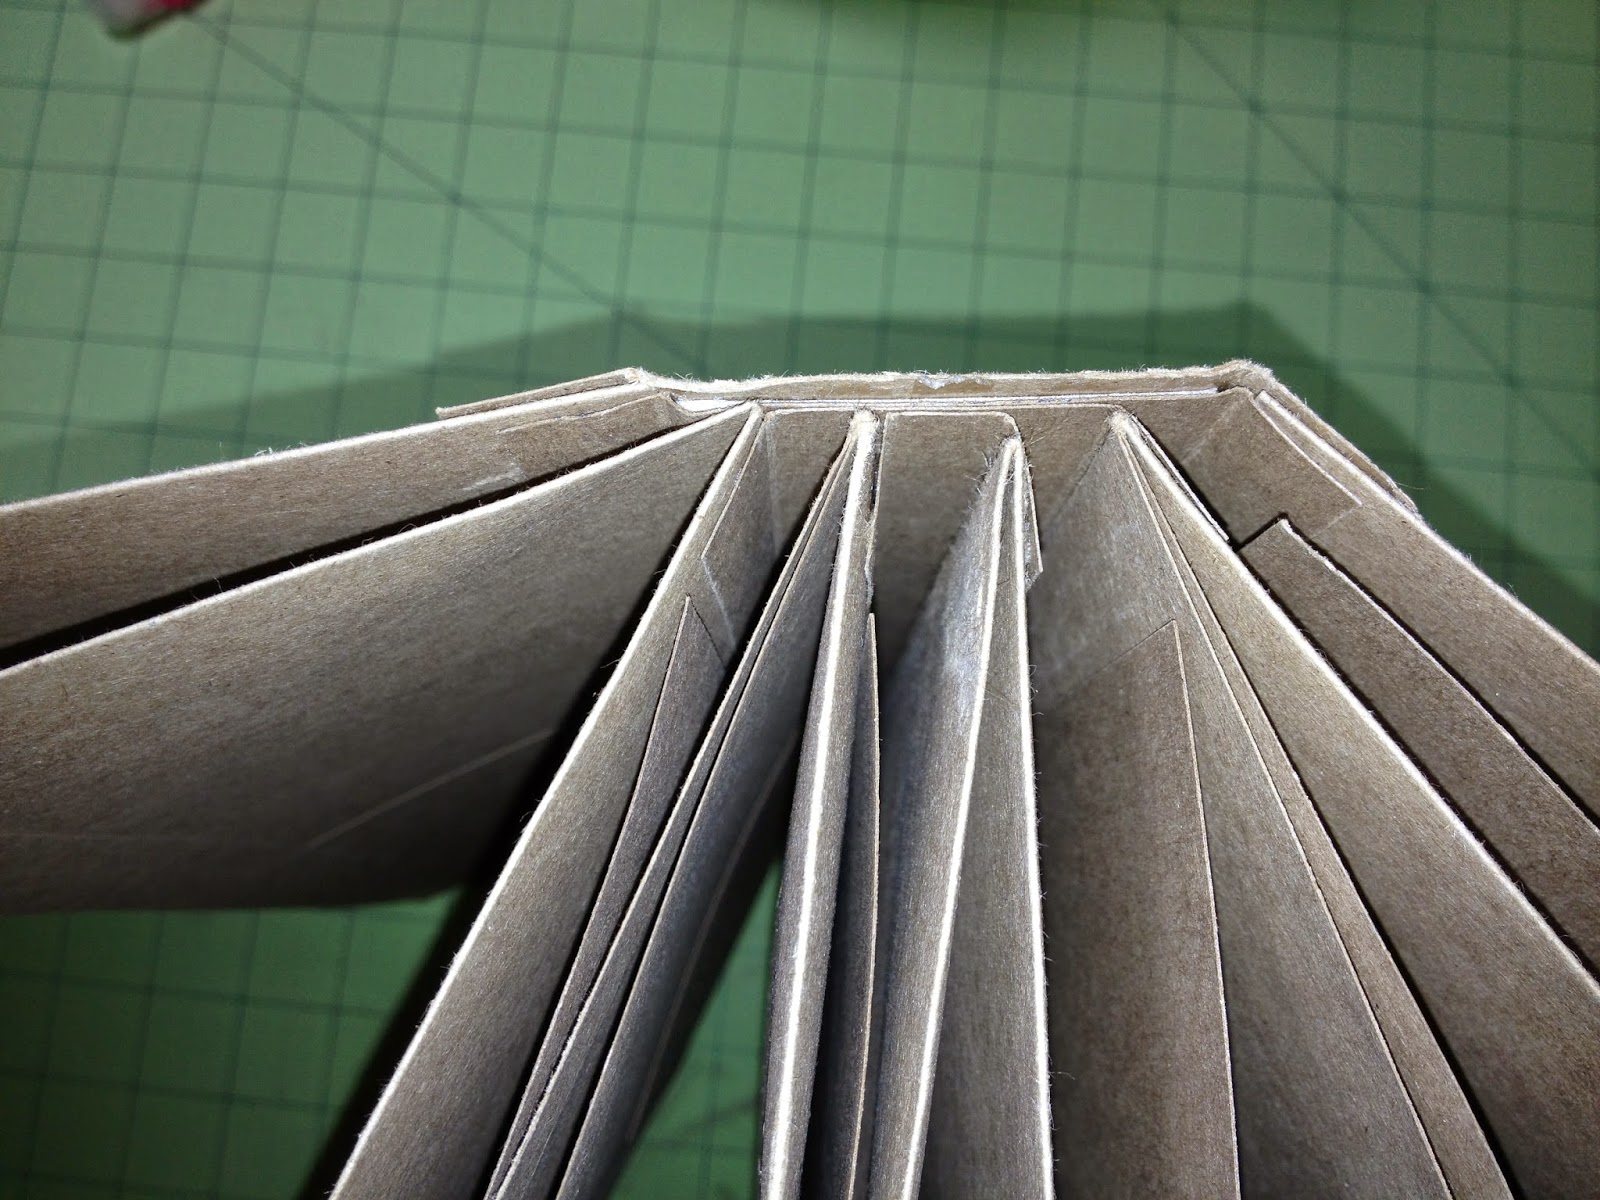
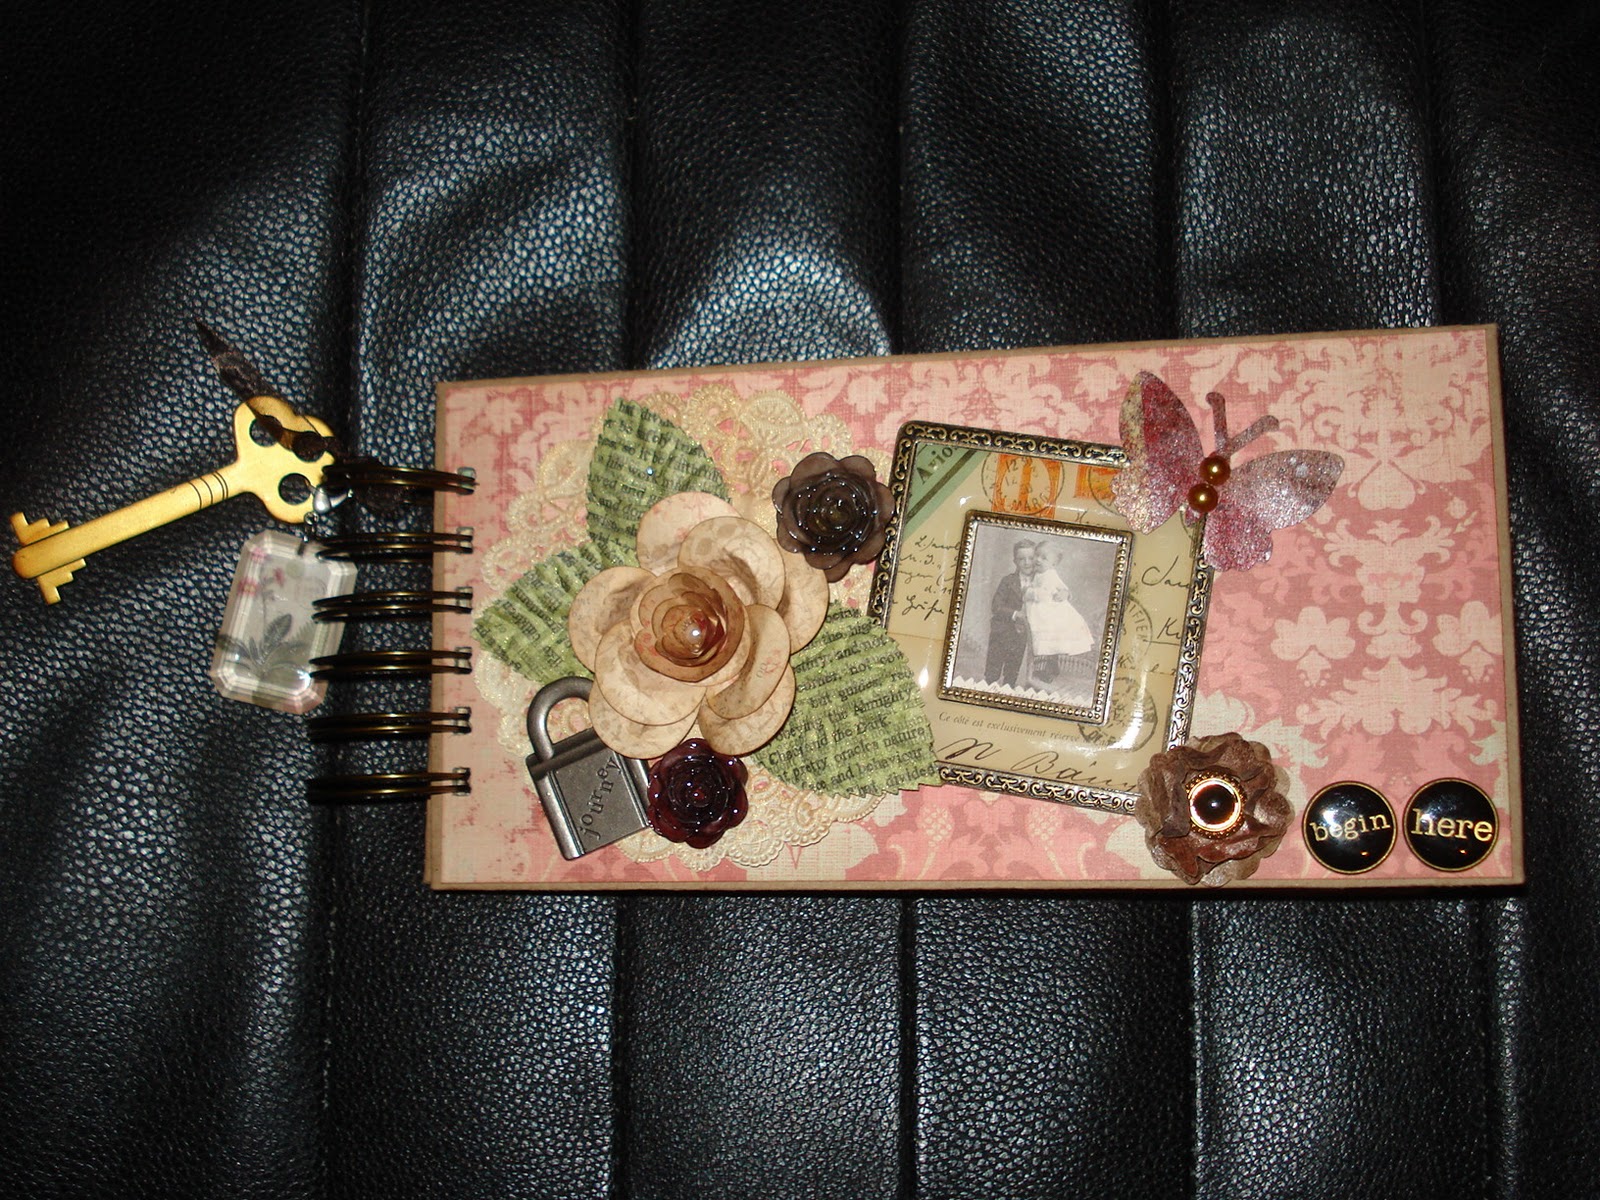
 Hey Y'all! I was playing with the new Card Fronts available exclusively at Country Craft Creations and I came up with some beautiful Mermaid cards and a fun album. The album started as cards, but I quickly reversed course and made an album instead using 5 envelopes and 4 card blanks. I mashed the Country Vow card blanks with the Cowgirl Way paper collection to make a fun and quick album.

We have introduced the Cowgirl Way collection and the Country Vow Card Fronts during our Rodeo Roundup Crop event. I have a playlist that includes all of the videos for that event (all with free tutorials!), and you can access that here. I give all of the information and measurements in this tutorial for the Country Vow Envelope Album. I didn't write them up here. It is easy, and if you have to make your own cards and envelopes, I give those sizes in the video. Thanks so much for watching, and I will be back soon with more fun things! If you would like to purchase these and other card fronts, check out this link. The Cowgirl Way Collection is here, Cowgirl Way Junk journal line is here. While you are at the store, don't forget your adhesives, cardstock, and chipboard...these are what I love to use: Art Glitter Glue Scor Tape Artisan Cardstock Heavy Weight Chipboard Light Weight Chipboard Here is my referral link, use it and I’ll earn points for crafting supplies so that I can share more tutorials! Country Craft Creations has an amazing store, so please visit the store here. We have an amazing Facebook Community as well, so please check it out.
🌺My social sites: Instagram, @michellescreativeoperation Facebook, https://www.facebook.com/mycreativeoperation Pinterest, https://www.pinterest.com/jamallen/ Blog, http://creativeoperation.blogspot.com DISCLOSURE: Some links in the description of this video contain affiliate links, which means I may receive a small commission on purchases made through the use of my referral code and/or affiliate links. This video was made with iMovie for iPhone and music used was provided by the iMovie app. Canva used for thumbnail, dividers and end screen creation.

Saturday, May 25, 2024

Homer's Diner Envelope Flip Album

 I have a quick little tutorial I did this morning. I had Homer's Diner out since I just used it, so it was perfect for this project. It's made from envelopes and a little cardstock to create tags.


This is a really quick tutorial on a fun way to make a mini with A10 envelopes. You will need 5 of these envelopes, at 9 1/2 x 4 1/8". I made tags for the pockets in the Homer's Diner album. I used Artisan cardstock in black and Pink Lemonade. https://www.countrycraftcreations.com/collections/artisan-cardstock They measure all at 3 7/8" wide by 4 1/4, 5, 5 3/4, 6 1/2, 6 and 8 (these are in order of appearance in the album). The rest of the directions are all in the tutorial. Thanks for watching! Country Craft Creations, https://countrycraftcreations.com Homer's Diner, https://www.countrycraftcreations.com/#cd9f/fullscreen/m=and&q=homers+diner

Wednesday, May 15, 2024

Origami Tag Wallet and More!


I have a tutorial for a fun origami tag wallet and more items using what’s left of my Country Craft Creations design team package using Coco Paradise by Photo Play. This is a fun and easy project. All of the measurements will be in the tutorial. I promise it’s really easy! The origami wallet has several different different things that you can do with it to vary it if you choose. I had scraps so I tried to see how much of it. I could use up and create some fun additions to the album that I had created. The album I created has a tutorial here, https://youtu.be/hDjHy7-m66M The design team haul video is here, https://youtu.be/9-8tvcVYwjk Items Used: Coco Paradise, by Photo Play https://www.countrycraftcreations.com/search?q=coco+paradise&_pos=1&_psq=coco&_ss=e&_v=1.0 Artisan Cardstock, Summer Ivory https://www.countrycraftcreations.com/products/artisan-linen-cardstock-summer-linen-new-color Vellum Cardstock in Whip Cream and Pink Lemonade https://www.countrycraftcreations.com/#cd9f/fullscreen/f[brand][]=Country+Craft+Creations&m=and&q=vellum My Colors Cardstock, I received Irish Cream, Aquatint, Kiwi, and Coral Rose https://www.countrycraftcreations.com/collections/my-colors-cardstock Tonic Magnets, I received the 3/8" size, https://www.countrycraftcreations.com/products/tonic-studio-craft-magnets-small-10mm-10-pkg Tonic Bone Folder I mentioned in the video, https://www.countrycraftcreations.com/products/tonic-precision-glide-folder Seam Binding, Ivory, https://www.countrycraftcreations.com/products/seam-binding-by-the-yard

Monday, January 23, 2023

Friendship Rose Policy Envelope Walk Through/Tutorial, a Country Craft Creations Design Team Project

Welcome back. This is a fun project and I think you will love it.  


I used Heartfelt Creations "Friendship Rose" paper collection
to make the first one, and during the tutorial I used Country Craft Creations "Love is in the Air" paper collection.

This doesn't take too many supplies, it really depends on how many tags and photo mats you add to it. For the base of the book you will need 6 sheets of cardstock. I used Artisan from Country Craft Creations, black for the one, white for the other. Cardstock can be found here. Each book used approximately 5-6 pieces of 12 x 12 patterned papers, more for the tags and photo mats. You will also need a small piece of heavy weight chipboard for the spine. Below is a cut list for one book. Spine: Heavyweight Chipboard, 1 - 2 x 4 Cardstock, 1 - 4 x 6, and 1 at 3 1/2 x 3 7/8 Hinges: 3 - 1 x 3 7/8 Envelopes: 5 - 11 1/2 x 9 Tags and photomats depend on how big and how many you wish. I did use several eyelets in this project and several yards of seambinding for the album closure and bows. Seambinding can be found here. The lace can be found here. I also mention the Facebook Group "Scrapbookers of Country Craft Creations" When you join this group you will find all sorts of things to keep your crafty heart happy. Come check it out. Thanks so much for watching and I hope you have fun making one of these for your own.

Saturday, October 15, 2022

Catching up...AGAIN!

 Hi all, I have had some whirl wind time here in my neck of the woods.  I am, again, catching up on my blog posts.  I am so sorry for being delinquent in my posting.  I have sooooo many irons in the fire...I'm hoping after this post I will be back to being more regular with my posting.  

I went to a Country Craft Creations Retreat in Utah, and man-oh-man was that a blast.  If you haven't been to one and are interested, check out this link for information.  You will love it.  It is way above and beyond any kind of scrapbooking event I have ever been to. There are also VIRTUAL retreats you can do...It's so much fun!  

I am busy working on my next design team projects...I have an envelope album, a new (to me, and it is soooooo cool) binding for a mini album, a desk organizer book and a note holder in the works.  If you haven't seen the papers I am using...here is the video share.


Below is a video where I showcased several smaller projects I made using tutorials from other great crafters in the YouTube Universe.  I have links to their tutorials in the video description.


And some more projects in this video, again, the links to the other crafters tutorials are in the video description.


This was a fun one!  I did a Dollar Store Craft and made this amazing junk journal...You have to see what I did to make this fun Halloween Journal!  Check out the video below.


Below is my offering for week #11 of #sandys13frightsbeforehalloween2022.  Check out this Double Vertical Stepper Card!


Last, but not least, just today I added a very short video to share what this Tag and Envelope Flip Album turned out to be...It was super fun and I used a ton of scraps!


Thanks for all of your support and your patience with me as I do my catch up's.  I will be better...I just had so many things going on.  I appreciate all of my followers and hope that my crafts make you happy.

Stay Crafty, My Friends!

Michelle

Tuesday, September 27, 2022

I'm a little behind...Let's catch up!

 I'm behind!!!  

I have been sick and trying to catch up on what I need to do.  I have so much going on!  There is the design team, the #sandys13frightsbeforehalloween2022, I'm doing a retreat in a week and the October Craftology kit for Country Craft Creations!  PHEW!

I'm including a couple of videos in this post...I hope you don't mind!

I have my new September Design Team Package from Country Craft Creations.  I received Echo Parks "Fall Fever" and Country Craft Creations "Fall Breeze".  They are spectacular, and the colors...OH MY!  Come check out the goodies I received!


Yesterday was the 9th week of #sandys13frightsbeforehalloween2022, and I made a Corner Folded Open Gate Card...this is fantastic!  The tutorial is here...


I also shared a quick Magic Movie of my tag and envelope flip album.  This is actually the second one I made, I will be sharing the first soon, but I had to share because this one used the scraps from my last Design Team Package using Carta Bella's Hocus Pocus paper collection.  Check out this quick share!

I think that's it for now.  Thanks for stopping by and have a spooktacular day!


Saturday, June 13, 2015

To Do Today (Mini?) Album, Part Two

Today I am going to share a couple of pictures of how I made this album.  I failed to take pictures as I was making it.  After I did it, the neighbors heard a loud "DUH!!!!!"  Hopefully this will make sense on how I made it.
 I found these gigantic envelopes at Craft Warehouse.  They have since discontinued carrying them…I bought every one they had since I found this out.  They measure 12 1/4" square…big enough to send layouts in.  But I didn't want to do that…I wanted to make an envelope album with them.  But, 12x12 albums are too big…I pared it down to about 8 x 12"(for the pages).  Of course the cover is a little bigger.
 The covers are made from the envelopes.  I cut them to the size I wanted and placed chipboard in them to give them more stability.  It worked like a charm.  Then I just used pieces of the envelopes I cut from the covers to create the spine, again adding chipboard to it for stability.
 I used a simple "Stack the Deck" binding by Laura Denison for attaching the pages.
Here's kind of a closeup of that.  The base pages are a full envelope that I scored 4" from the bottom edge.  The binding strip is attached to the back of the 8" side of the envelope.
 The above picture shows the front of the page.  I folded the envelope at 4" from the bottom, and cut off a sliver of the bottom to open it up.
This created a 4" front and back "first page" with a pocket to put things.
 The 8" side of the envelope (which is the "top" of the envelope) is already open.  I folded the envelope flap to the back of this page.  So what you have after you see the 4" page is an 8" page, again with a large pocket.  It is hard to see, but I created a file folder with kraft paper to put in each of these pockets created.  I think it goes along with the office theme, don't you?
Now we have turned the 8" page.   It is hard to see, but the flap of the envelope has been flipped to this side, the back side of the 8" side of the envelope. I took another piece of kraft card stock and attached it to the flap, thus making another page for this envelope assembly.
This shows the kraft card stock page opened, and attached to the flap of the envelope.  You can see the page, the flap it attaches to, and the back of the envelope (the 8" piece).  You can see the binding attaching the entire thing on the right.

That is the entire page assembly.  For each of the 4 page assemblies I made you will get:

A 4" page, front and back, with a pocket
An 8" page, front and back, with a pocket, filled with a file folder
A 7" cardstock page, front and back, attached to the flap of the envelope

LOTS OF SPACE FOR STUFF!!!

I hope this made sense.  I will get the video done soon, so you can see all of the decorations and the fun stuff I added to what's already here!

Stay crafty, my friends!

Saturday, June 6, 2015

To Do Today (Mini?) Album, Part One

Here is my latest project.  I made the "bones" of this album ages ago.  Do you ever do that?  Come up with an idea, then between work and home and not knowing which papers to use you don't finish it?  I did.  At the last Creating Keepsakes convention I bought a kit with the October Afternoon paper line "9 to 5" in it, and knew this was the paper line I needed to use.  I had a few pieces of this collection from a past project I did, so I combined the two and came up with this.
It is not a mini album…it is a huge album.  By the time I got done adding all of the decorations and such, I could hardly keep it closed.  I made the closure with two bulldog clamps and tied ribbon to them.  This way the closure is easy to remove, but pretty too.
 The album has 4 base pages, but is FULL of places to put things.  And, believe it or not, it is made out of envelopes!
The next post will be about the base pages and how I put them together.  I sure hope you like it!  I am working on a video about the book as well.  As soon as I get it done I will let you know.

I'm not really sure what "subject" is going in this book, but it's ready when I do decide.  I am so happy with how it came out…I just love it!

Stay crafty, my friends!!

Wednesday, May 28, 2014

XOXO

On National Scrapbooking Day I went to my local Craft Warehouse, and did a free make-and-take that I wanted to share with you.
It was a simple envelope mini album.  At the store we made the base book and the cover, then they gave us an envelope full of goodies to finish the album at home.  
 I  love the happy colors this album had!  I did add a little of my own card stock for some of the pages, but the rest was part of the make-and-take.
 There are journaling cards for the envelope pockets.

I also used the envelope that was full of goodies to add another page to the album.  I think it will be a cute day mini album, don't you?

Stay crafty, my friends!

Wednesday, December 4, 2013

"Merry Christmas" Treat Envelope Mini Album, with a link to a pocket page tutorial!

MERRY CHRISTMAS!!!  I have a little mini album project, and a  link to my video tutorial for you today!
I was in my local Fred Meyer store shopping and ran across these cool little treat envelopes.  They are supposed to be full of candy or cookies...but I saw them as a mini album.  This is what I created with them.
 I used a line of papers from SEI for this project called "Holiday Traditions.  The chipboard letters "joy" are by Anna Griffin.  The bling I added are from Recollections.  Everything else is SEI.
 I made a video of how I put the pages together, so please check out my link here:
"Merry Christmas" Treat Envelope Mini Album.  The reason that I made the video is that it is a little complicated to explain how I did the pages.  There are two page assemblies, and each one includes 2 envelopes, a cardstock pocket page, and the binding for the book.  There are a total of 4 envelopes and two cardstock pocket pages for this book.
 Here is a quick run through of the pages.   Here are the fronts of the envelopes, I just added a little die cut embellishment.
 Here are the backs of the envelopes.  The tutorial includes how I made the mini pocket on the left (on the envelope) as well.
 Each envelope includes a mat page, two to three mini journaling tags in the mini pocket, and a booklet tag is in the cardstock pocket page.
 I'll go through a quick runthrough of the pages...

 I left it simply decorated on purpose.  I want to add big pictures to the pages.

The technique can be used on any envelope you have.  The best part, no cutting of the envelopes is required at all.  This technique can be used on envelopes that have flaps that open from the top, thus preserving the flap for use as you wish.  Head on over to my tutorial on YouTube and check it out.  If you have any questions, please let me know!

Stay Crafty, and Merry, My Friends!

Thursday, March 15, 2012

"Sweet Baby" Envelope Album

I made this album for a friend of mine who is expecting her first baby in April.
 I used large Bazzill envelopes for the base of the book.  I will have a mini tutorial at the end of the post showing how I prepared them.  I will also list all of the supplies used at the end of the post.
 This book has a total of 6 pockets.  Each pocket has one large tag, big enough for a 4x6" photo on each side, and a small tag for journaling.
 Here are the tags.
 It also has 4 large pages that a photo can be placed.
 Another set of pockets...
 ...and more pages.
 This book will have 12 photos (on tags) and 4 more on pages.  That's a pretty good sized "brag" book!
The supplies are:

Ribbon and large buttons:  Recollections
Bling:  Great Expectations
Envelopes:  Bazzill
Butterfly and chipboard letters:  Heidi Swapp
Ink:  Tim Holtz
Everything else:  The Girl's Paperie

This is how I prepared the envelopes.

 These envelopes are large enough for 5x7" cards.  I prepared them by cutting a slice (shown above) so that the envelope flap could fit inside of the envelope smoothly.  I then glued the flap down, INSIDE the envelope, creating the pocket.
If you didn't make the slice, the flap would have to go under those little pieces, and I didn't like the look of that.  Then I just covered the envelopes in papers, which gave the envelopes a little more "sturdiness".

For the front and back covers:  Before I adhered the flap inside of the envelope, I inserted a piece of chipboard (just a bit smaller than the envelope) to make them even more sturdy and durable.

I hope that made sense.

Stay Crafty, My Friends!

Thursday, March 10, 2011

Policy Envelope Tutorial and Mini Album

Here is the mini album that I showed you yesterday.  I made this tutorial to give you the basics of how to make the envelopes.  The one above, that I posted yesterday, is a variation of this tutorial.   I folded this one differently, to give different sized pages.   I also added more "pockets".   You can do so many things with this album!  Let your imagination run wild!

So, without further delay...the basic tutorial!
 I love the look of the policy envelope mini albums.  But, I didn't have any and for me, they are hard to find.  Then, one day I was walking through the office aisle at the grocery store and it hit me, I could make my own from document sized envelopes.  I bought a package of 9x12" envelopes and cut them in half, which made two 4 1/2" wide pieces.
 I scored 1/2" in on the cut end...
and 4" in from the bottom sealed end.
 Then I cut off the 1/2" piece on the back side of the envelope that included the flap.  It left me with a 1/2" piece on the other side of the envelope.
 I used my ATG and applied adhesive, folded over and sealed.
 Then, since I scored it from the bottom, I folded and taa daa!  A page for a mini album with a 4x4" page and a 4x8" page with a pocket and a flap.
 I inked edges and applied papers.
 I made a chipboard cover and used my bind-it-all.  I made four envelopes total out of two big envelopes.  It gives you lots of room for stuff.
 Inside the front cover with the flap open...I just reshaped the flaps.
 Top view.
 Then I decorated the cover.  I made the charm with some of the papers and a Tim Holtz Crystal.  The flower was made following a tutorial by Valita.  I don't have an owl punch, so I used a balloon punch.  The little roses are mine from this post here.  I also made the flower on the lower right and the butterfly...and that little tutorial will come later! (It was quite cool how those came about!)
I added tags in the four pockets.  That is my mini, I hope you like it!  I am going to add more embellishments to it later.  The other cool thing about this mini album...The only thing I bought to make it was the envelopes, I had everything else in my stash!  Thanks to Counterfeit Kit Challenge!  They are really encouraging me to raid my stuff FIRST!

Supplied used:

Jolee's:  Key
We R Memory Keeper's: Eyelets
American Crafts:  Ribbon
7 Gypsies:  Lobster Claw, Type Buttons
Tim Holtz:  Distressing Ink, Crystal
K & Co.:  Paper, Metal Snaps, Frame
Recollections:  Leaves
Tattered Angels:  Glimmer Mist
Wilton:  Doily
Fancy Pants:  Journaling Cards

Have a crafty day!