WELCOME!!

We are so glad you are here! We love making and sharing our projects, and we are excited to have you visiting our site. Please leave us a comment and let us know what you think!

Jackie and Michelle

Followers

Friday, April 15, 2011

April Counterfeit Kit Projects, #4 and #5

 First off, here is my attempt to copycat the paper Headed South, "It's the Little Things" by Fancy Pants. I just grabbed some stamps and colors and went to town.  I don't think it turned out too bad...now I just have to figure out what to do with it.  HAHA!
 This is my layout in response to the challenge of using memorabilia in your projects.  OK, I know that receipts may not be memorabilia...but when I got done shopping I had this idea and I went with it.  I used the die that I bought today to make the gears on the layout.  I added the flower beads and Stickles to the center of them.  I also added the letter stickers to make the title "Retail Therapy".  I grabbed a tag, used Glimmer Mist and wrote the quote in it.
The ribbons and papers came from my April Counterfeit Kit, as did the buttons.  I also love the fact that the bottom of the receipt has the date on it...I didn't notice that until I finished the page!

Have a crafty day!

Wednesday, April 13, 2011

April Counterfeit Kit Projects, #1, #2, and #3

This is going to be picture heavy!  I made some cute mini albums and one greeting card with my kit so far...and here they are!
 The paper selections I made totally made me think of spring.  I took the pastel colored papers to make this mini.  I designed the pages while playing with paper one day.  The pages are made of one sheet of 12x12 cardstock that has just a couple of scores and one cut.  The size came out to 5x7", so a good sized book.  I covered the chipboard letters with my scraps of papers to make the title.  I also added the purple bling to the butterflies.
 This is a top view.  I made 5 total pages, and each page holds a bunch of tags in different sizes.  I used my Nestabilities die to make them.   I covered the spine with pom-pom ribbon.  A tutorial will be coming soon.
 This is the cover opened.  The pocket on the cover is made when attaching the page to it.  This is also how all of the pages are attached to each other.
 This is the flap on the right lifted to show another pocket and a large space for a picture.  I added the solid cardstock to the kit to make the pockets.  The leftovers from covering the base page cardstock I used to punch the butterflies and flowers.
 This is the next page...
 and that pages flap lifted up.
 The last page and cover.
 So, then I had the butterfly paper and decided to make another mini album.  This actually came from a tutorial I found here at My Creative Journey.  She gives step-by-step directions on making the album and cutting the papers.  Then, I did a little embellishing of my own.  I added the chipboard album from my stash.  I also added one more piece of paper (the black one with the multicolored circles) and stickers from the same company as the butterfly paper.
 The pink brads in the centers of the flowers were also added to my kit, as I didn't put any in my kit at all!  I also added the yellow and green cardstock.
 I used my Nestabilities again, and some corner punches from Martha Stewart.
 I fussy cut a butterfly from the paper for an embellishment on this page.
 Here is the circle paper...I loved it!
 The back page.
This little 6"x6" mini album will be the perfect way to showcase my flowers when we get them potted!

I took some of the scraps and made this card.
 I received the stamp set from one of my birthday swap sisters from Splitcoaststampers.  They are by Provo Craft, and are called Simply Chic Stamps.  I used the yarn to tie around my wooden butterflies to create the bodies, heads and antennae.
I think the ledger paper works perfect inside the card to write a greeting.

Thanks for looking, and have a crafty day!

Monday, April 11, 2011

Vintage style card

I LOVE the soft vintagy shabby look that so many things have these days.  We layered this card using 6 patterned papers and the Fiskars scalloped boarder punch.
 I think the rhinestones added a nice touch of elegance!

Friday, April 8, 2011

File Folder Mini Album

I made this for my daughter, Beth, inspired by this wonderful and creative lady, Susie at Creative Cafe'.  Susie makes just wonderful albums and I "counterfeited" them, if you will.  Please go check out her site, you will love it!

Beth is deployed right now, and she wanted a book of pictures from home...so I got out my stuff and printed off a variety of pictures, and away I went.  There isn't a tutorial for her album, I had to try to come up with what I thought she did.  She inspired me so much that I made it the same day I saw it!  There are a ton of pictures...I hope you like it.
The cover.  The papers are all from a pack that I got by Jenni Bowlin.  The only addition was the "Family" stickers that I used.  The original bingo card said LIVE, but I covered it with the heart to make LOVE.
Some pages have little pockets...the tags are all full sized and have pictures on the back as well.  Do you like the smiley face?  I didn't have permission to use his picture!
Some pages have big pockets...
Some pages have full sized pockets...
This page has a pocket and little flaps that open to show more stuff...
See...more stuff!
This one I chose to make into a proper pocket and add a picture on the side.
This is a huge flap that opens down...
for more pictures.

I hope you liked it.  Please stop by and check out her blog.  She has some amazing stuff there!

Thanks, Susie, for the inspiration!
Michelle

Wednesday, April 6, 2011

Little Tiny Mini Albums and the April Counterfeit Kit

OK, you have to go to this place and visit Elsa.  She came up with the cutest little mini albums, and she did UStream classes on them!  Here are my versions of her mini's. They are approximately 4x4".
Here is the cover.  She calls this a Never Ending mini.  She uses patterned papers and creates pockets with the folding.  The pictures don't even show all of the extra pockets and pages it has!
 It looks like an accordion, but it isn't!  There are spaces for a ton of pictures and tags.
Here is the other side, and again, the pictures don't do it justice!  There are secret pockets!  The papers I used are K and Company.  I also used some ephemera that I can't remember where it came from.  I bought the Nestabilities shape just for this project, too! Once you watch one of her videos, you will understand...she loves this shape for her tags!
This is her paper bag mini album, and it is mini!  The bags are the littlest ones you can find at Michaels! I used  October Afternoon's Modern Homemaker papers for this one.  I LOVE THIS PAPER LINE!
 It uses four bags and makes a ton of pockets for tags.  I love the chunkiness of it!
 These are a couple shots of my pages all decorated.
 I actually had one of these clocks when I was a kid!!!  The tail wagged and the eyes moves and honestly, it kinda freaked me out!

Now...Counterfeit Kit Challenge has their April Kit up, and here is my version.  The original kit that they are counterfeiting comes from Front Porch Kits.  It is actually their March Kit, but we are using it for April.

 The picture above is their kit papers.  The one below is my interpretation of the kit.
 I used papers from American Craft, Dream Street Papers, Making Memories, Doodlebug, DCWV, Creative Imaginations, Fancy Pants, Me and My Big Ideas, and Paper Loft.  The cardstock is from Bazzill and Paper Company.
Here are my embellishments.  I have no idea where the ribbons came from, they were a birthday gift from one of my "swap sisters" at Split Coast Stampers.  I am a knitter and a crocheter so I had yarn that I thought would match.  The leaves are from Recollections.  The buttons are Making Memories. I have no idea where the bottle caps came from, as I have had them forever.

I love the colors of this kit, bright and "Springy!"

Stay crafty my friends!!!

Monday, April 4, 2011

Dry Erase Flip File


I recently found this Dry Erase Daily Planner/Desk Organizer at a place called Wise Buys in California and did a little tweeking!


 I covered the left side of every page and left the opposite for notes
 I wallet sized photo will fit nice, each page is approx. 4x5
 A great addition to any desk!

Wednesday, March 30, 2011

This is a very long post, but it has lots of pictures and a TUTORIAL!

Over the last several weeks I have made a few projects that I thought I would share.  All of these projects are very easy to do and fun!
I am sure you all are familiar with Kathy's site, Paper Phenomenon.  If you aren't, you should do check her out, she has some of the most amazing ideas.  I, of course, couldn't help but to use her tutorials and make some for myself!  She had a video series you can find on You Tube that went through how to make this fantastic mini album.  It is made out of paper bags, and it is FABULOUS!
 I used the Graphic 45 Steampunk Debutante papers.  My spine is different than she did it because I couldn't get mine to work like hers.  But, I think it turned out just as neat.  I punched out the face and used some Crackle Accents on it.  Then attached the charm to the spine with chain.

 Every page has pockets and/or flaps to open.  There are a ton of inserts to check out.
 This is another of her paper bag creations that had a wonderful new way to put them together.  I used papers from Cosmo Cricket, Circa 1934.  LOVE THE COLORS!

 Here are all the pockets created.  Nice, huh?
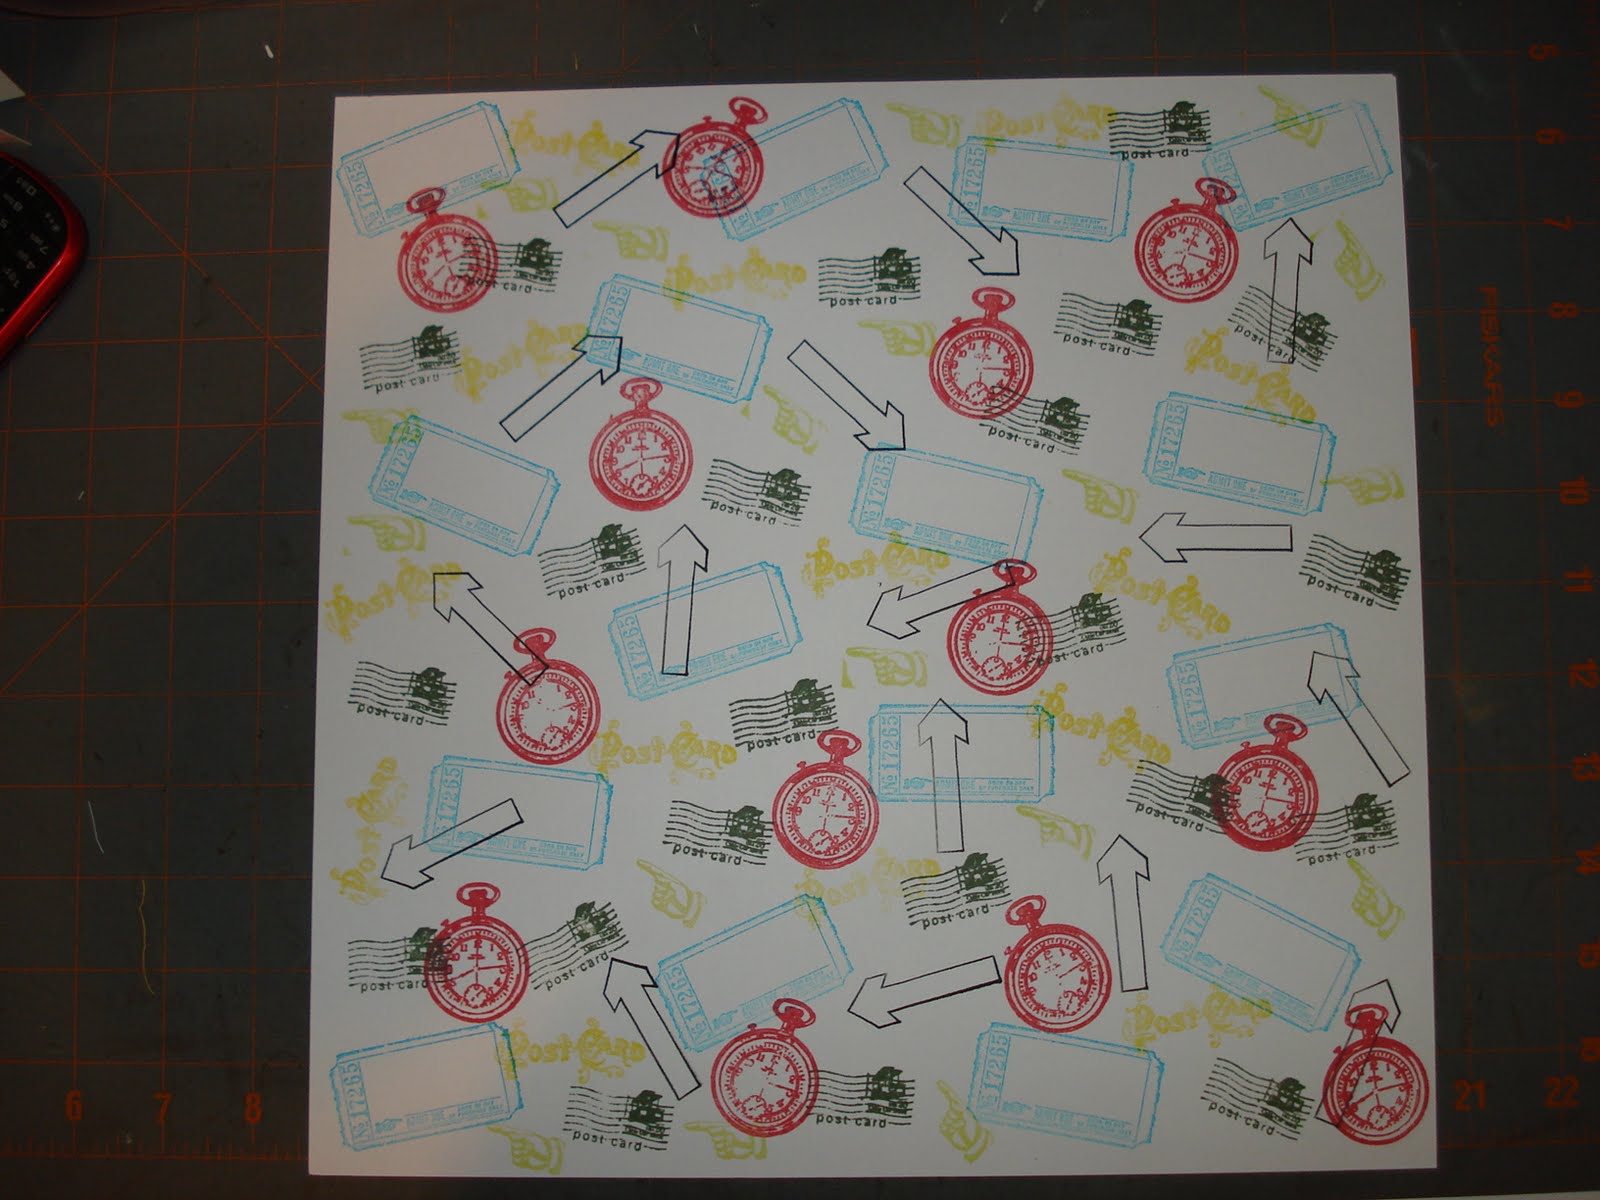
 I wondered how to make one of these if you didn't have paper bags, and I came up with this.  I used Graphic 45, Domestic Goddess, papers.
I wrote a tutorial up for how I did this, it is at the end of this post.
 No Paper bags in this one, just papers, and it turned out very cool!  It has lots of tags, and I think that I am going to put our family favorite recipes in here!
 Last, but not least, she came up with this little mini book.  It is less than 3" square and uses one sheet of 8 1/2" x 11" cardstock.

 It rolls up on itself and then opens!
There are three pockets that hold teeny tiny tags.

Now for the tutorial...


Here's how I did it.  Again, Thanks to Kathy for the inspiration!!!
 I cut a piece of paper 10 1/2" by 8".  I scored as shown. I cut the edges as shown to create tabs.
 Fold the tabs in...
 Fold the top down...and you have your first large pocket.  Adhere the tabs with a little liquid glue to the INSIDE of the pocket.
 Second pocket...cut the paper to 6" x 10 1/2".  Score and cut again as shown...
 Fold again, adhere...you have the second pocket.
 The piece that connects the two pockets you just made is done by cutting the paper to 8 1/8" x 6".  Score as shown, creating the 1/8" space in the middle.
 I didn't show this, but when I did the book for real, I cut out the 1/8" x 1/2" pieces (the ones by my thumb and finger) created with the scoring out so that it would fold better around the pockets.
 Take the larger pocket, and adhere it to the tabs on the right side of the 1/8" space.
 Take the smaller pocket and adhere it to the tabs to the left of the 1/8" space.  This creates the big space without pockets for pictures.
 This is the right side folded over so you can see that it will create a pocket.
 This is the left side folded over to show the other pocket created on the smaller pocket you adhered.  This whole thing will open in the middle to give you more space!  This is your first page.  Make as many as you want for your book.
 This is the connector piece that connects the page you just assembled to other pages you will assemble and to the front and back covers of your album.  Cut and score as shown.
Adhere a thin line of glue to the three sides, and adhere to the front of the page to create another pocket...the other side to the front cover or the previous page.

I sure hope this makes sense!  I probably should have cut the connector piece so that it would have tabs just like the other pages to create pockets.  Maybe next time.  But, this is how I made the recipe book and I hope you enjoyed it.  I hope you can use the tutorial to create your own work of art!

You could use plain cardstock, then cover with papers, I used double sided papers, but be careful of directional designs if you do that!

Thanks for coming by to see us, and please check out her site.  She always has great ideas!